Showing posts with label Crafts. Show all posts

Monday, 25 August 2014

An Overdue Post - A Compilation of the Past Months Part 3

Hello everyone,

It has officially been about roughly two months since my last update. While suppose to be a semi-continuation to the previous post, the update was a bit late in being posted. I am aware that my updates has been severely slowing down as of late and I honestly do not know what to do in regards to this issue. Ever since summer started and after I had finished an international financing course that I had taken back in May, I had been severely lacking in terms of motivating myself. Now I am aware that this particular situation has been going on for some time, so I am going to try and resolve it to the best of my abilities and see if my motivational drive will come back. The reason why I think that this is purely motivational-based is because my activity level had remained purely the same (if not a little lower) compared to before, and I greatly want to share that with you. So with that being said, I greatly appreciate the support that you had all showed and would like to thank you for bearing with me despite my lack of posting. Without further ado, here are the activities that I had done during the time in-between.

During one of my excursions to H&M, I had gotten this adorable shiny heart earring set that was on sale. I realized that I did not have a set like this before so I figured why not? The pair that was missing from the set were green hearts that I know I will never wear in the future, and so decided to give them to my friend.


Monday, 23 September 2013

Renmants of a past summer and some fashion contemplations

Hello everyone!

School had officially started for me about a two weeks ago, and ever since then I had not been able to create one blog post during that time frame! I will not guarantee that I will be able to have a stable blogging schedule, but I will definitely try my best to release a blog post during any free time that I might have had.

Also as a note, I would like to share some contemplations with you all at the end of the blog post in regards to my latest fashion choices.

First off, during the last month of summer heading right into the school month of September, I had worn the outfit on the right. Up until that time, I had not gotten the chance to wear this particular dress and I was so happy to have finally done so. As for the outfit on the left, congratulations! You are now looking at what I wore on the first day of school! ^^

Wednesday, 21 August 2013

Hime Creations Series, Prisila Half-wig, and Misc + Claires Haul

Hello everyone!

Time sure flies when you are having fun, especially when it is during the month of August and that the school term is quickly advancing. In some cases, it might've even arrived for a couple of you judging from a couple of posts that I had seen so far. ^^; Like I had previously mentioned, I want to savour what precious moments I have and get more to crafting in particular, since I have a feeling that I will not be able to do as much during the school year.

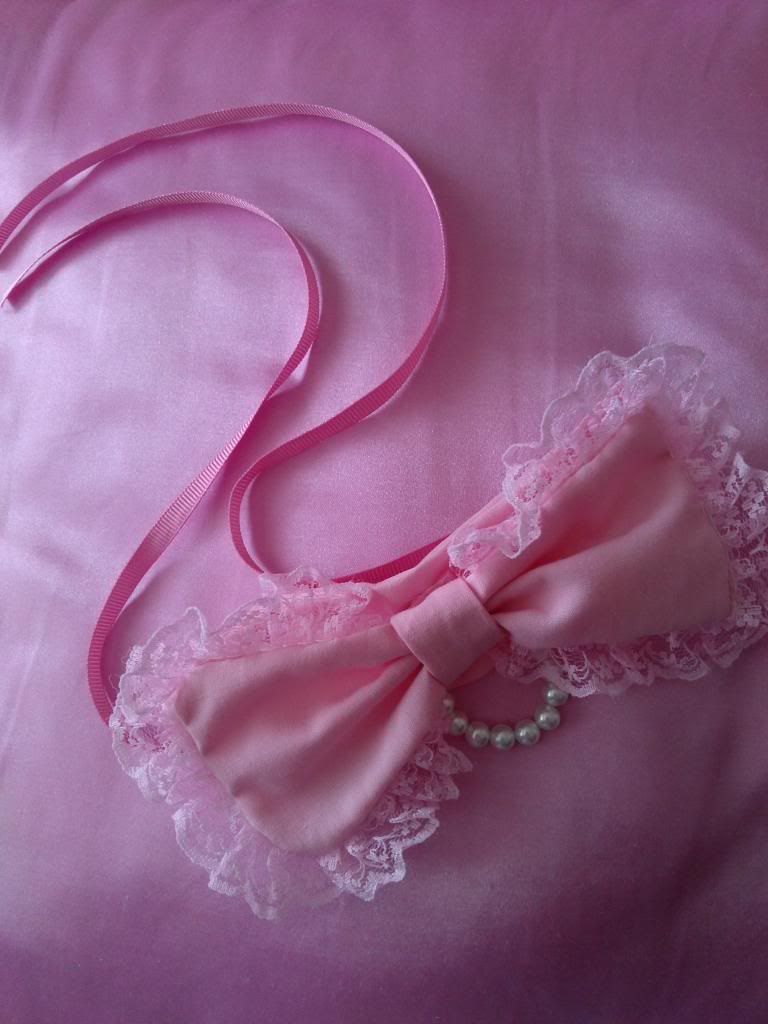
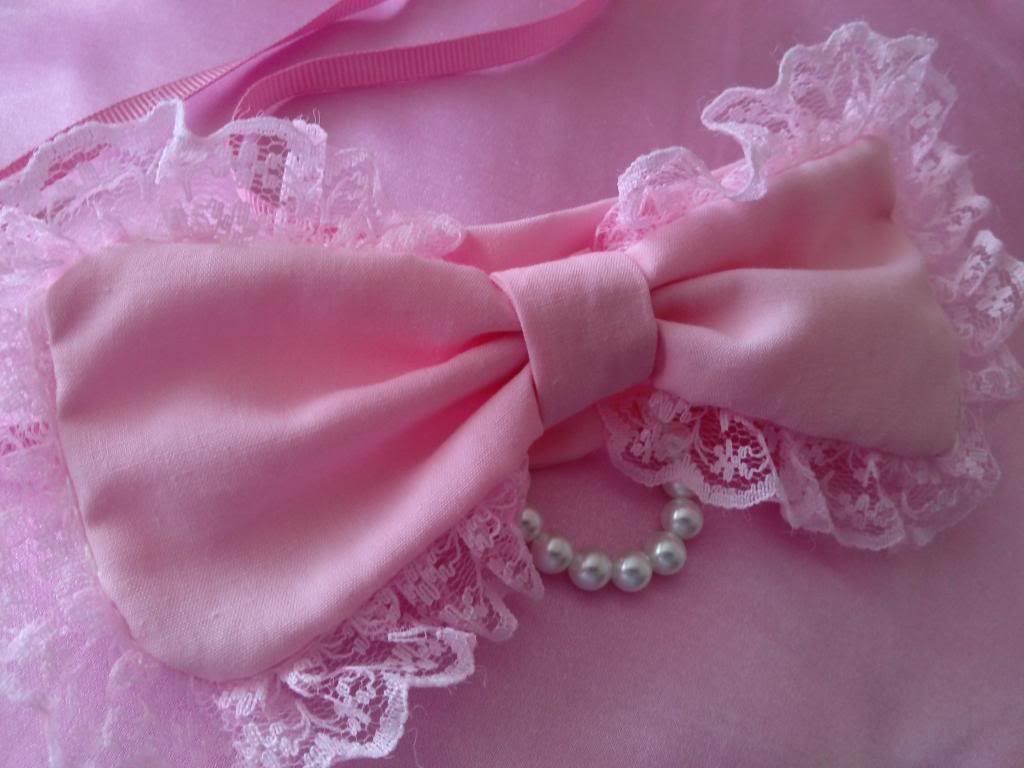
I had already created a couple of jewelery pieces, which so far consists of a choker and a couple of rings. Main inspirations were from Himena's Princess Melody line (in particular her early release chokers, but with a touch of lace) and PinkHime's famous rose or "crosage" ring. 


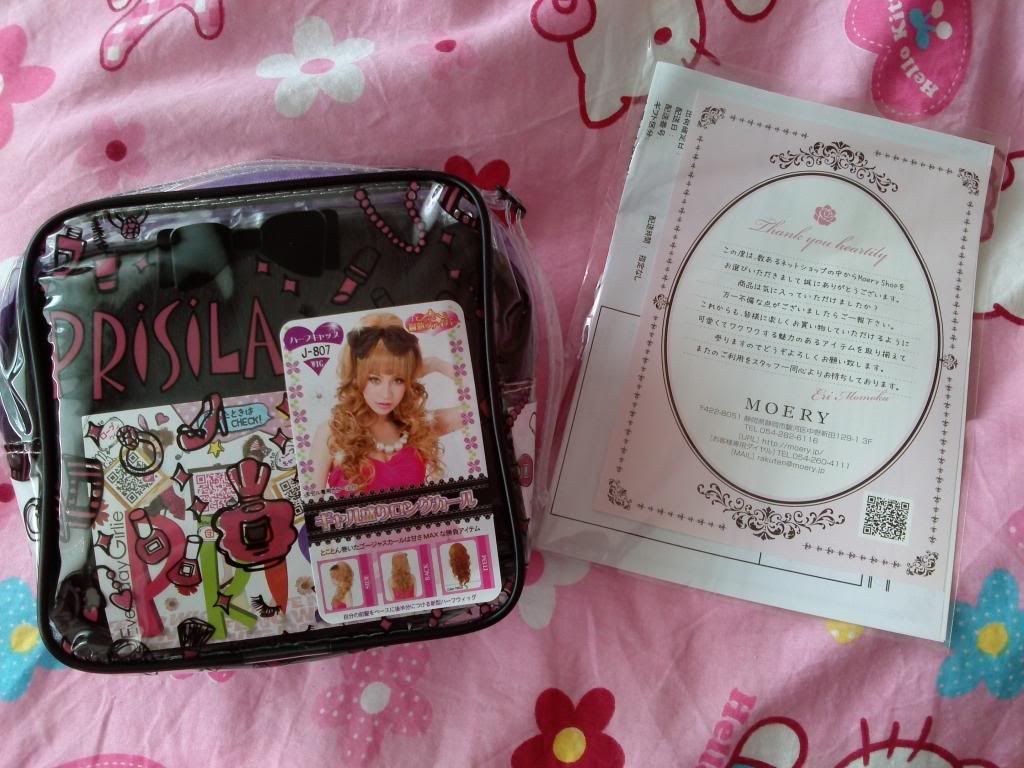
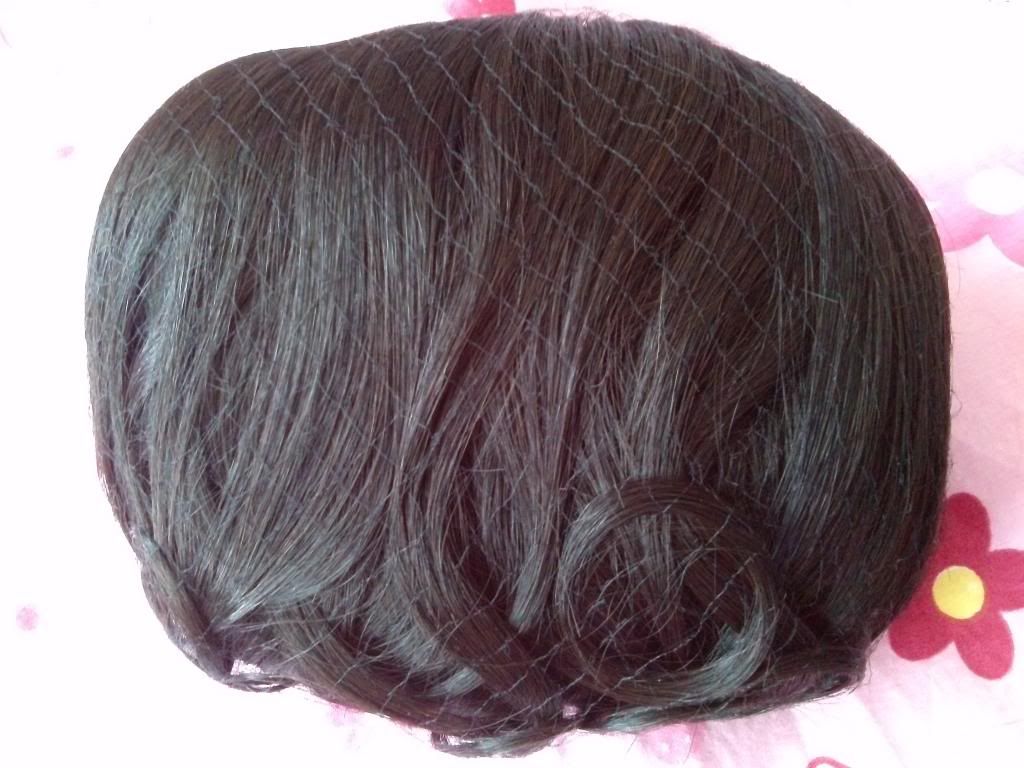
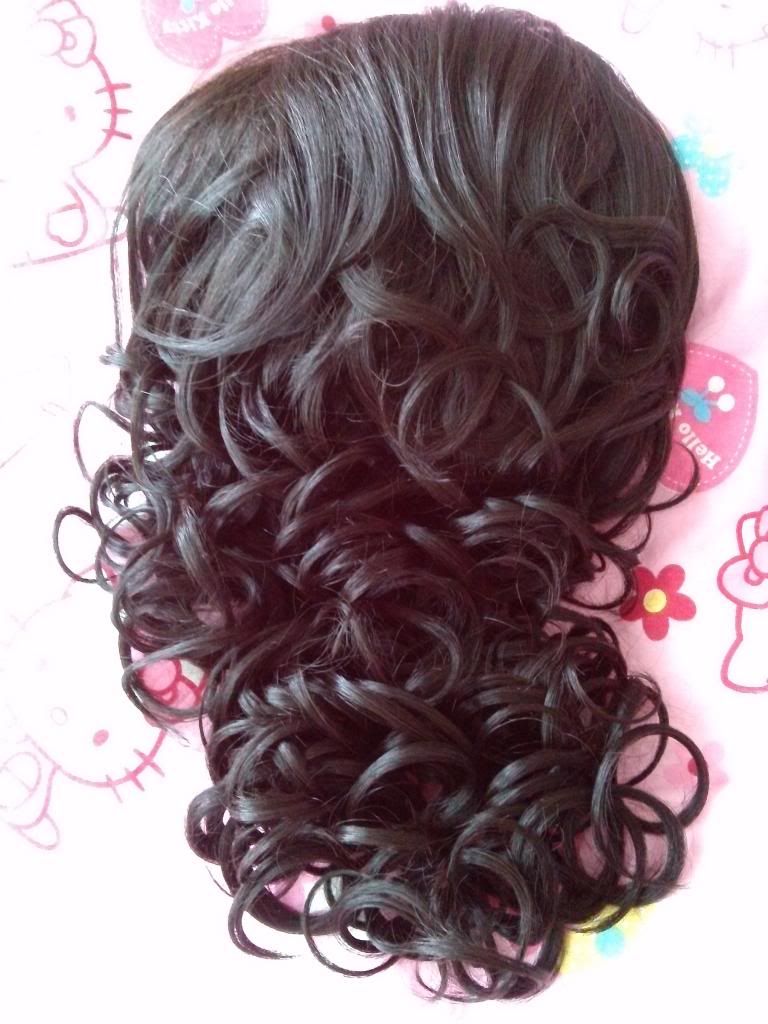
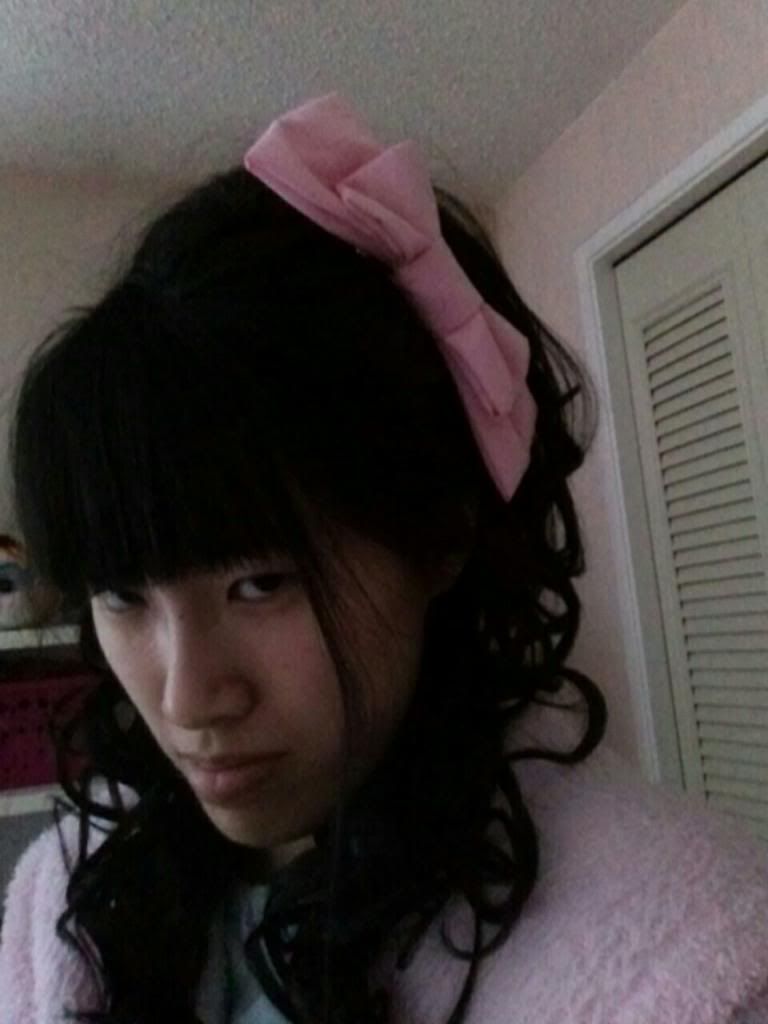
On the side, I had (finally) ordered a half-wig off of Moery and it had arrived a couple of weeks ago! The half-wig that I had ordered is the famous J-807 in the colour TBK to match with my black hair, since I honestly don't feel like dying it and what-not. I had only gotten the half-wig, since I think that 1) it is a great hair piece to start off with and 2) it will take me a while to get used to the weight on the back of my head.
 
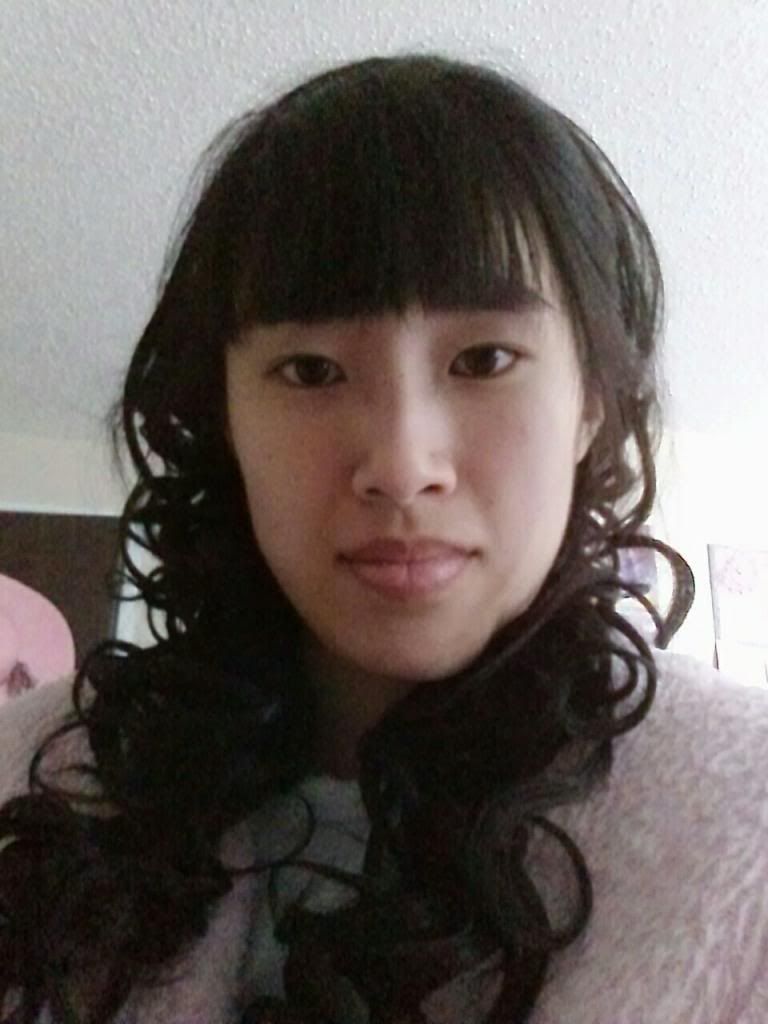
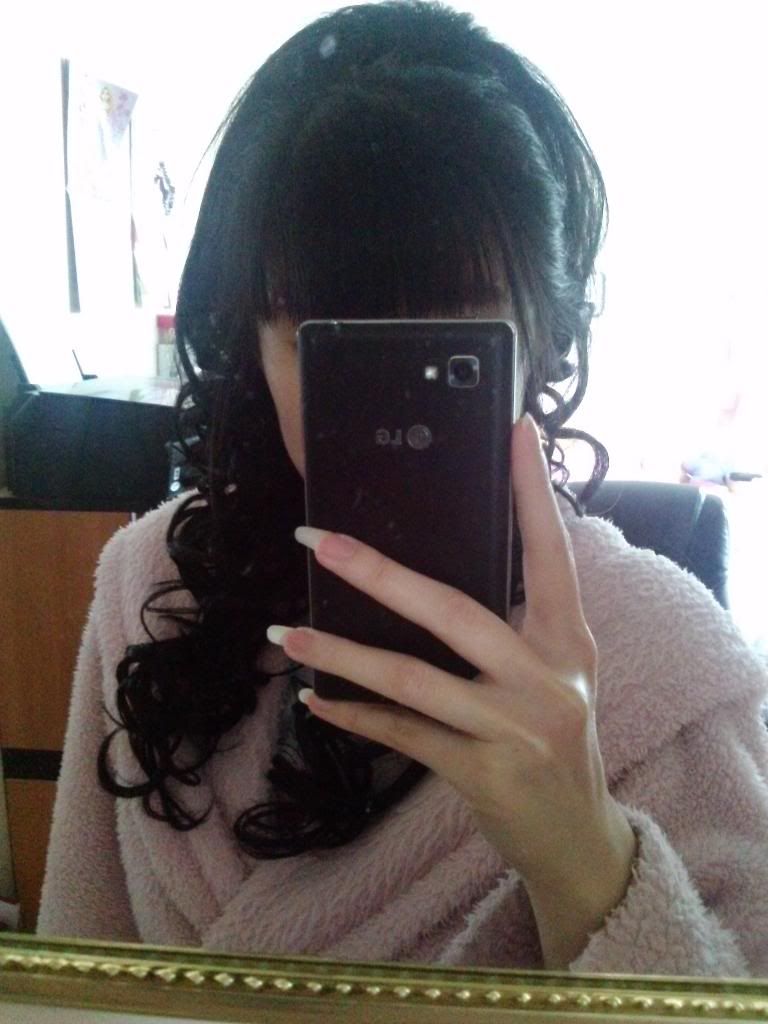
Regarding Prisila itself, the half-wig came wrapped up nicely in a small bag. A "wig-net" keeps the half-wig secure in the packaging and preventing it from being tangled. Quality-wise,  it feels really nice and as you can see from the pictures below, it blends in nicely with my own hair. Now I'm not really an expert on hair pieces, so I will just leave it at that, but I will say that it is definitely worth the $60 something dollars that I had forked over.

Now if only I can find a way to make the bump bigger so hair accessories can sit perfectly without it looking all awkward...

    
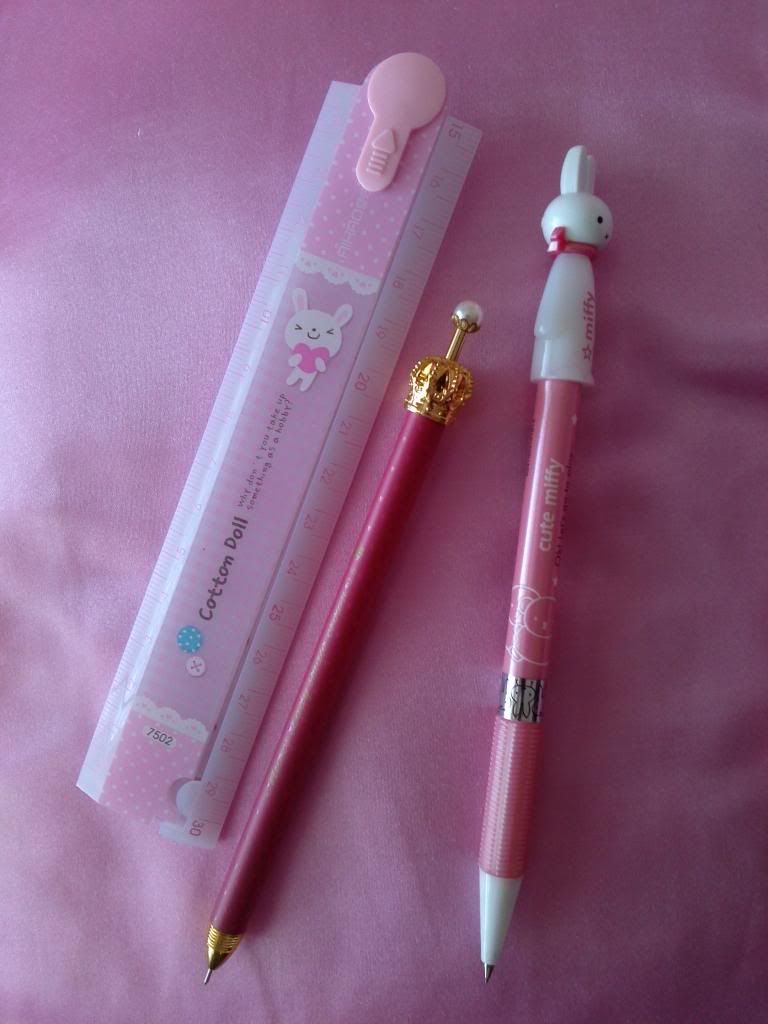
Now for the hauls! For the miscellaneous one, I had helped place an order at Cool Pencil Case for my sister's back to school shopping, and had ordered a couple of items myself. If you are a huge fan of cute mechanical pencils like I am, you would quickly notice that it can be extremely hard to find cute yet cheap stationary outside of a Chinatown, and even then it would still be on the pricey side. Though I think that most of the items on the site err on the pricey side of things as well, I find a couple of their mechanical pencils to be quite reasonable. Shipping is quite pricey however for anyone that lives outside of the states.   


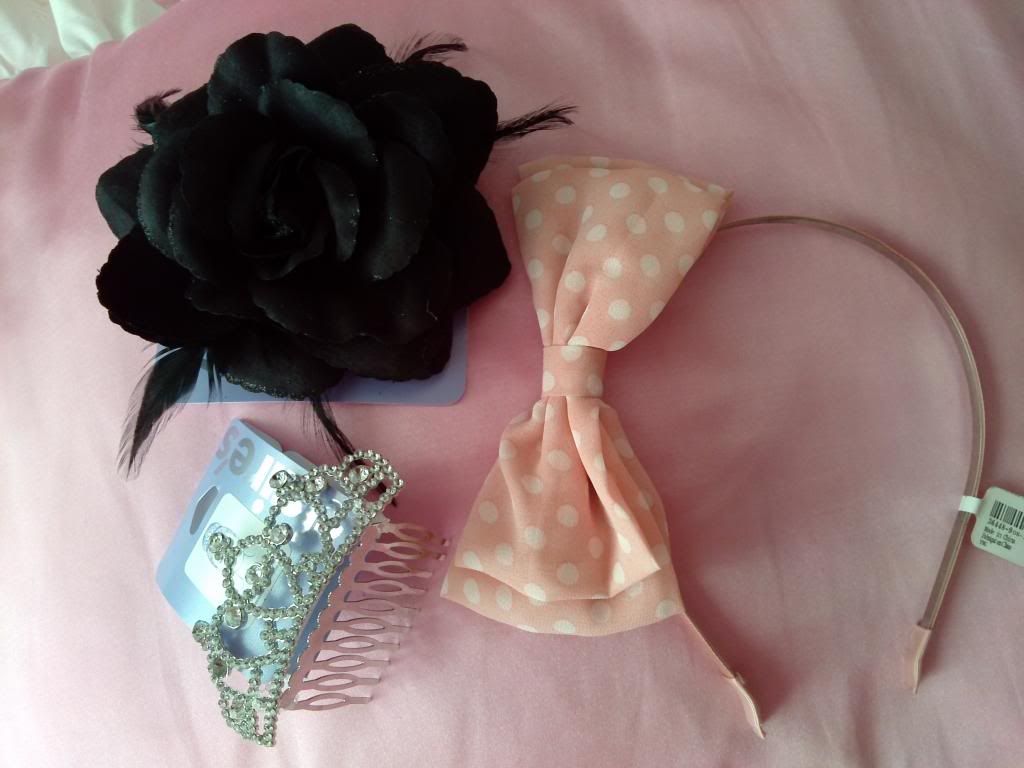
For the Claires haul, after finding a dotted bow headband in the same colour (and material!) as one of my Yumetenbo dresses and after a little bit of persuasion from family, I caved in and bought the item. Naturally since all hair accessories are part of the "buy one get one 50% off" sale, I bought a black rose clip along with it when none of the other hair accessories had caught my eye. I am very low on black hair accessories as it is, so it all worked out in the end. In addition to the headband and the rose clip, I had bought a tiara that was on sale at the time. I had missed the time when tiaras were used predominantly in Himegyaru fashion, so hopefully I will be able to use it in future outfits once I get fully into Himegyaru. 


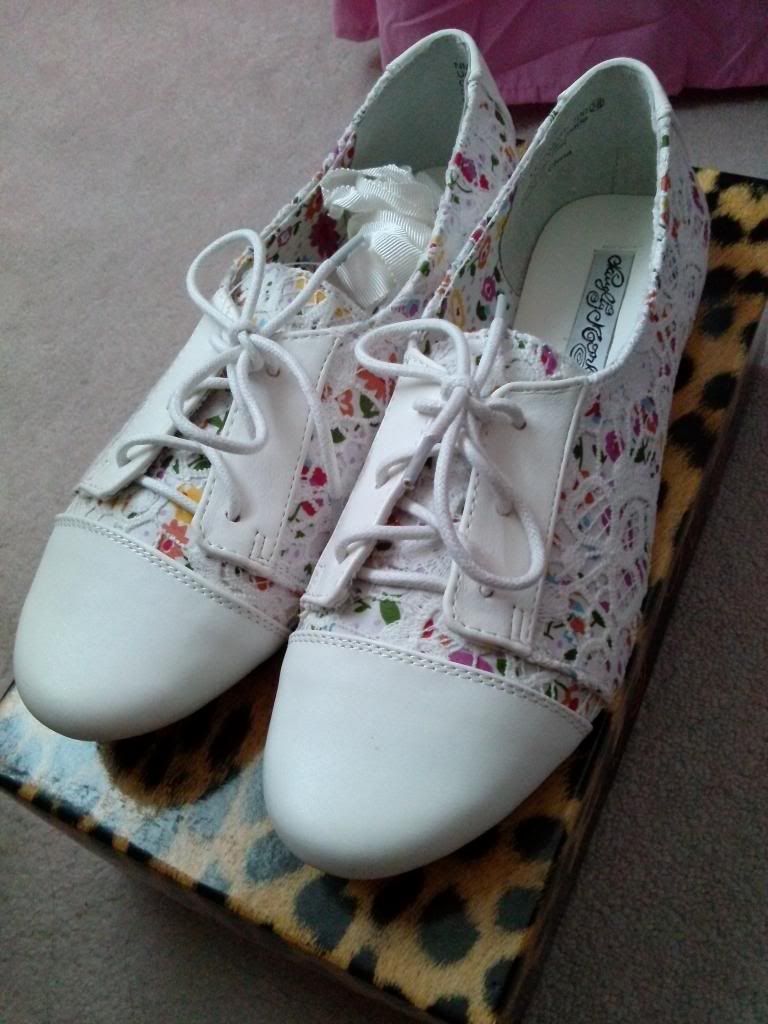
Now last but not least, I had splurged on a beautiful pair of floral and lace oxfords. Up until now, I did not have a pair of decent close-toed shoes with the exception of my extremely ancient pair of runners that I had since my junior high school days. Now I finally have something that is function yet fashionable! ^o^


Thursday, 18 July 2013

Dressed Up in Lavender and A Wallet Tutorial

Hello everyone!

It seems that no matter how hard I try to blog frequently, I always seem to find time running away from me. I am pretty sure that I am not the only one. I mean it is already in the middle of July, and I haven't even gotten through half of the deco ideas that I had planned up on my inspiration/ideas board! So for the time being, I am going to try my hardest to get through the projects while working on the side. 

I also realize that I have been gradually neglecting my goals as a hime in training, and I have to say, have no fear! I am still slowly but surely working towards those goals. It just does not seem as prevalent as of right now. Even though my hime goals are pretty much on the back burner, I do know that I might absolutely get a 1) half wig and 2) circle lenses. I had been diligently browsing through websites to try and get a good deal on either of those items, but we shall see how that goes. 

Anyway, here is a casual outfit that I had worn on one of my shopping excursions. I had finally gotten the chance to coordinate the lavender-blue dress that I had bought from H&M ages ago, since I honestly don't have a lot of items that go well with this particular dress. In other words, not enough lavender things. I should be able to hopefully fix that in one of my upcoming crafting marathon projects! ^^;     

Wednesday, 5 June 2013

Corsage Tutorial

Hello everyone!

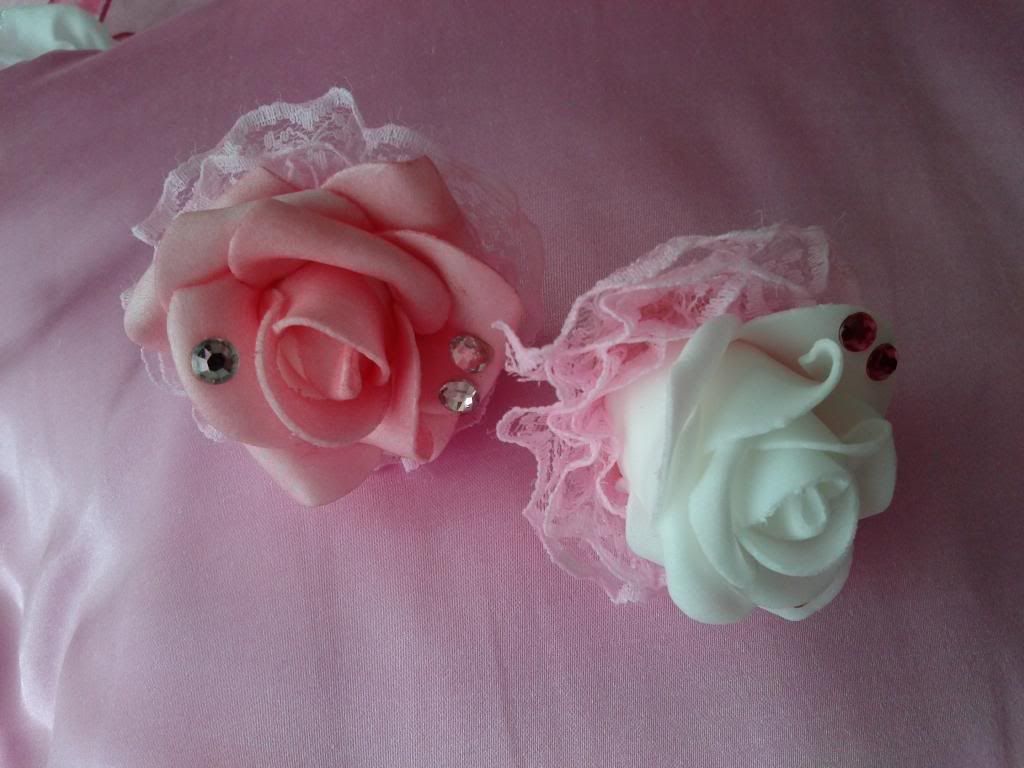
Unlike any craft or deco posts that I had done previously, today is going to be a surprise craft post. I actually did not plan out this project ahead of time at all. Instead, this was suggested to me two days ago by my sister, who is going to be graduating this upcoming Friday! I haven't actually created a corsage before, but given the nature of the request and the time constraint, I decided to give it a go!

As a note, I did not do any research beforehand on what constitutes a corsage. All of this was done "free form". Also, I am quite aware that corsages have stretch bands, but I had botched my attempt at making a lacey stretch band, so I turned it into a velcro clasp instead.

This took a little longer than expected, since I had another project that is a work-in-process at the time. I will show off that project for another post.

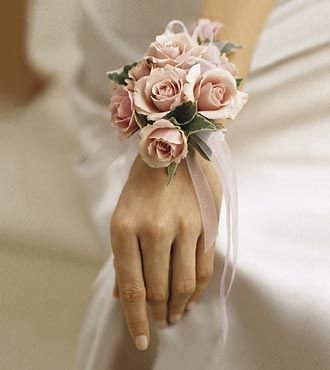
Here is what a typical corsage looks like:


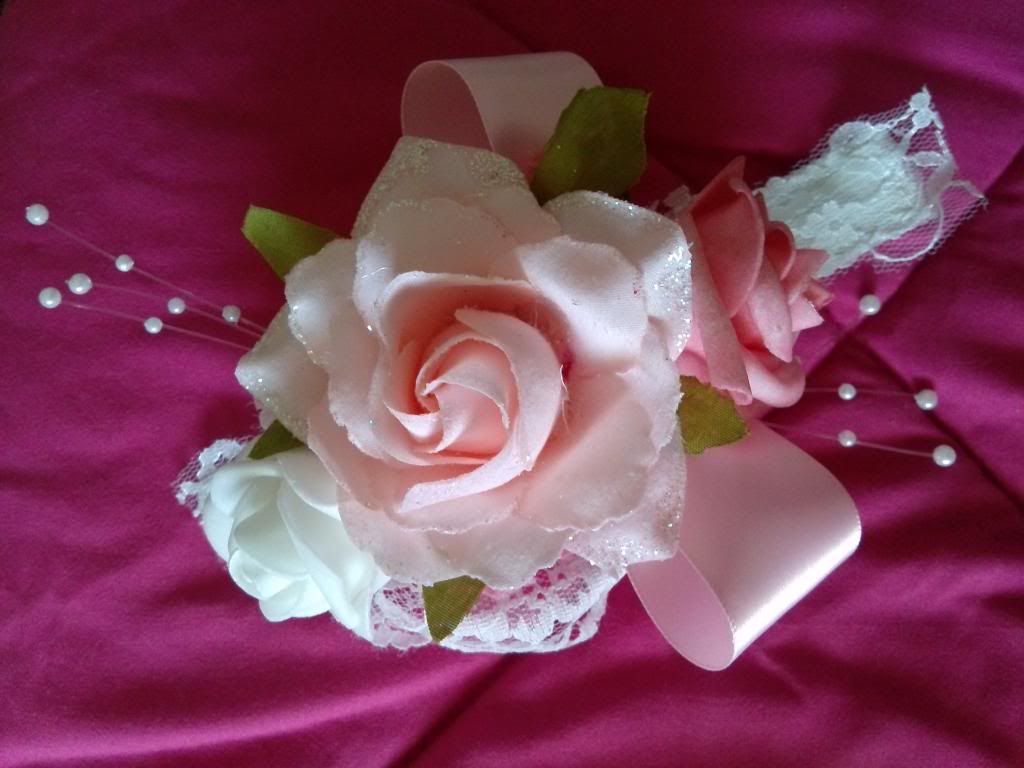
Here is my version:


Monday, 8 October 2012

Interesting Craft Finds: Let Them Make Cake!

Hello everyone!

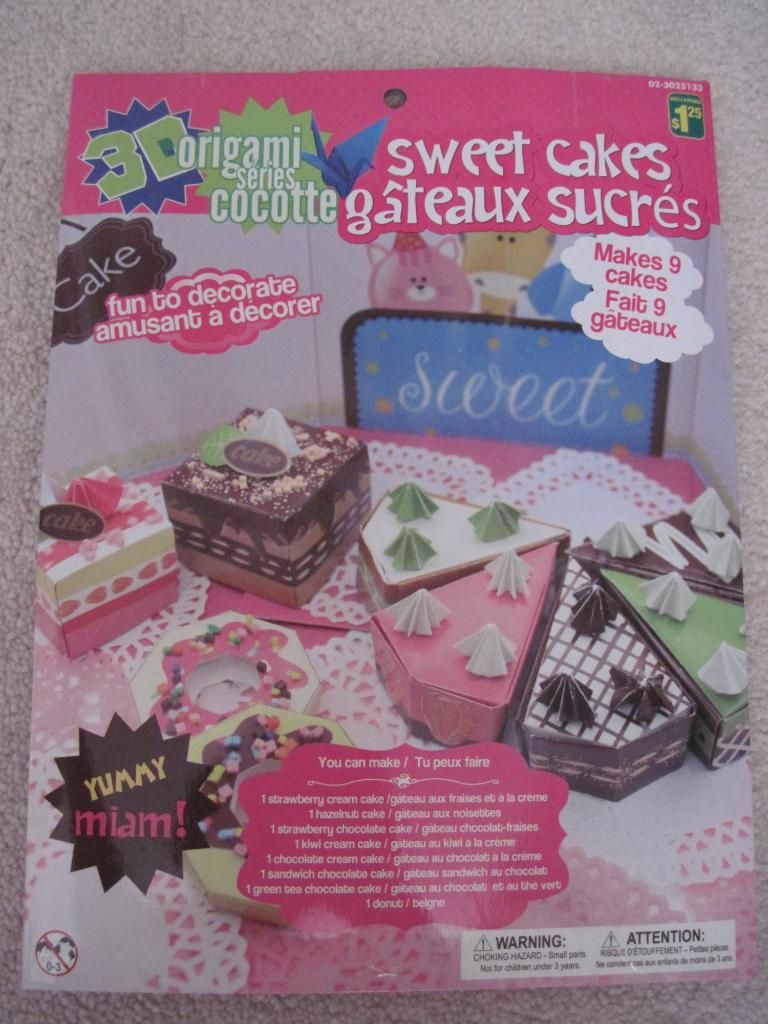
^^ Please pardon the altered Marie Antoinette saying, but I felt that it would fit very well with the craft find in the blog post. Anyway, if you had been lurking around my blog during late August, I had posted up a (mostly) Dollar Store haul, and one of my finds was a 3D Origami Sweet Cakes set as shown:


Well fast forward to today and we finally get to see what is inside! I'm currently on a long break right now, and, while my homework amount is still tame and the sun is still shining brightly, I figured why not get the set opened up and bak-err fold some sweets! ^^;

Warning: The following content are picture/photo heavy. A fast connection (and a sweets tolerance) is strongly advised!

Tuesday, 21 August 2012

Sparkly Black Shoes and A Hime Birdhouse Wall Decor Tutorial

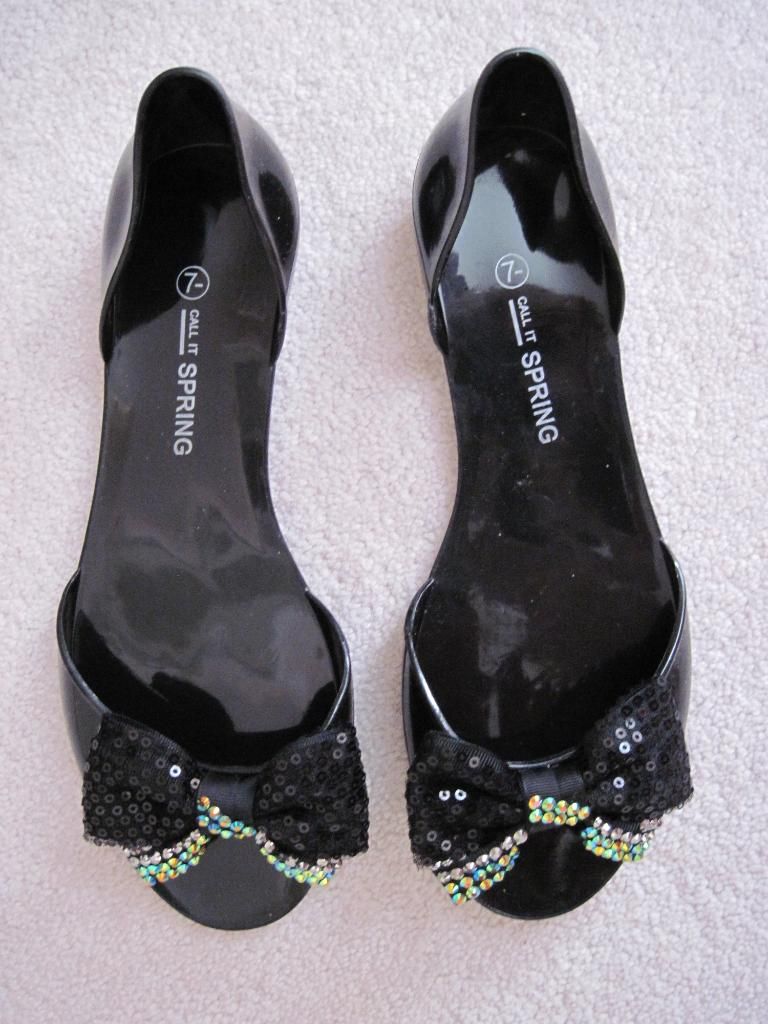
Hello everyone! It has been a while since I had made a post, and my apologies for that! For the past few days, I had been, for all intents and purposes, busy with work while at the same time diligently working on yet another craft project. Since the upcoming school term is approaching very quickly, I only have a couple of weeks left to get some major projects done as well as prepare myself. I had finally finished my latest craft project, but before I get straight to it, let me show you my latest haul from Spring! Though to be honest, it isn't much of a haul as it is a gift from my mother! <3


Thursday, 9 August 2012

Basic Hime Pillowcase Tutorial

Before I had started Lavender and Roses, I had came across one of Himehood's videos on how to sew a basic princess pillowcase. (For those interested, the video can be found here) The video is already a few years old now, but I find that Himehood's videos still do a decent job of inspiring those interested in creating a couple of Hime-styled items, as it had done for me. At the time, as often as I had watched the video over and over, I could not replicate the style or even create my own style because 1) I did not have a sewing machine, 2) My sewing skills were pretty much non-existent, and 3) I did not know how to properly create an actual pillowcase without having some sort of nervous breakdown on the progress. I had given up as a result and ended up not doing it.

Fast forward to after I had started up the blog. I used to have a plain purple bed set before my tastes changed and I eventually gotten the Hello Kitty bed set. At the time, I had found and bought a purple cushion at Sears that had undergone a dramatic price cut from $50 to $9. Since I had switched out my purple bed set for a pink one, the cushion does not exactly match the bed set anymore so I decided to change that by trying to make a new frillier one! Despite it being my very first time trying to sew a pillowcase, I decided to go ahead with it anyway. Hence, a new tutorial was born!

Warning: This tutorial can be long or short depending on how you approach this tutorial. I had actually sewn this pillowcase by hand (since I still didn't have a sewing machine), so it took me quite some time to finish it. I imagine that you could possibly finish it within a day with a sewing machine, so it is recommended that you use a sewing machine. That of course doesn't mean that you cannot sew it by hand since I had just done it myself, but it means that this could take you a while to complete. Please keep this in mind when trying out the tutorial and only attempt this when you have a lot of spare time on your hands. ^^; Sorry.

For the purpose of this tutorial, I will be assuming that you are going to make a pillowcase for your cushion and hence the usage of the term "square". Also, I will be assuming that you are going to be hand sewing the pillowcase.  

 The end results

Tuesday, 3 July 2012

Bag Modification, Cute Stationary, Outfit Pictures, and a Juicy Couture Surprise

Hello everyone!

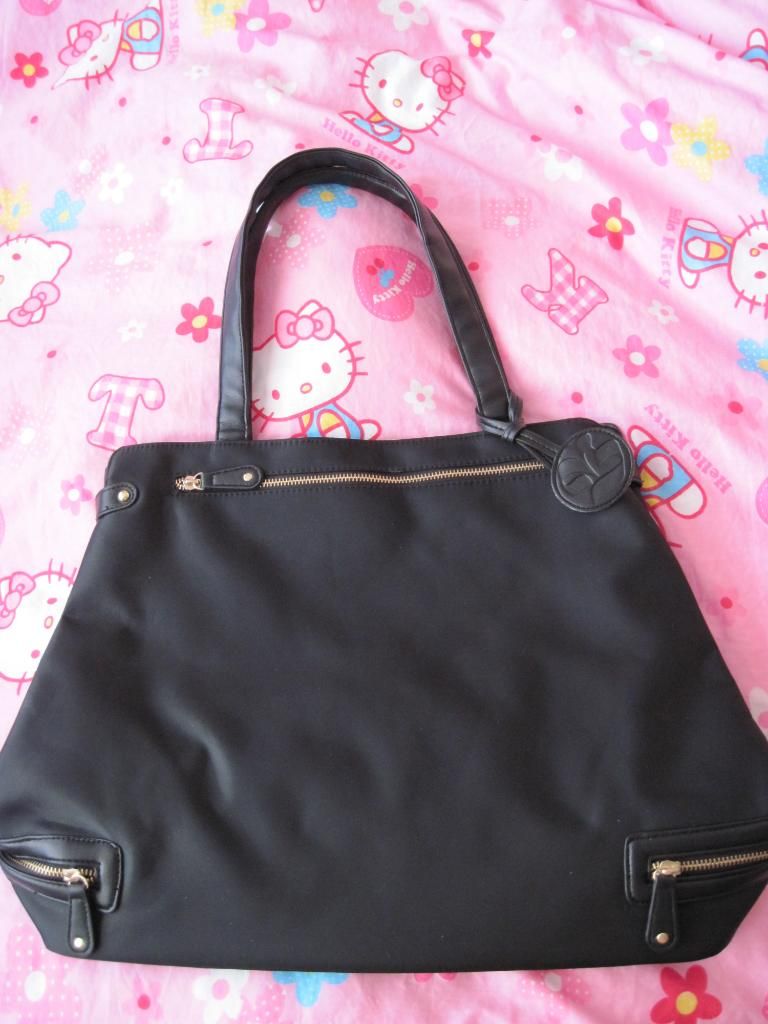
After what seems to be a month full of blood and sweat and tears, I am finally finished with modifying the bag that I had gotten a while back. Now if you had been around back when I had first started the blog, you would've noticed that I had gotten a large black "The Bay" bag from my mom that looks like this:


Tuesday, 22 November 2011

Of Sparkly Heart Sets and Lovely Bow Creations

Hello everyone!

Sorry for the lack of updates. I am currently undergoing what seems to be the busiest part of the school term. Project deadlines are fast approaching, final exams are looming closer, and assignments are just around the corner. Now I currently have enough time to make a short post before getting swamped by yet again the pile of schoolwork. So while I'm still alive here and blogging, let's get straight to the good stuff shall we?

What I had been up to for the past few weeks...

I had gone to Claires earlier around the beginning of November to see what new products they recently have in stock and of course their sale items. I absolutely love their sale items around this particular time of year, where they would usually have an additional 50% off certain clearance items. Now that's a sale!

Surprisingly enough I didn't buy anything on the first visit. I did see this pretty vintage floral cameo-like locket when I was first there, but I passed it off in favour of buying an earmuffs and glove set at Ardene. This was before snow had hit the ground and I had wanted to prepare myself for the upcoming winter. I felt that I could just buy the necklace later, since it isn't really "needed" at the time. I will post a deco post of the earmuffs and gloves hopefully sometimes soon.

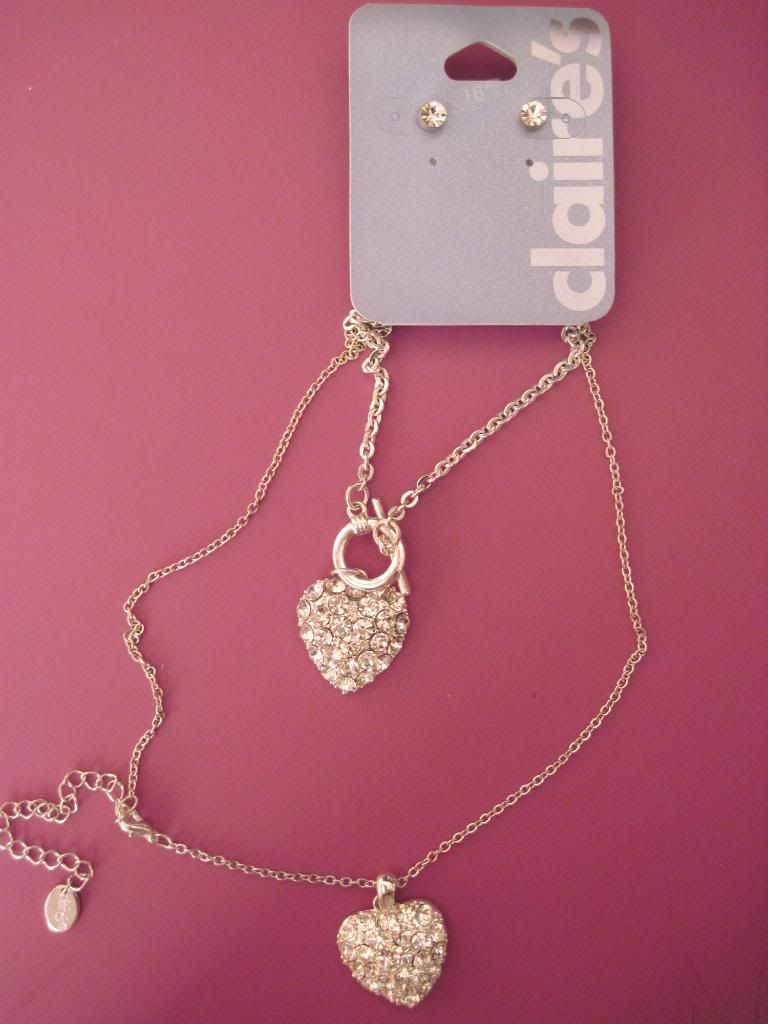
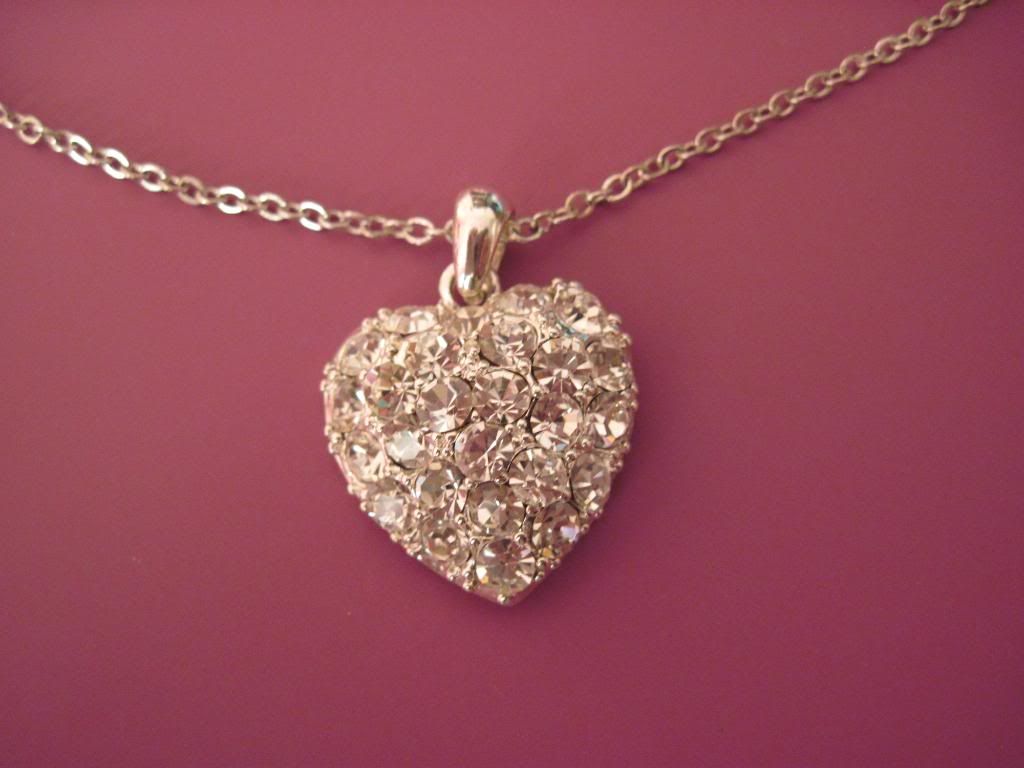
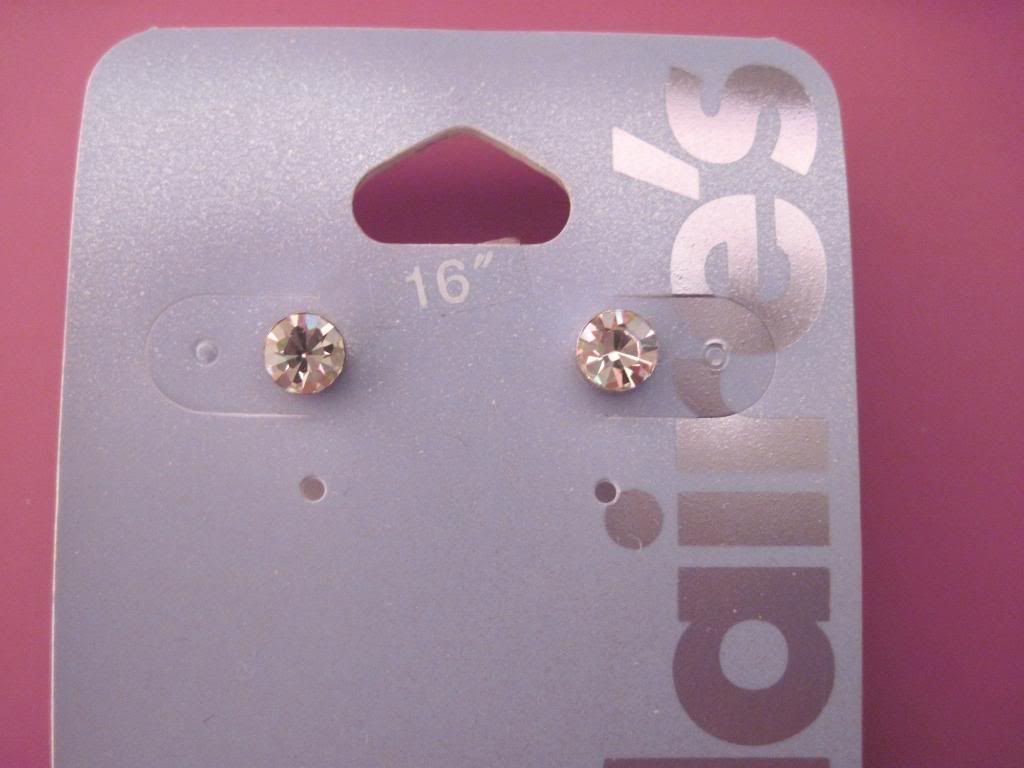
Now it was on the second visit where things got a little different. After what seemed like a countless and tedious decision making process on whether or not I should buy the floral cameo locket, I eventually conceded and headed back to Claires to see if it's still there. It wasn't, so I ended up getting this sparkly heart set to make up for the time taken to get to Claires. Of course, being that it's pretty counts too and it's just $5! (It may not show in the pictures but they are really sparkly)


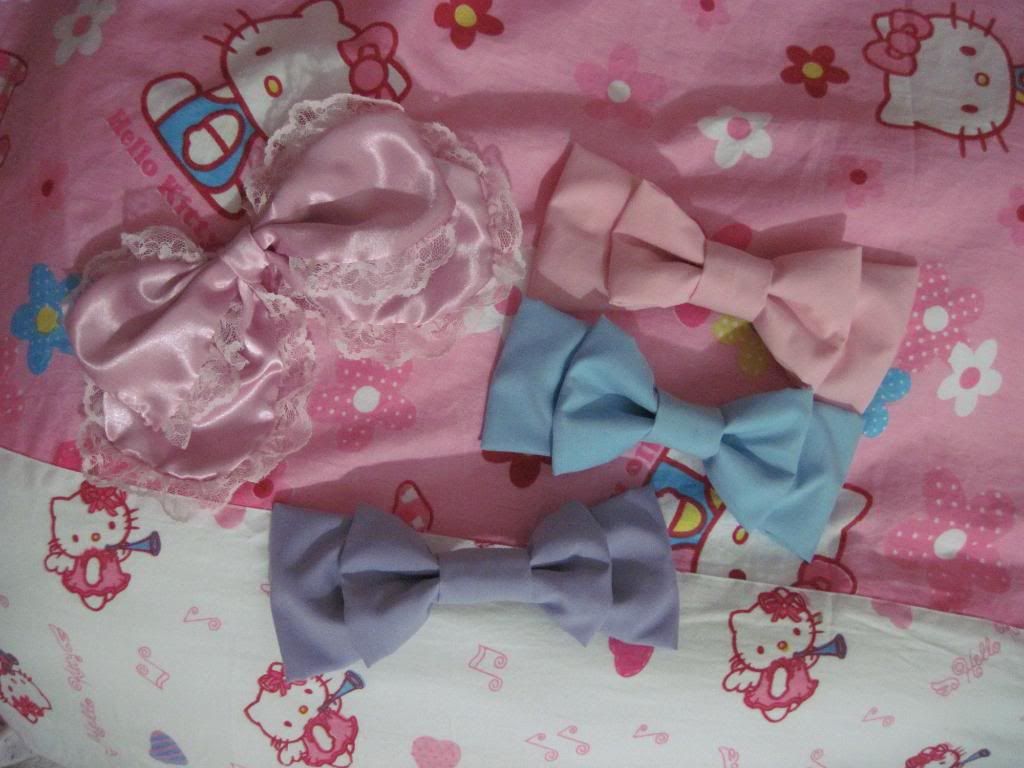
After that, I pretty much didn't buy anything for a while. I however did make some stuff, which are essentially more hime bows! *_* You can't go wrong with having more hime bows, though I'm not sure what I'm going to do with the lolita-like bow. I had originally planned on making it into a hair bow, but it looked a bit awkward while I was positioning it around my head so I decided to use it for something else. Any suggestions?


If you had seen my previous craft post, I had made some hime bows before. They were a lot smaller in comparison to the new ones I had made. 

    
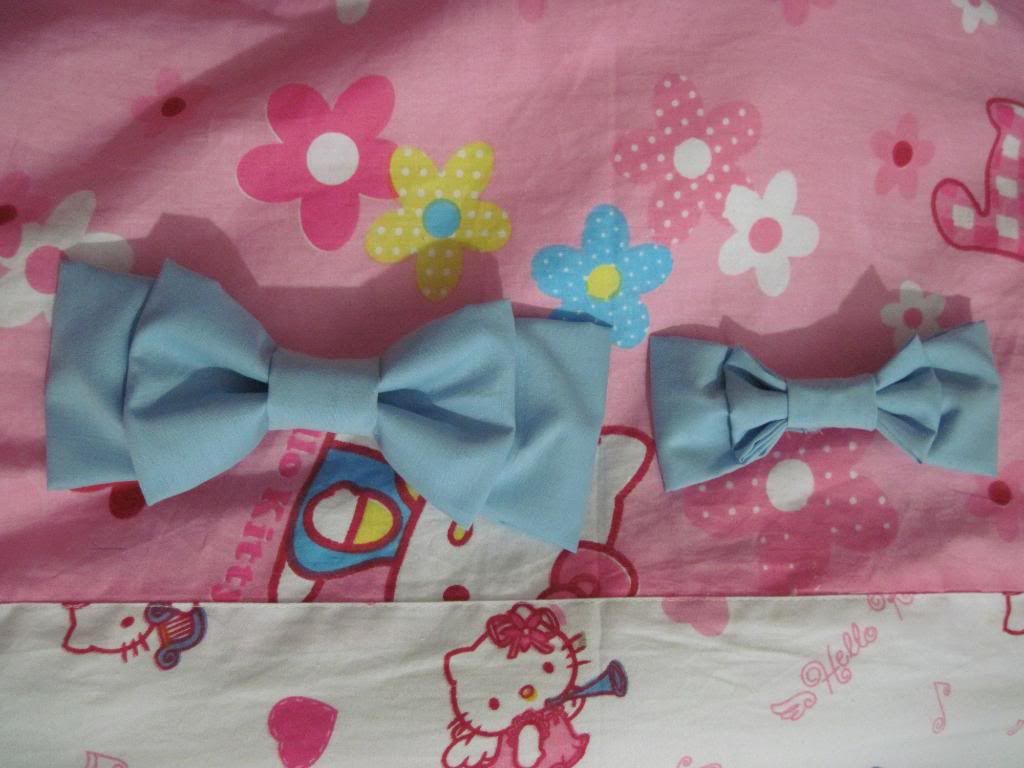
Apparently I had greatly underestimated the actual size of a typical JD hair bow. xD The one on the left is more size accurate, which I was really floored at, considering that I had never thought that their bows would be THAT large (but then again, this is JD we are talking about). For those who want to know the actual size, the dimensions are 19cm W x 7cm H.

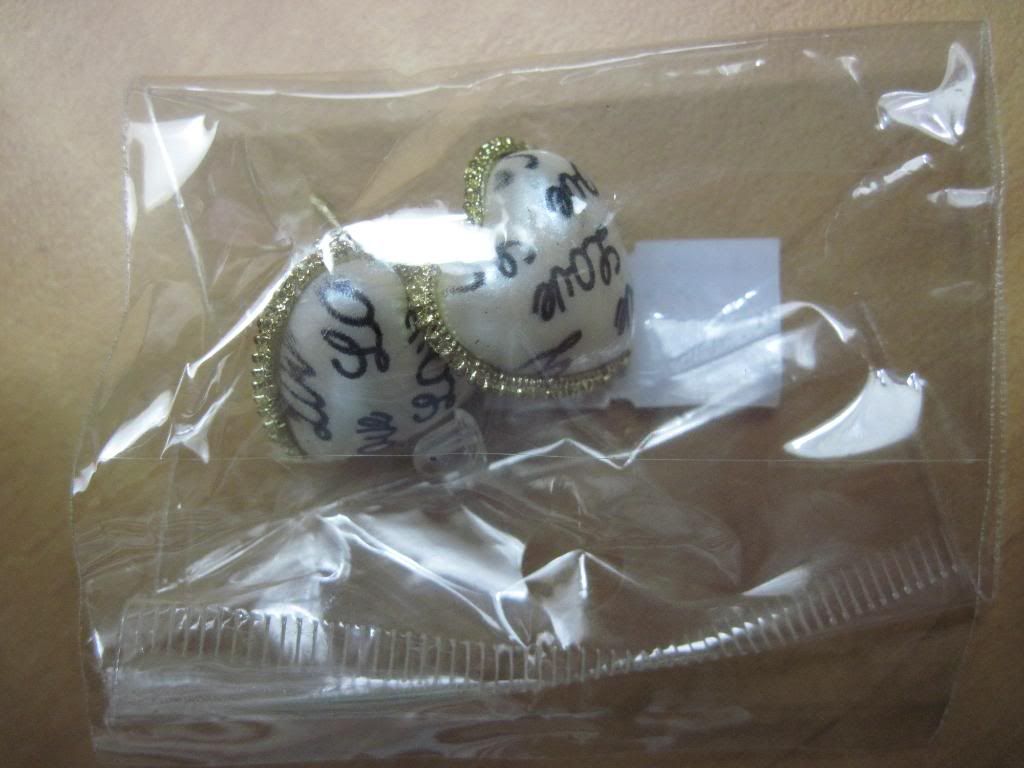
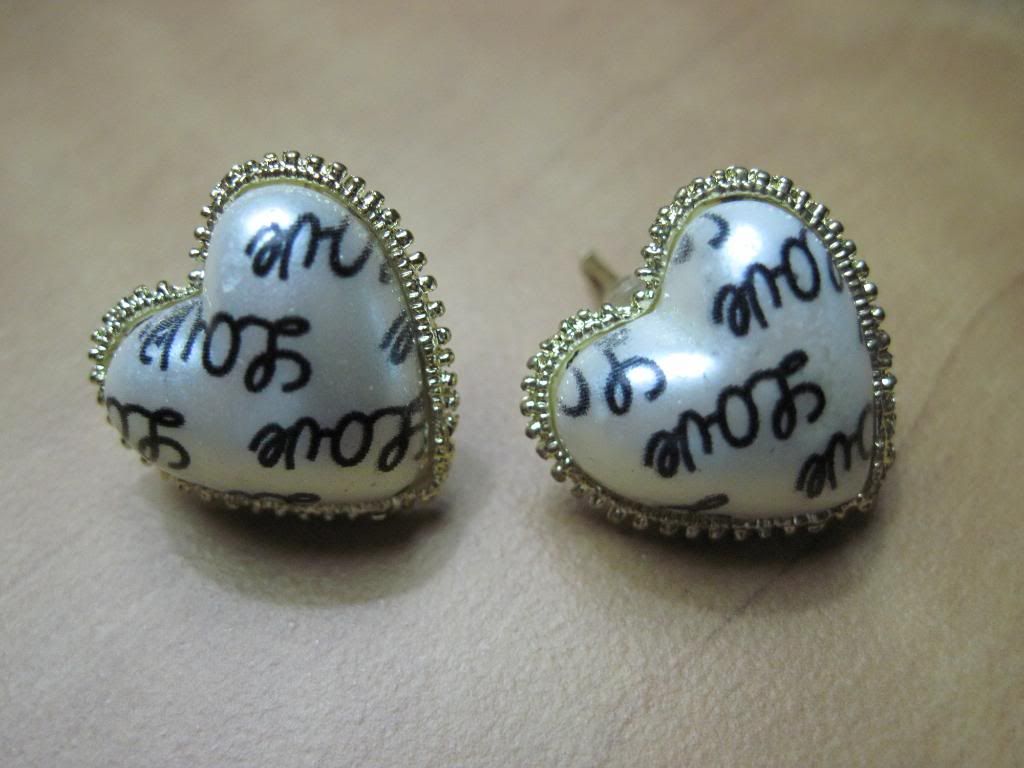
Just last night I had finally received the earrings that I got from eBay! I had ordered them a while ago with the cash certificate, which wasn't really that much. 


I love them, from the gold border to the curly love handwriting. They were a bit smaller than I had expected, but for around 99 cents and something that I didn't even pay for, I can't really complain.

Until next time!      

Sunday, 26 June 2011

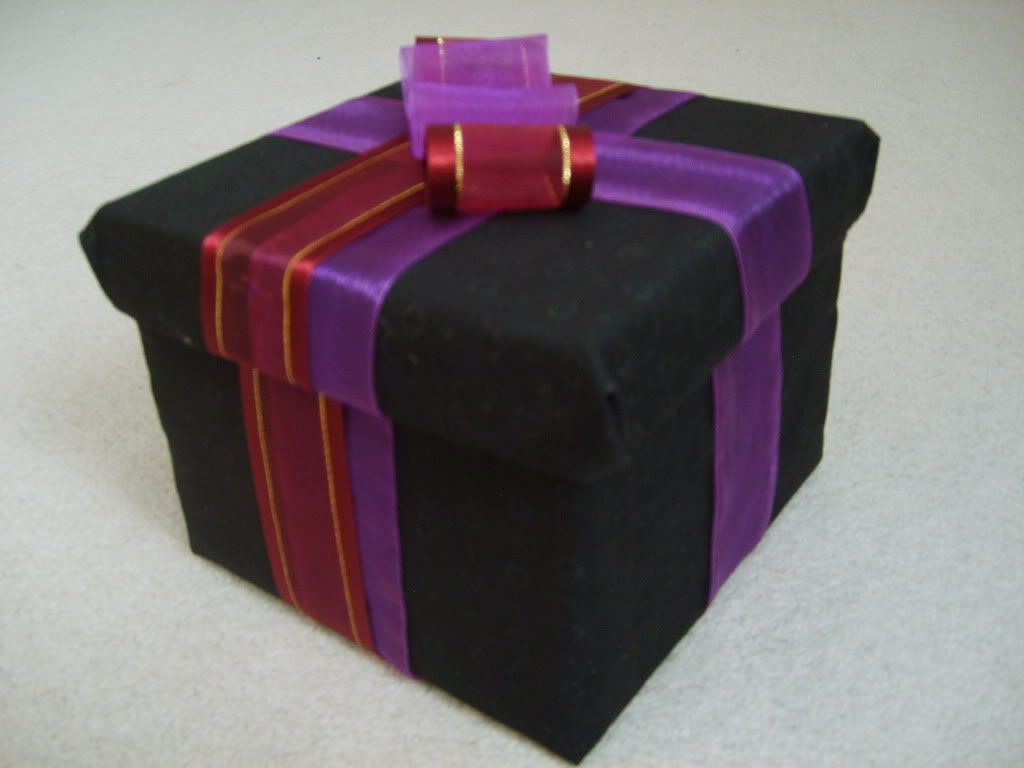
Craft Post - Present Box

Hello everyone!

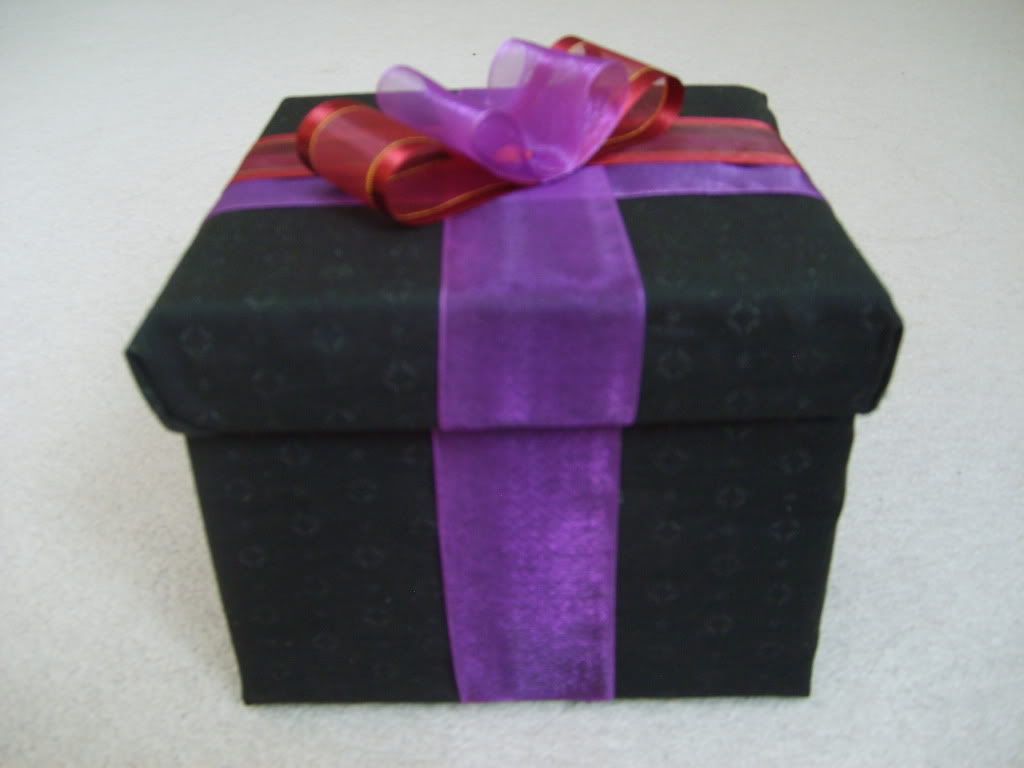
Today's craft post is going to be short and simple. Why short and simple? Well I felt that my room needs some more decor and while coming up with things to make, I remembered the small neglected box that was sitting in my closet collecting dust. The box originally had contained a set made up of a cup and saucer and was given to me by my aunt and uncle. I didn't feel like throwing away the box since I thought it could be put into good use later on and it did (as a present box)! Who knew recycling could feel this good and be this fun?
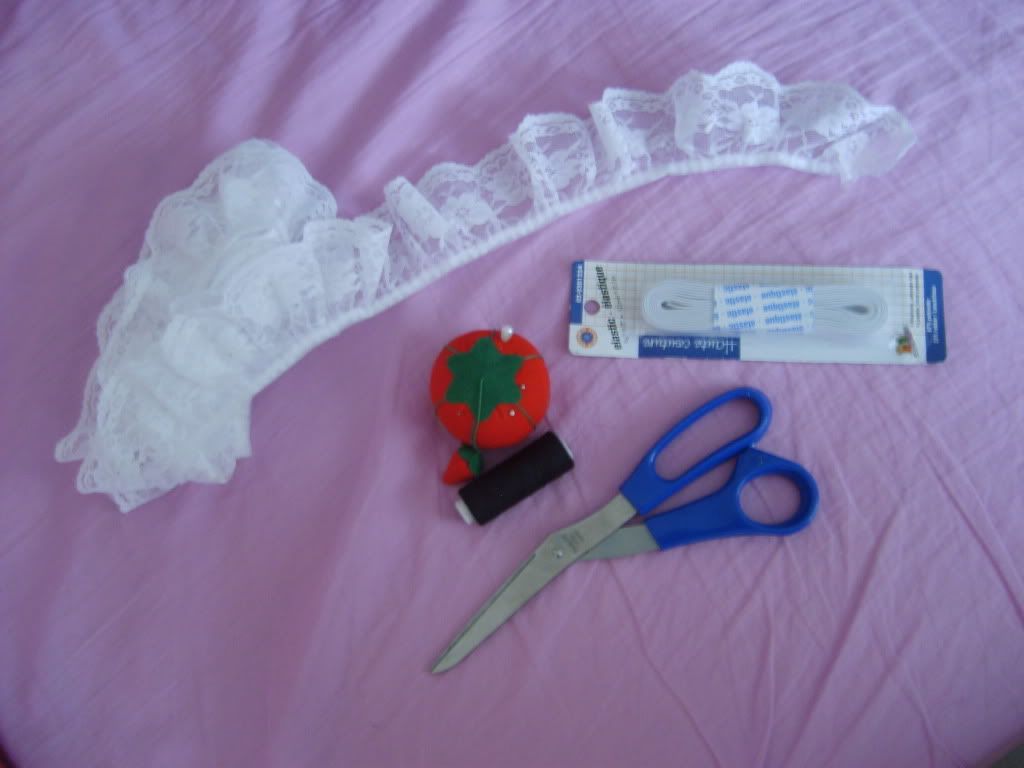


Materials used:
- box
- fabric (no pretty paper on hand :( )
- ribbons
- scissors
- glue gun
- rhinestone 
- thread
- needle

I didn't take progress pictures since I figured that this would be a "no-brainer". Basically what I did was cover up the box with black fabric and hot glued all the edges inside. I started from the bottom and made my way up (basically I left the top part until the very last). I didn't use the fabric as a whole to cover up the entire box, I cut it into pieces. A piece for the bottom, for the sides of the box, and finally for the top. As an addition, I covered up the inside of the box to make it more prettier (if it looks pretty on the outside, then it might as well look pretty on the inside).


Afterwards, I hot glued on some purple sheer ribbons. Just like with the fabric, I glued the ends of the ribbons on the insides of the top, but for the bottom part I glued the ends on the bottom. I couldn't cover up the bottom since I only had enough ribbon for the top and sides. After gluing on the purple sheer ribbons, I glued on some red sheer ribbons with gold lining that I still had from last year and using the same steps as the purple ribbons. Since the entire box is black, I figured that adding more coloured ribbons would give it more dimension.


Lastly, I used the remaining red and purple ribbons to make a cute little bow to stick onto the top of the box. This is where the sewing comes in. I folded the ribbon inwards and made two loops. I then sew the edges and the middle parts together. I then repeat for the purple ribbon and sew them both together. Finally, I glued a rhinestone onto the top of the bow and glued the bow down.


One room decor down, a few more to go. I really like the present box as a room decor since it is both functional and fashionable. You can have it sitting on a table/shelf/desk and have it storing stuff at the same time. Who doesn't like that type of decor? xD I haven't decided on what to store inside it so it is currently sitting on my shelf looking pretty.

Tuesday, 14 June 2011

Craft Post - Hime Bow Hairclip

For a long while now I have always wanted to get my hands on one of those gigantic bows that every himegyaru seem to have clipped onto their bouffants. Like these ones:


Remember that large Taobao order that I had made a while ago? (I know you probably don't, but let's just say for the sake of the blog that you did) Two of the things that I had ordered went out of stock and one of them were some JD replica bows that I had ordered from a shop called Rebecca :(. After a few days of scouring around the website, I couldn't find any other bows that looked closely like the ones at Rebecca so I gave up. It doesn't help matters either that there were some stolen photos and no actual photos of the items themselves -.-.

It wasn't until a few days ago that I thought: "well if I can't buy one, I might as well make one". I mean if you look at the above picture, the bows in the picture doesn't look hard to make. So make one I did.


Wednesday, 25 May 2011

Craft Post - Headband Holder Part 2

Hello everyone!

Just like what the title suggested, this is the continuation to the previous post that I had made on the headband holder. Originally, I had decided to just leave the headband holder as is and move on to other projects until I feel like modifying it or working on it again, but the state of the holder was bugging me, since the edges didn't look nice at ALL and the thought would not leave me alone until I had fixed them. I then decided to get off my lazy buttocks and continue working on the headband holder. Come to think about it, I must have had been very lazy in the first part, since the only thing that was even remotely "important" was just sewing the two edges of fabric together. Anyway, onto part two!


Sunday, 22 May 2011

Craft Post - Headband Holder

Hello everyone,

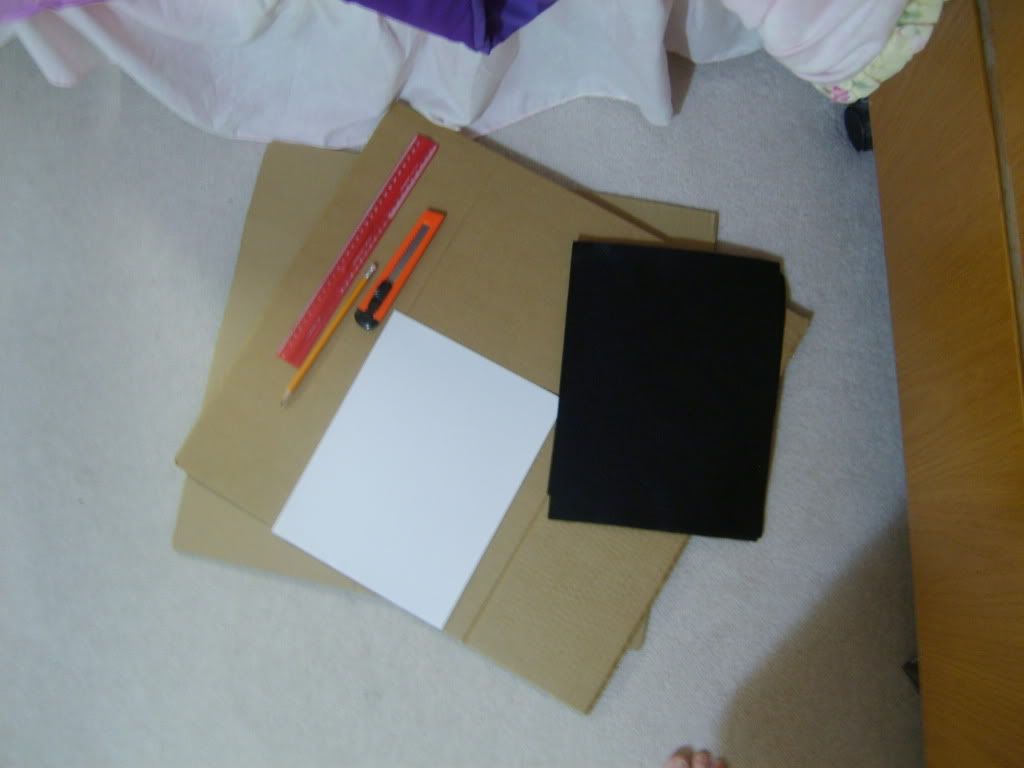
I had solved the problem with the necklace displays tipping forward by adding more cardboard onto the back. (A little obvious but yeah... not so obvious for me... ^^;)

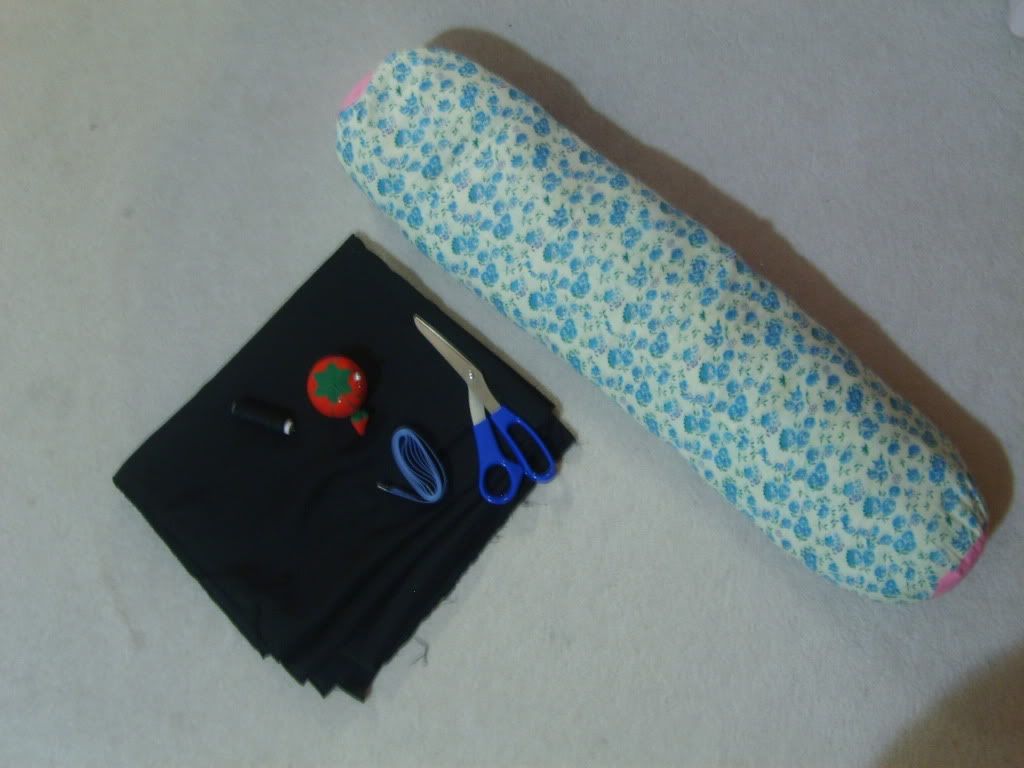
I am currently on a crafting streak right now along with my seemingly never-ending goal to have my room fully cleaned, so expect a series of blog posts relating to crafting :D! This post will be focusing on how I made my headband holder (or should I say, headband cover). Plus, my headbands are in need of a new home and it is annoying to have to go through thousands upon thousands of headbands in a black box while trying to find a specific kind. Now I will say this upfront and that is I am still mediocre at sewing. My sewing is not the best so expect some "shoddy" work (but it's still effective in terms of what I wanted it to do so I'm happy with it). At first I tried looking around to see if there were any tutorials on throw pillows covers (pillows that looks like giant sausages), but I couldn't find any so I decided to settle on making my own or at least try to. Without further ado, onto the headband holder!


Wednesday, 18 May 2011

Craft Post - Necklace Display

Hello everyone.

Last night I had decided to make a necklace display (yes, the very same necklace display that are commonly found in jewelry stores). I admit that I had been meaning to make something like this for a long while now, ever since I had bought some hime necklaces from Taobao. Said necklaces are currently lying on my work table, which at the moment is cluttered with junk -.- (got to clean that up and also explains why one of my photos show clutter in the background) and it doesn't help much that my necklace wall is already full of previous necklaces that I had accumulated overtime.  Well come to think about it, I guess I could take the hard way out by just hanging my hime necklaces on my already-full necklace wall and just switching them when it comes time to change necklaces, but I will probably find that annoying and the necklaces are just too pretty to just hang on the wall :/.

Going a little off-topic here, one of my lifelong goals (or what seems to be lifelong goals) is to have a princess-like room that is also like a shop. In other words, just think of it as a Jesus Diamante shop but in a room format. I got the shop idea from my sister, who apparently made it her lifelong goal to raid my closet and steal rent my clothes xD. The idea got stuck in my head ever since and hence the obsession with making a necklace display (so to display my pretty hime necklaces <3).

Now with that over and done with, I won't bore you anymore with my rambling and get straight to the good stuff!  Keep in mind that this is how I did my necklace display, so it is not the right exact way to make a necklace display. 


Related Posts Plugin for WordPress, Blogger...