
Fast forward to after I had started up the blog. I used to have a plain purple bed set before my tastes changed and I eventually gotten the Hello Kitty bed set. At the time, I had found and bought a purple cushion at Sears that had undergone a dramatic price cut from $50 to $9. Since I had switched out my purple bed set for a pink one, the cushion does not exactly match the bed set anymore so I decided to change that by trying to make a new frillier one! Despite it being my very first time trying to sew a pillowcase, I decided to go ahead with it anyway. Hence, a new tutorial was born!
Warning: This tutorial can be long or short depending on how you approach this tutorial. I had actually sewn this pillowcase by hand (since I still didn't have a sewing machine), so it took me quite some time to finish it. I imagine that you could possibly finish it within a day with a sewing machine, so it is recommended that you use a sewing machine. That of course doesn't mean that you cannot sew it by hand since I had just done it myself, but it means that this could take you a while to complete. Please keep this in mind when trying out the tutorial and only attempt this when you have a lot of spare time on your hands. ^^; Sorry.
For the purpose of this tutorial, I will be assuming that you are going to make a pillowcase for your cushion and hence the usage of the term "square". Also, I will be assuming that you are going to be hand sewing the pillowcase.

The end results


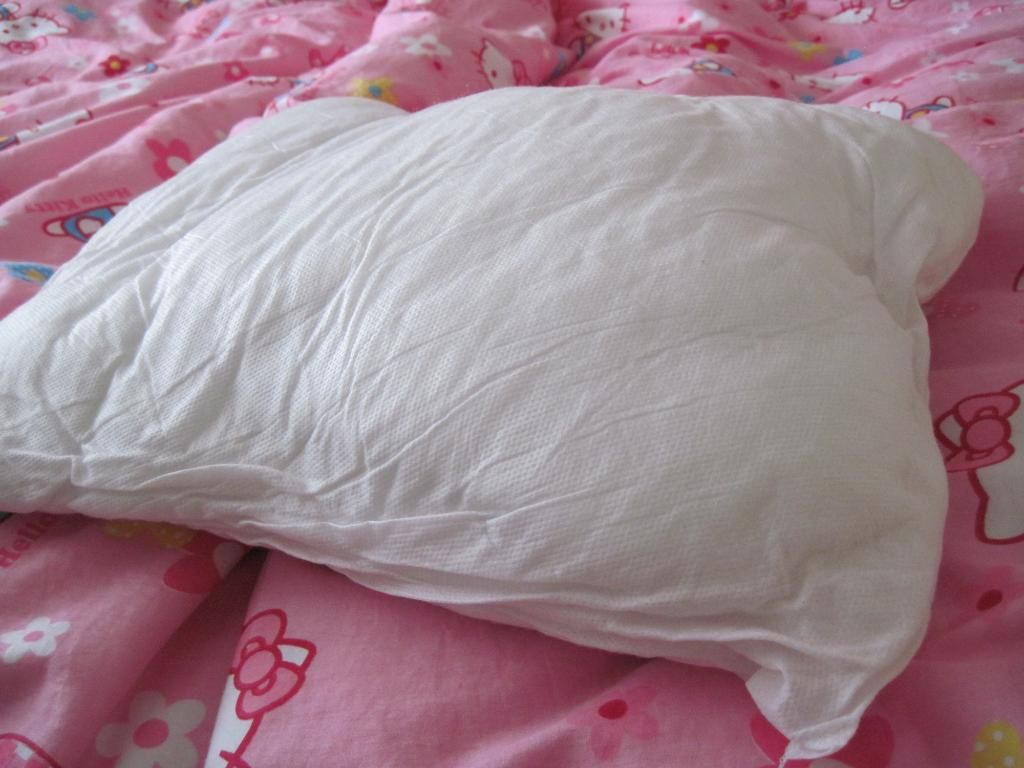
Notice that the purple cushion doesn't go well with the bed set...
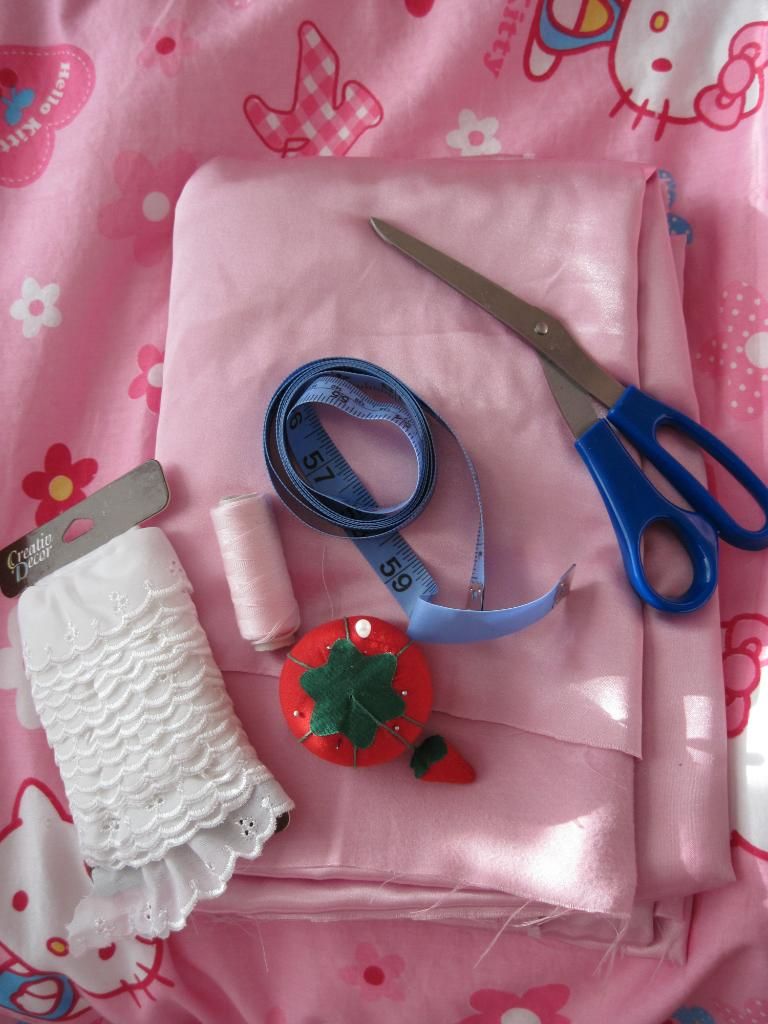
You will need:
- Fabric
- Ruler or tape measure
- Lace trim
- Thread
- Needle
- Scissors
- Clothes iron (optional)
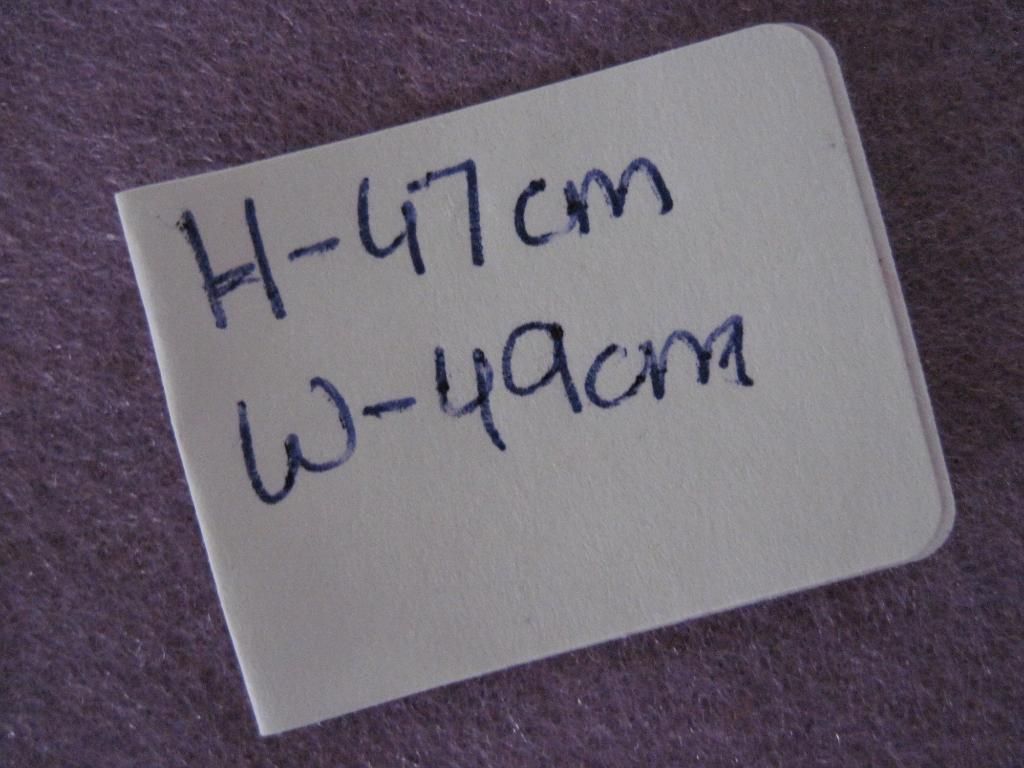
Step 2. Measure the height and width your pillow using the measuring tape and make sure that you add at least 2cm to both numbers to ensure seam allowance. As you can see from the above photo, my pillow height and width is respectively 45 and 47 plus the 2cm to each number.
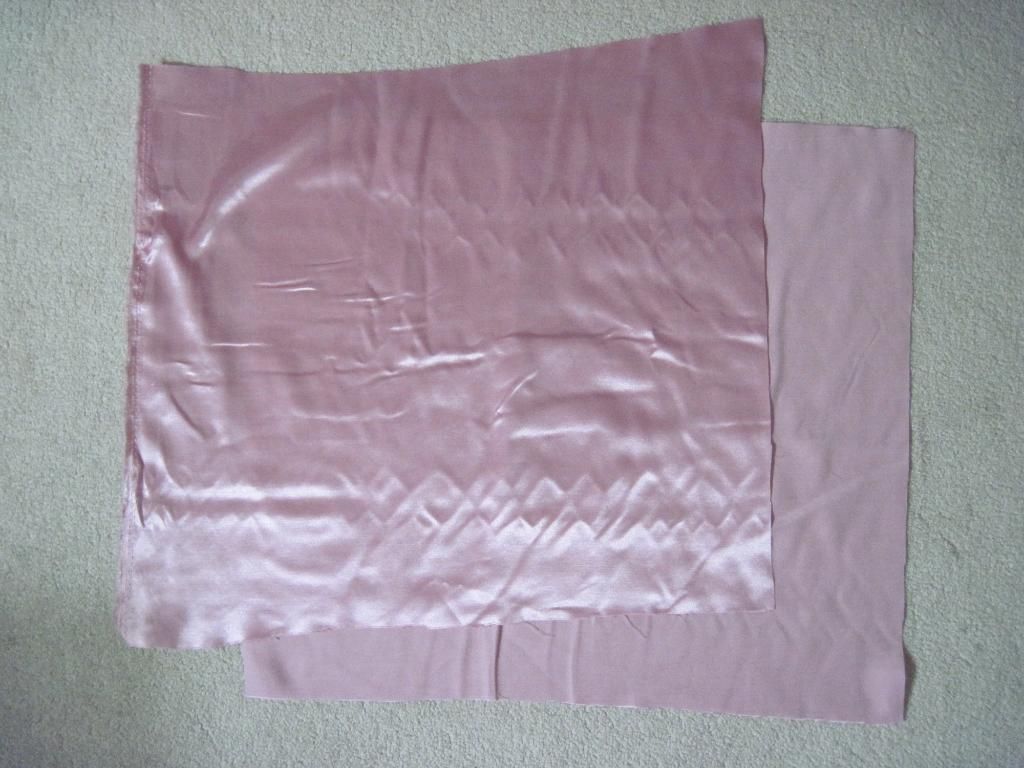

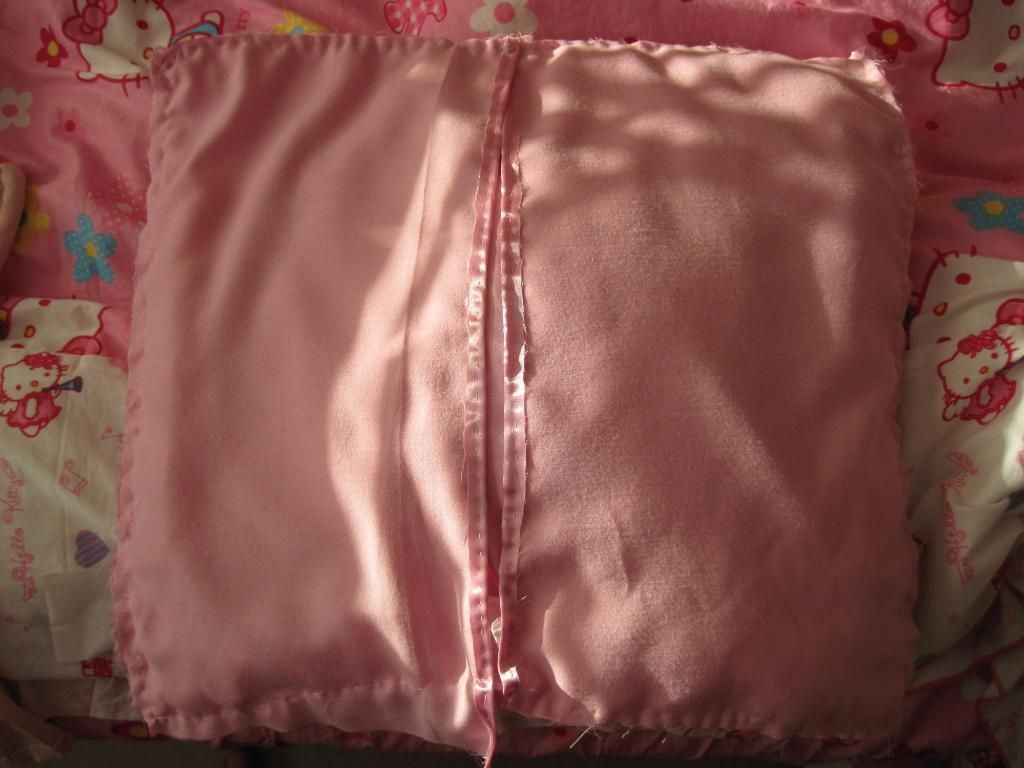
Step 3. Now that you got your measures, measure and cut out two large squares of fabric. These will make up your pillowcase. Don't worry if the edges seem to be crooked, that will be taken care of later on. Note: When cutting out the squares, make sure that one of the squares is a bit longer. This will make sure that the opening where you slot your pillow through will be long enough to fully cover up the pillow and hence no gaps. The exact length does not matter as long as it is a little bit longer than the other square. Something like the length shown in the second photo will do just fine.
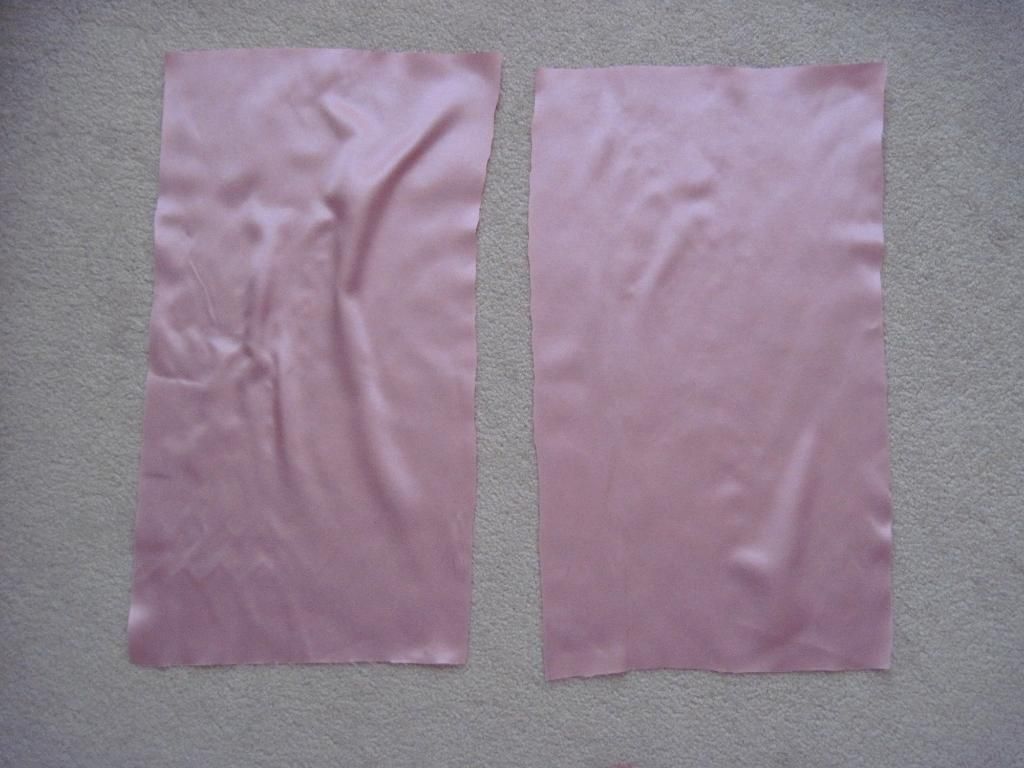
Step 4. Cut the longer square in half. You can fold the longer square equally in half and then cut the closed end.
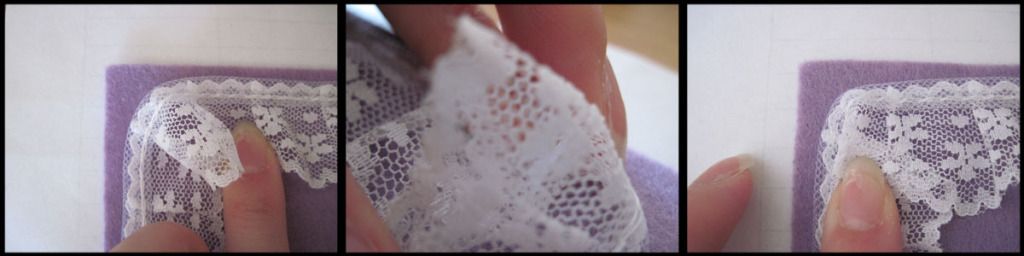
Step 5. Take the whole square and now line the lace trim along the edge. This is where the sewing part officially begins. Make sure that the lace trim is facing inward and that the "right" side of the fabric is facing toward you. The "wrong" side of the fabric should be facing away from you. Now sew along the lace trim. If you get to a corner, round the lace trim around the corner. You will have a triangle shape poking out of the lace trim around the corner area. Take that triangular shape and fold it back so that it sits nicely flat against the edge of the trim. Sew the area flat and then keep going. If confused, refer to the above photos for more details.

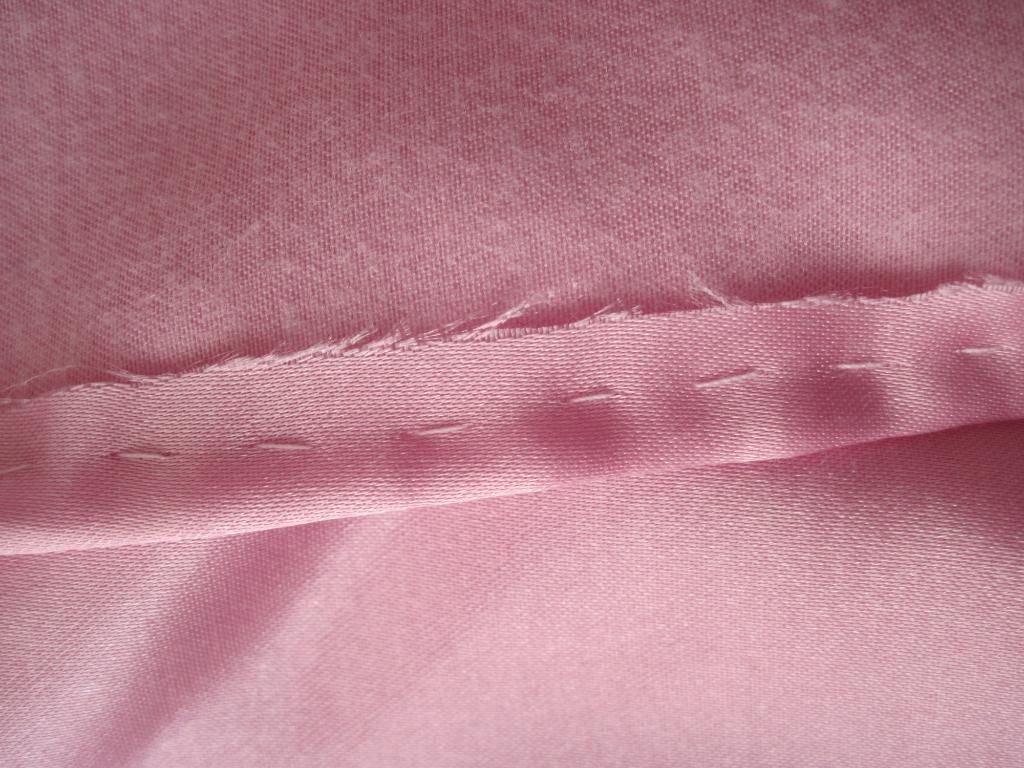
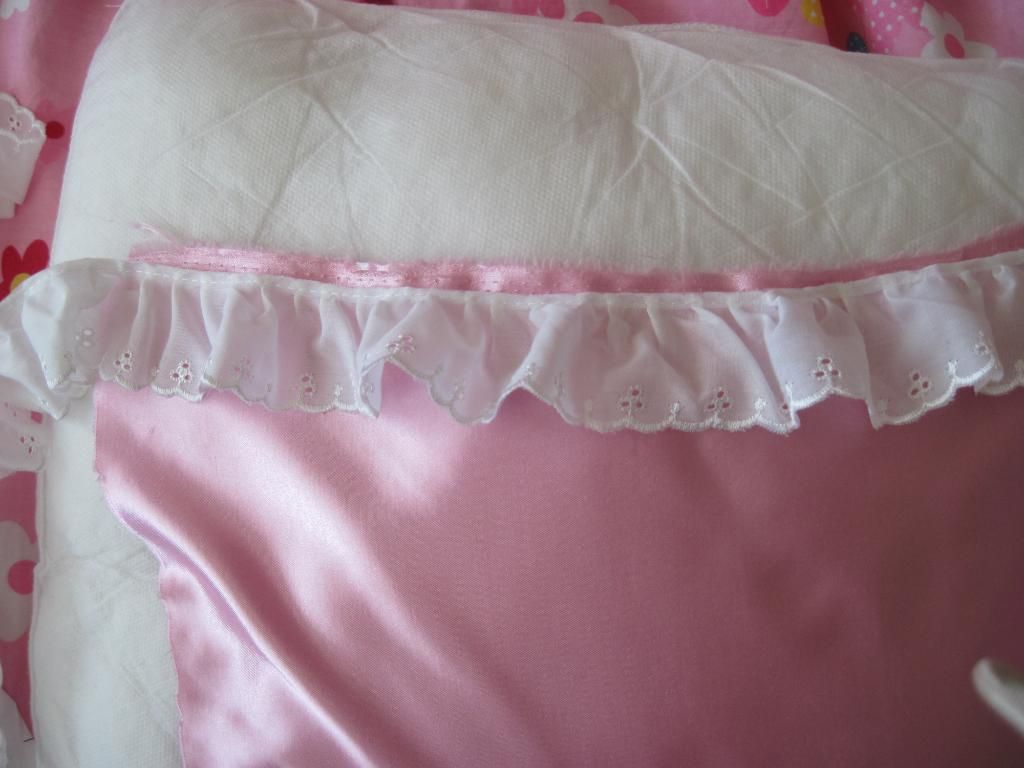
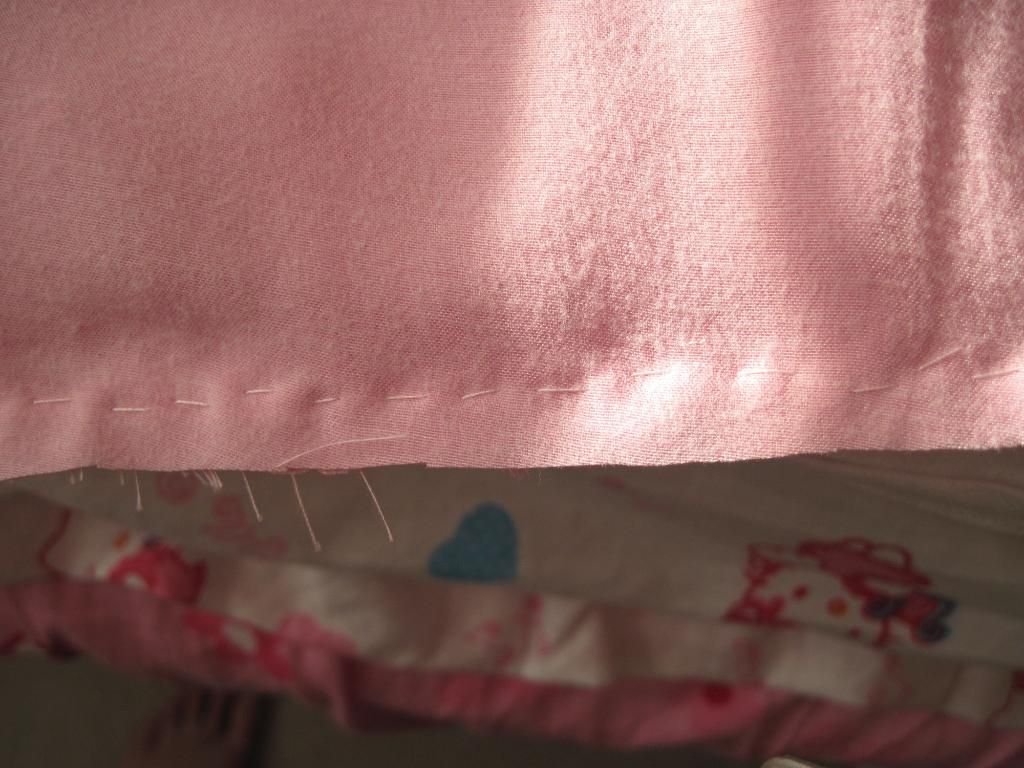
Step 6. Keep going until you have done all around the edges like the above. Congratulations! You had just finished one side. Now take one of the halves of the longer square that you had cut up a couple of steps ago and fold back one of the edges. Make sure that the "wrong" side is now facing you and the "right" side is facing inward when folding back the edges. You know that you got it correct if the folded edge that is facing you is the "right" side. Once that is done, simply sew it in place. Do the same thing to the other half of the square. This is done to keep a clean edge along the opening of the pillowcase.

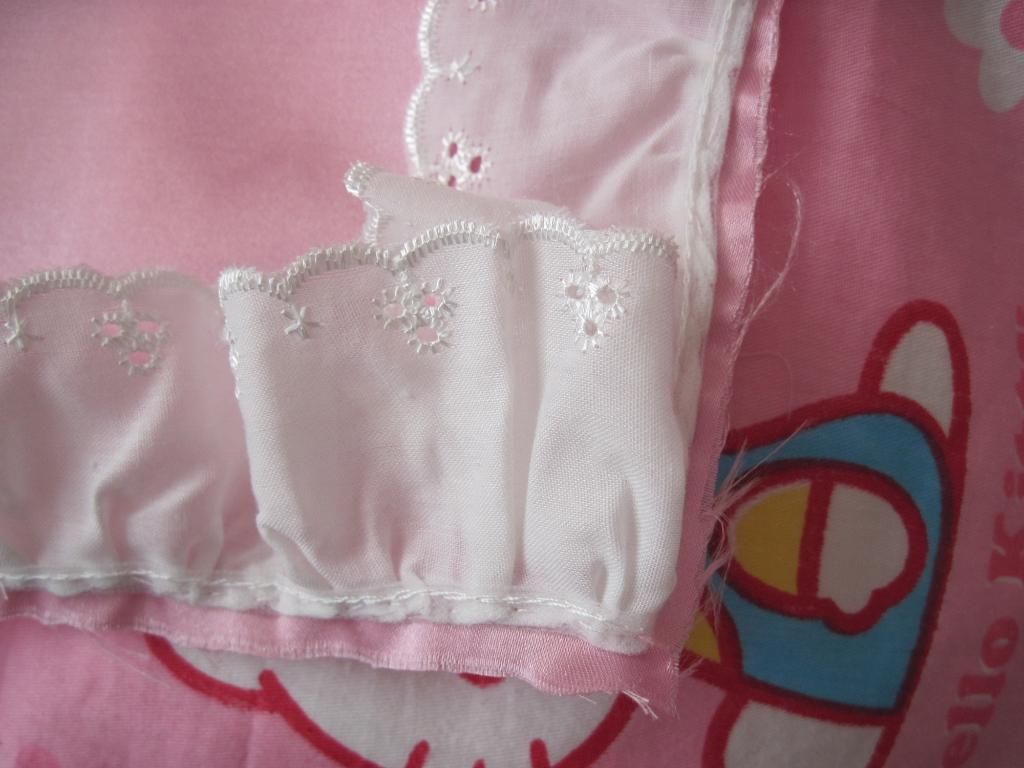
Step 7. Sew both halves of the longer squares on top of the lace trim. Be careful when sewing along the corners as you had scrunched up the lace trim at an adjacent angle and you could possibly accidentally sewn on top of the triangular flap. Keep doing it until both halves of the longer square are securely sewn on.

Step 8. Now here is where we fix the crooked edges issue. Check to see if there are any crooked edges after you had finished sewing along the edge. If there is, just simply cut it off until you get a nominally straight edge.
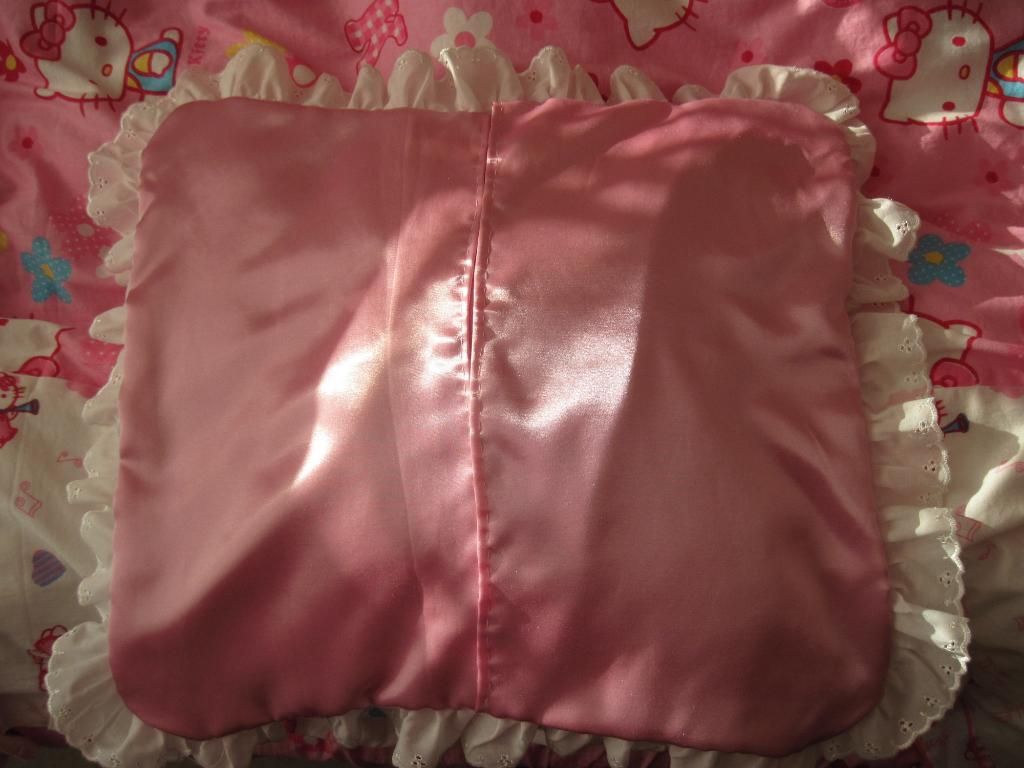
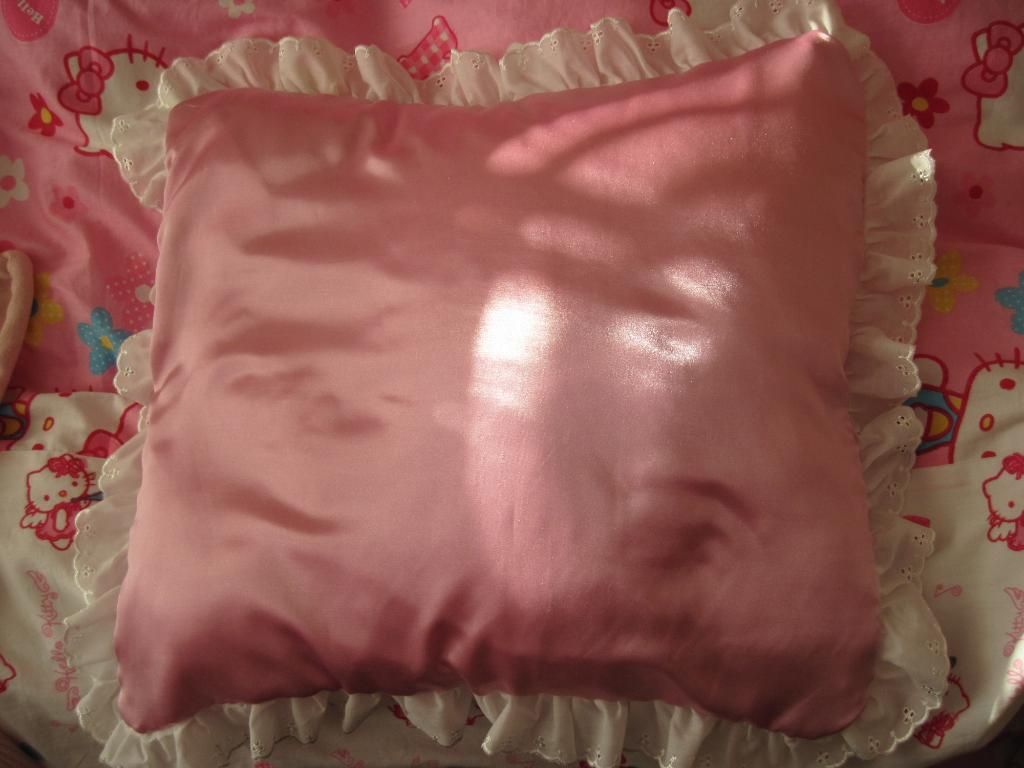
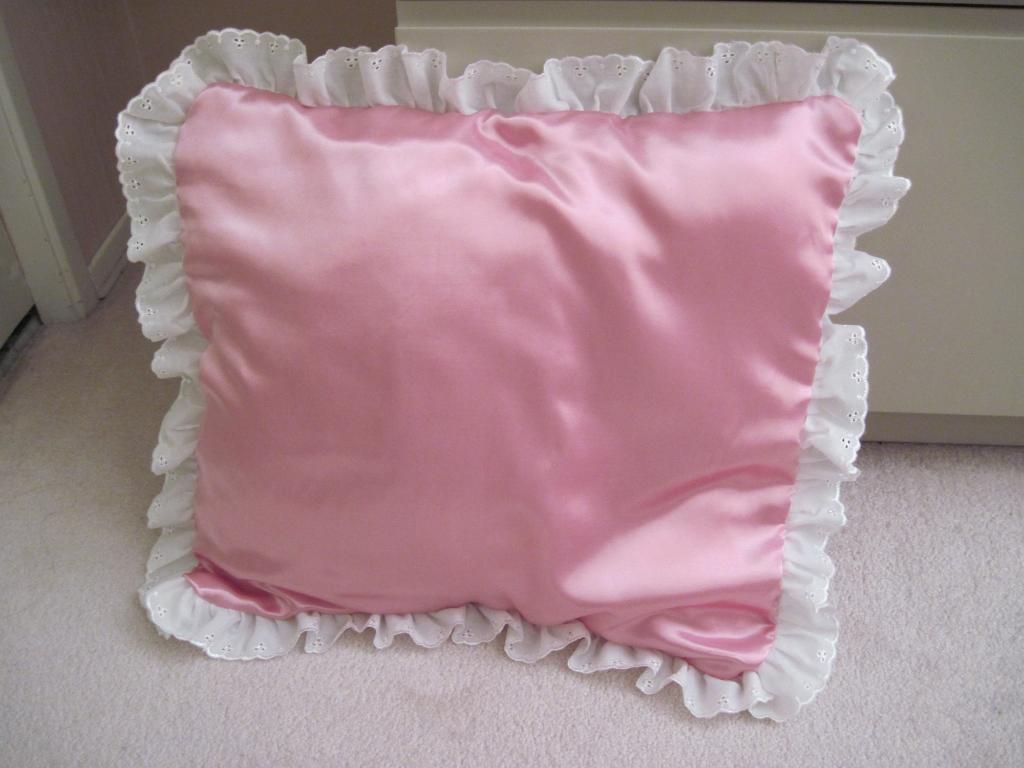
Now all you have to do now is turn it inside-out and you now have your very own hime pillow! This is usually the part where you go show off the pillow and your sewing accomplishments to family and friends, but gently fluffing up the pillow and placing it on a chair or bed works too. I hope that the tutorial is helpful since it took me a while to make! ^^


Ooooh nice work :) I could never do this much sewing xD
ReplyDeleteI love himehood too by the way ^^
I was thinking of replicating some of the things she used to sell on her shop for tutorials since she no longer sells them anymore, but I'm still a little uncomfortable with the idea ><
Anyhow, great job with the pillow! I love bedding and room decor :)
Thank you! I was surprised that I had managed to complete such a project. If my past self was to see this, I don't think she would've believed that I could create something on a scale like this! xD You should definitely give it a go!
DeleteSuper cute pillow, I think I will try my hand at making this! (^-^) Definitely going to use my sewing machine though... ah the laziness of me (>_<) Again, awesome work, I'm so glad I discovered your blog! :D
ReplyDelete☆彡 Sarafina <3
Thank you! ^_^ Good luck and feel free to post a link so I can see the results. Also, thank you for following!
DeleteIt's looong but worth it the result is super cute maybe I'll try this someday too bad that I've seen it now that school resumed maybe I'll give it a try in my next holidays gonna save this page somewhere.
ReplyDeleteThank you! ^^ Yeah it was tedious, but I personally think it's worth it as well! You should definitely give it a try and post up the results! :)
Delete