Showing posts with label Deco. Show all posts

Thursday, 26 June 2014

An Overdue Post - A Compilation of the Past Months Part 2

Hello everyone,

After another long while again I had came up with the second part to my previous post here.

To start off, back in probably the beginning of this current year in March-April I had attended my first Lolita meet at Chinook Mall, which was quite exciting for self-explanatory reasons. Suffice to say, I had a great time with my new loli buddies, walking around the mall as well as doing some good old fashion shopping! While I was at Forever21, I had managed to take some photos of my coordinate. I apologize for the photo looking a bit blurry. 

Monday, 23 September 2013

Renmants of a past summer and some fashion contemplations

Hello everyone!

School had officially started for me about a two weeks ago, and ever since then I had not been able to create one blog post during that time frame! I will not guarantee that I will be able to have a stable blogging schedule, but I will definitely try my best to release a blog post during any free time that I might have had.

Also as a note, I would like to share some contemplations with you all at the end of the blog post in regards to my latest fashion choices.

First off, during the last month of summer heading right into the school month of September, I had worn the outfit on the right. Up until that time, I had not gotten the chance to wear this particular dress and I was so happy to have finally done so. As for the outfit on the left, congratulations! You are now looking at what I wore on the first day of school! ^^

Thursday, 18 July 2013

Dressed Up in Lavender and A Wallet Tutorial

Hello everyone!

It seems that no matter how hard I try to blog frequently, I always seem to find time running away from me. I am pretty sure that I am not the only one. I mean it is already in the middle of July, and I haven't even gotten through half of the deco ideas that I had planned up on my inspiration/ideas board! So for the time being, I am going to try my hardest to get through the projects while working on the side. 

I also realize that I have been gradually neglecting my goals as a hime in training, and I have to say, have no fear! I am still slowly but surely working towards those goals. It just does not seem as prevalent as of right now. Even though my hime goals are pretty much on the back burner, I do know that I might absolutely get a 1) half wig and 2) circle lenses. I had been diligently browsing through websites to try and get a good deal on either of those items, but we shall see how that goes. 

Anyway, here is a casual outfit that I had worn on one of my shopping excursions. I had finally gotten the chance to coordinate the lavender-blue dress that I had bought from H&M ages ago, since I honestly don't have a lot of items that go well with this particular dress. In other words, not enough lavender things. I should be able to hopefully fix that in one of my upcoming crafting marathon projects! ^^;     

Monday, 1 July 2013

Shabby Chic Deco Altered Box

Hello everyone!

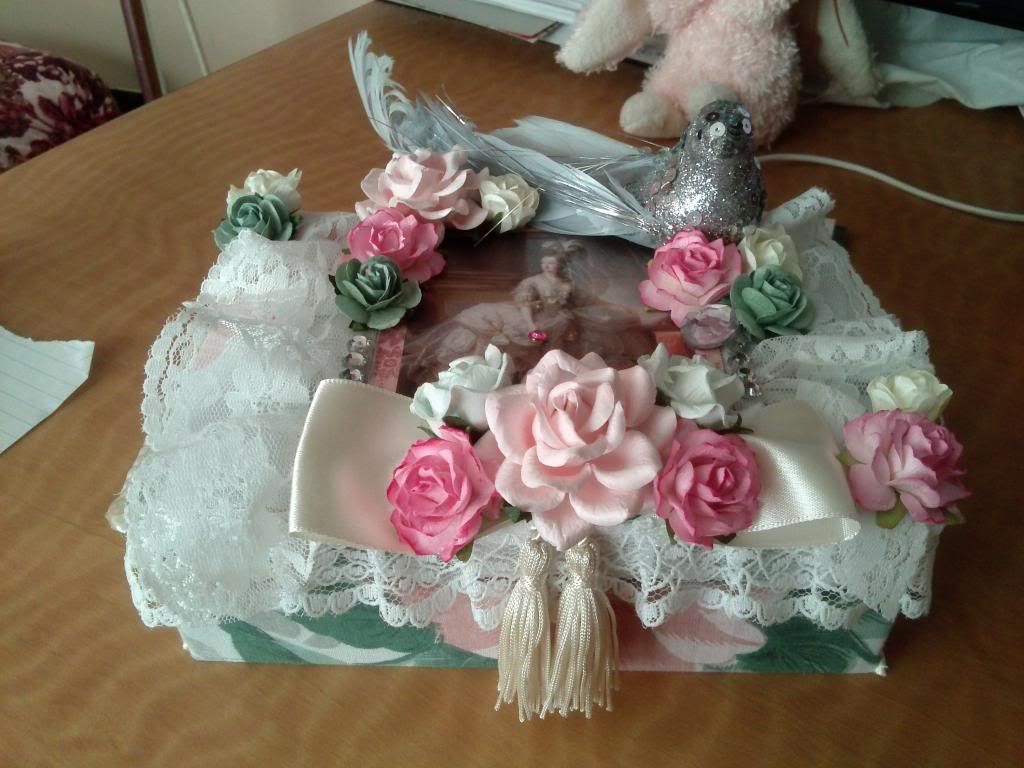
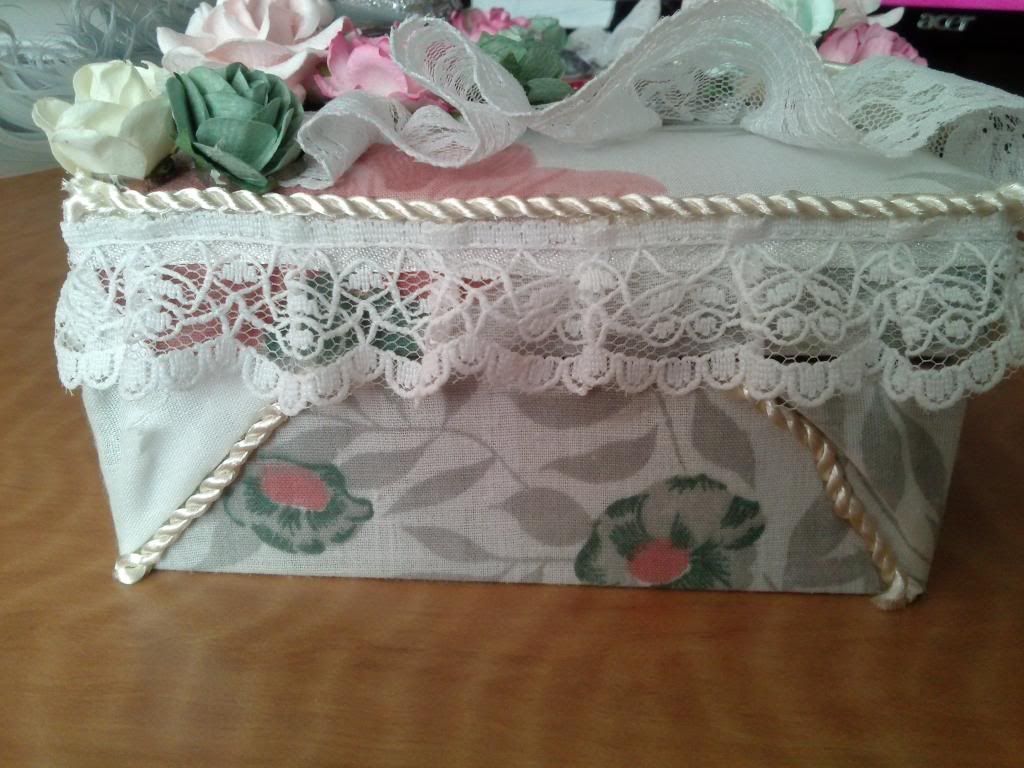
Wow! It has been quite some time since I had posted anything huh? This is mainly because most of the time was spent on my latest project, which I am quite happy to announce that it is finally finished! What is my latest project you may ask? Well I am quite sure that you will be able to guess from just the title itself that I have been working on another type of box, but this time with a twist: shabby chic style!

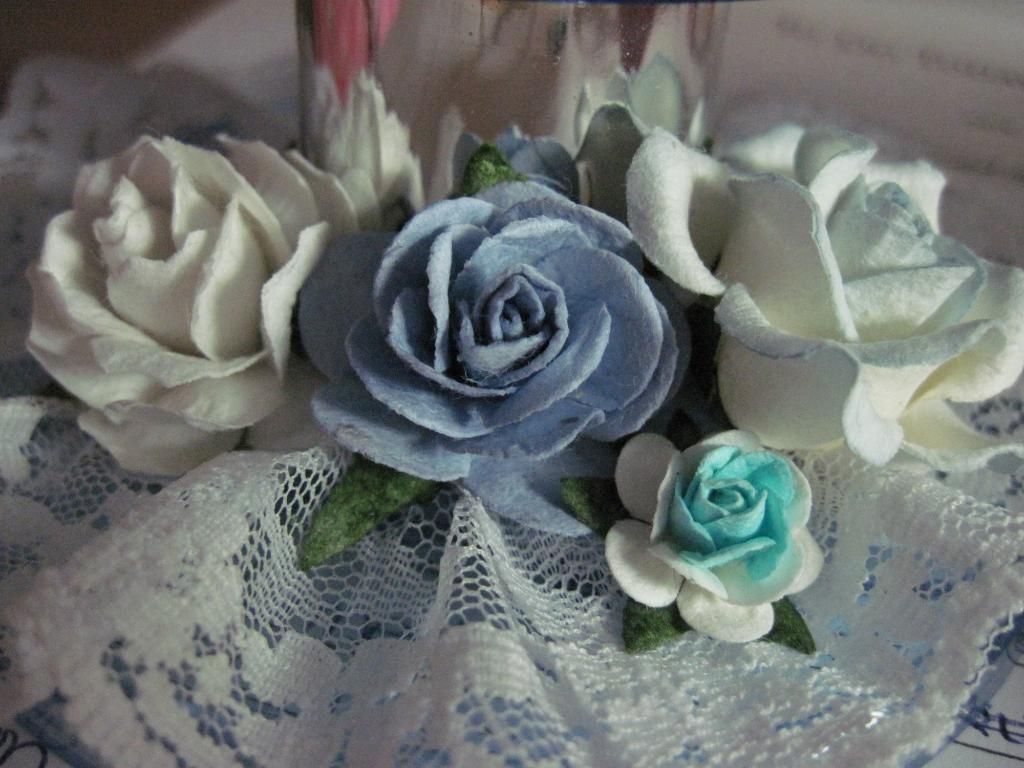
Why the sudden change in style? Well I had figured that since I had gone all full-blown hime on the previous box, I might as well change it up with this box. As much as I love pink as the next girl, some occasional splashes of other colours doesn't hurt either. Plus, I still have other roses of different colours still stored up in my crafting bin, so it will be more of simply trying out other colours and seeing what works.

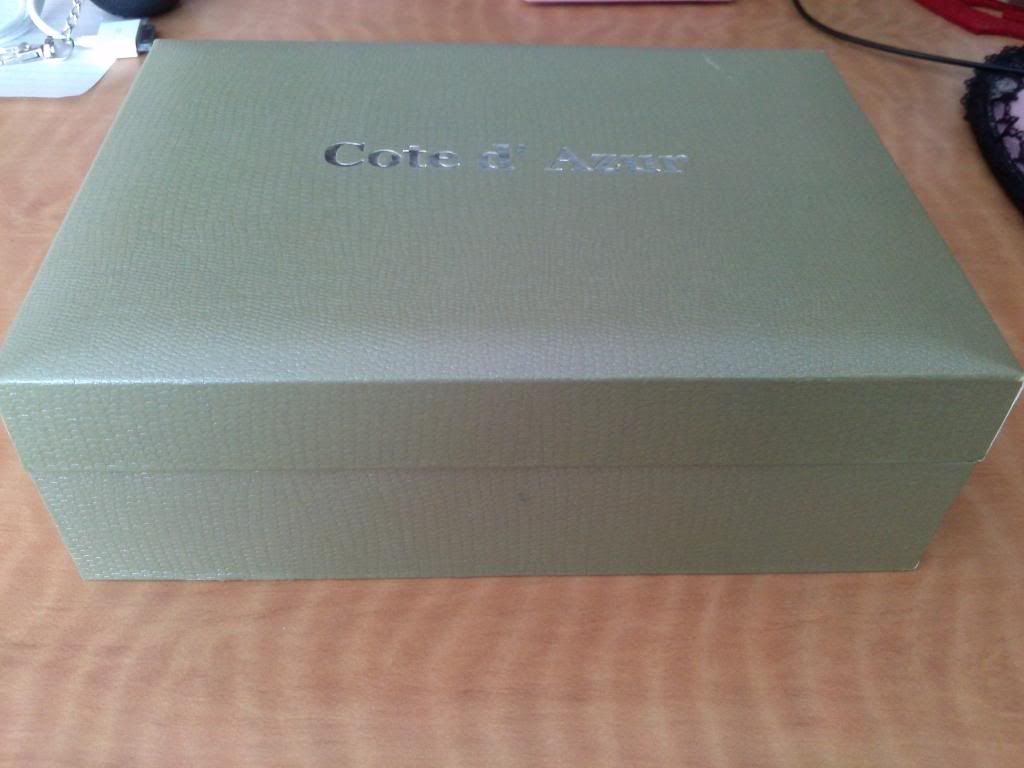
Anyway, remember the trip that my parents had been on? If not, they had basically gotten me a bunch of gifts from their state visit. In those pile of gifts was a themed souvenir box filled with a couple of different items, which can vary depending on certain colours or age groups. I had gotten the "classic/feminine" box, which contains a rhinestone studded watch, a key necklace, and a bracelet.


I had long taken out the items from the box, but wasn't quite sure what to do with the box itself. I didn't have the heart to just throw it away. Ever since I had gotten into the crafting scene, I had been careful with what I throw away, since just about anything can be reused in some form or another. Plus, it is a great form of recycling!


I eventually decided to alter it. The box depth is just enough for me to be able to put any of my jewellery inside and used it as a jewellery box. I usually keep all of my shorter necklaces, bracelets, and rings on a shelf. The necklaces are displayed on a necklace display, but all of my bracelets and rings are pretty much scattered all over the shelf. The box will be a perfect way to store them! 

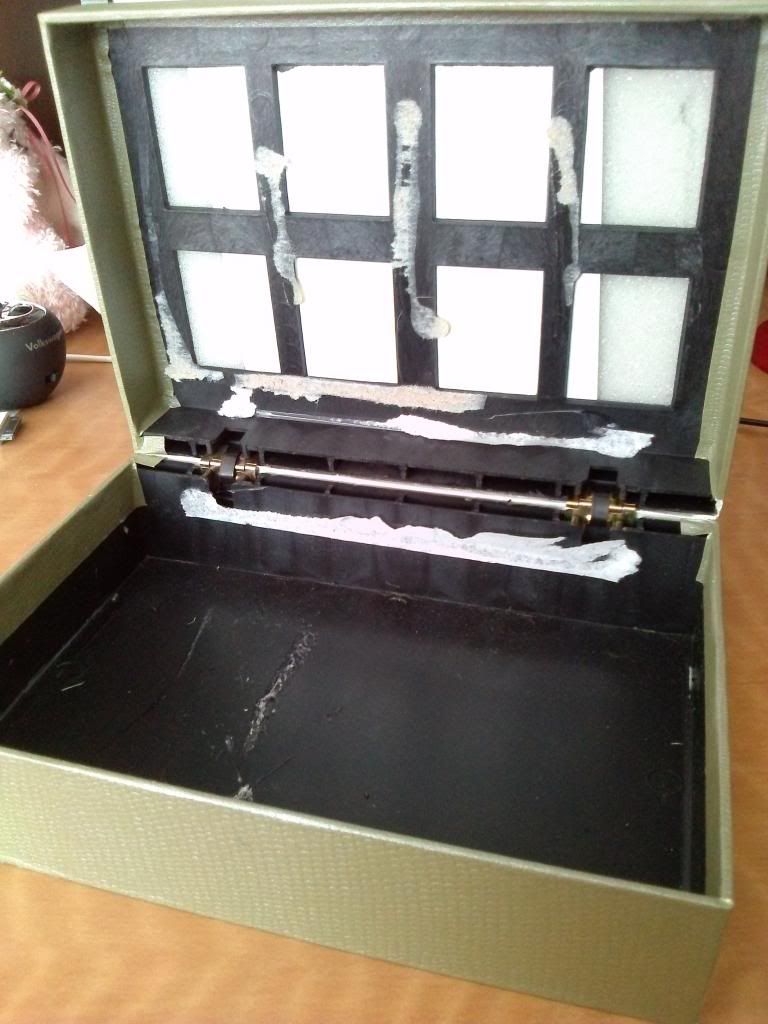
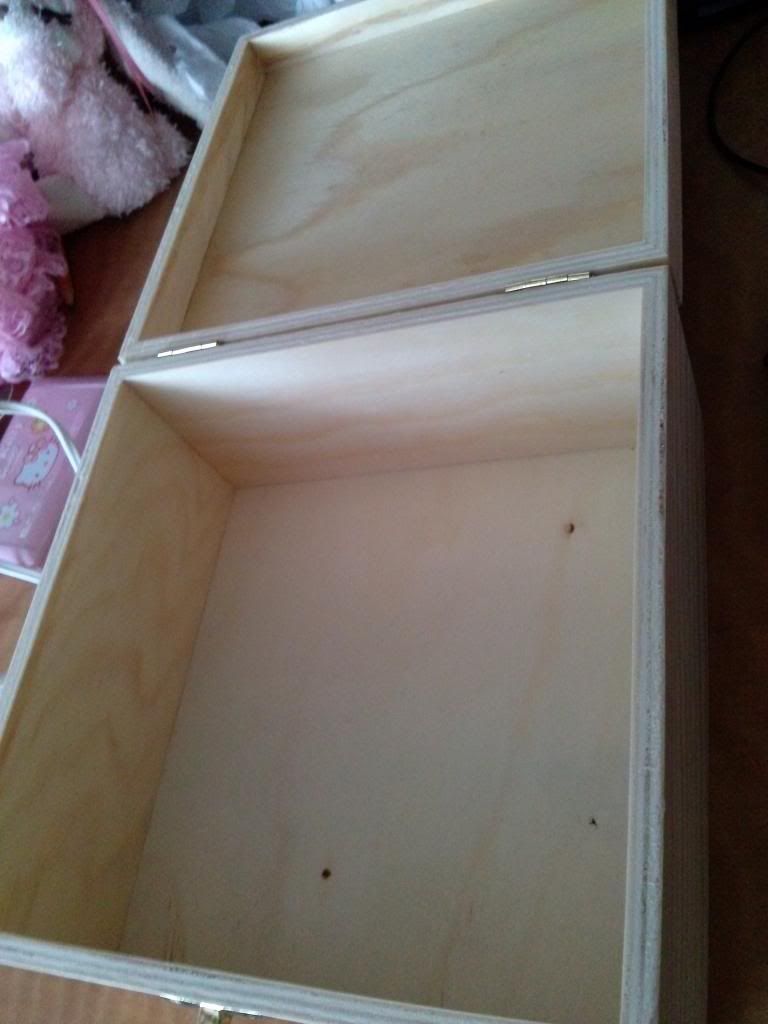
After the revelation, I started taking out anything that is not part of the box until I am only left with the box itself, as shown above. A full week of modifications later, I end up creating this. 


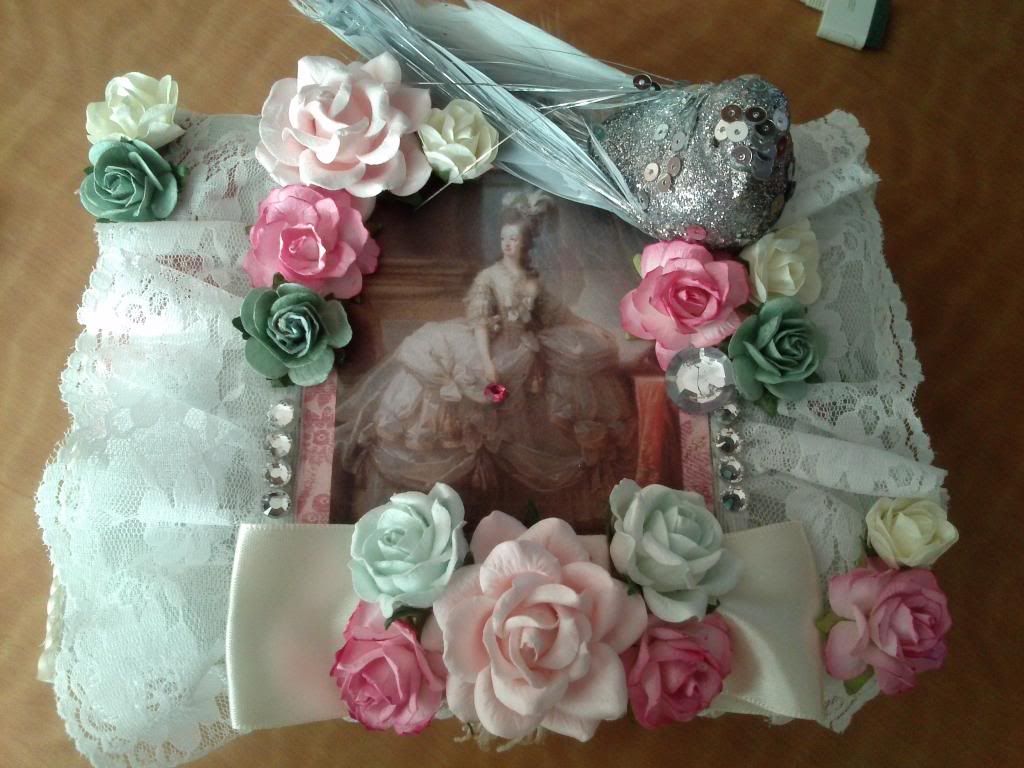
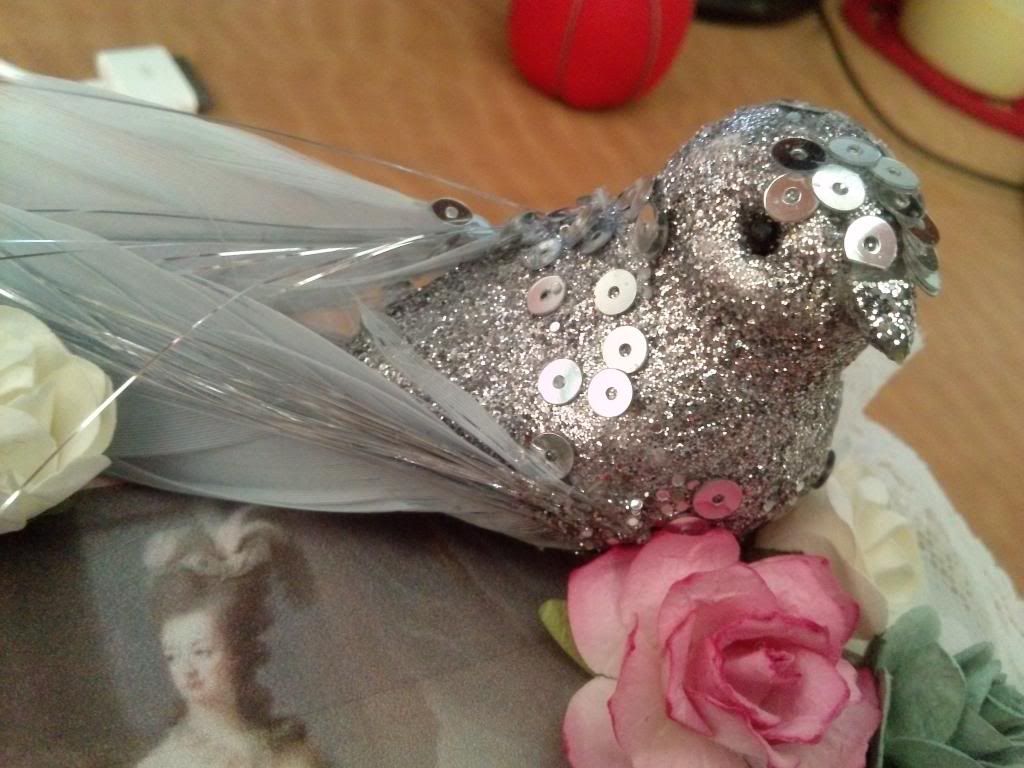
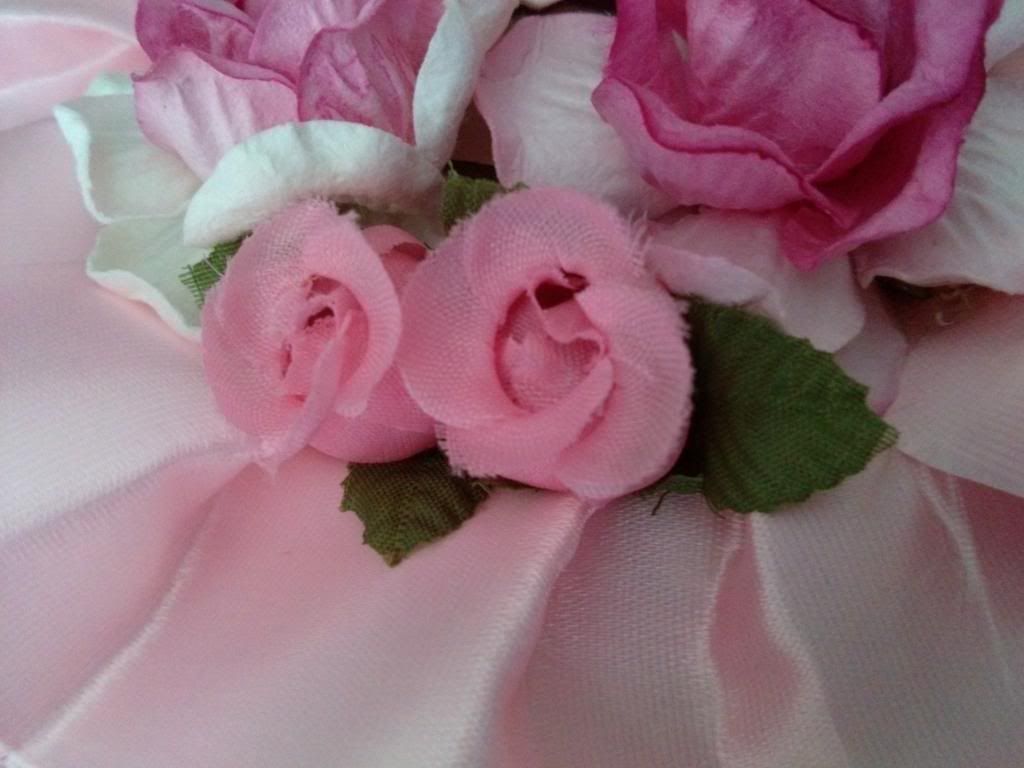
Here are some detailed shots of the box up close.


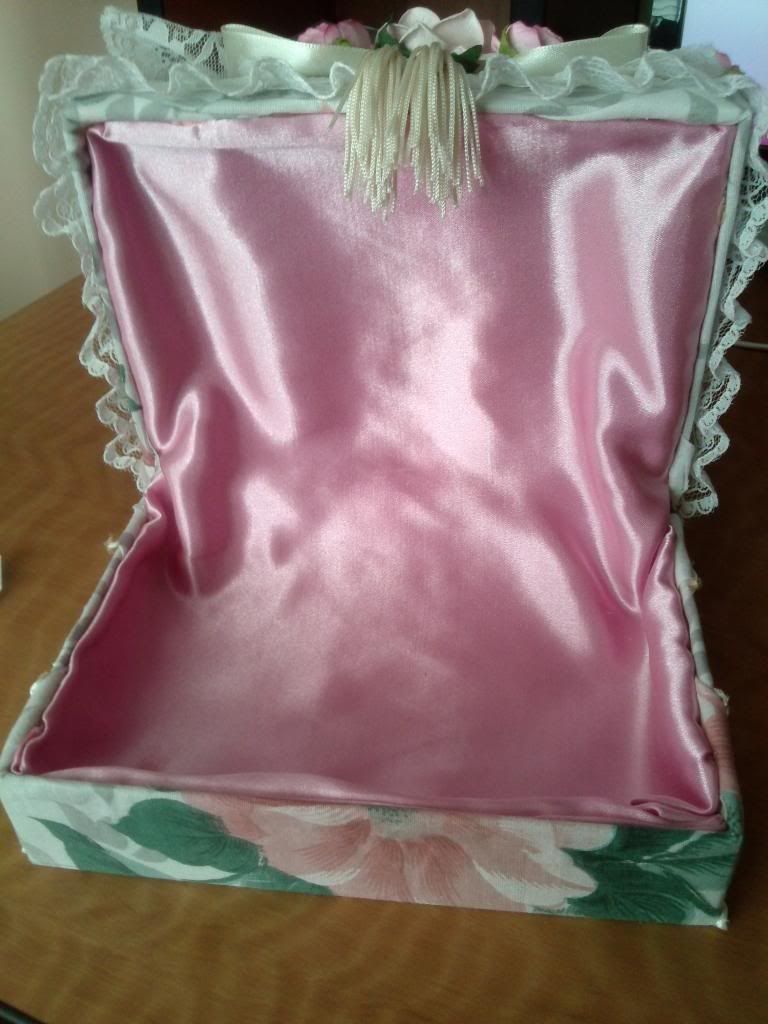
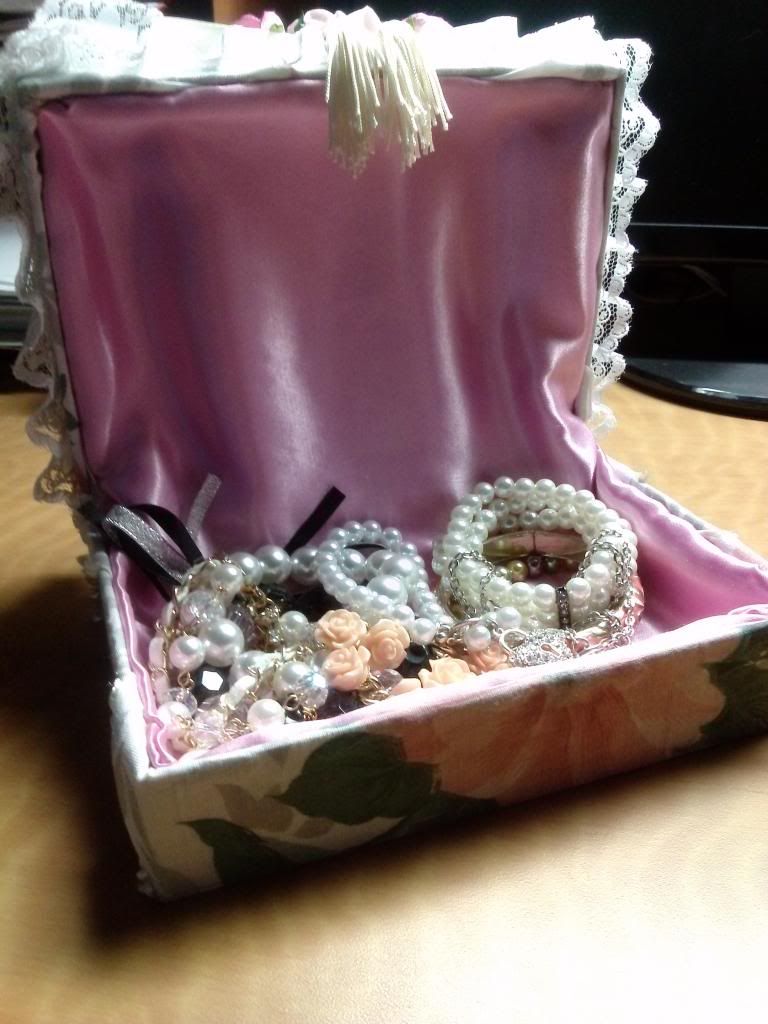
The inside of the box.


The box in action. Depending on if I want to display the bracelets or not, I might keep the box open!


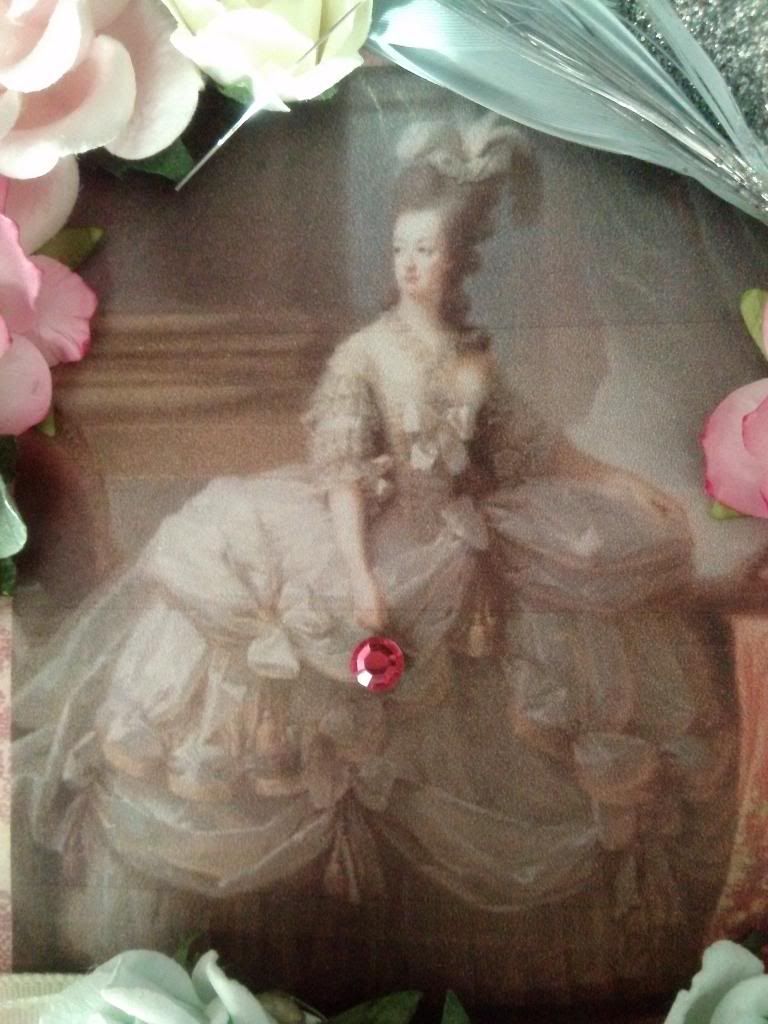
Since the vintages boxes that I had seen usually have a vintage picture of some sort on them, I decided to incorporate a picture of Marie Antoinette, mainly due to not being able to find a decent vintage photo online. As for the excess amount of roses that I had used for this project, I unfortunately don't have anything else shabby chic-related that I can use other than the roses, such as lace appliques, venice lace trim, fabric flowers with button centres, butterflies, etc. So, sad to say, I could only stick with roses for this one.

Monday, 10 June 2013

Hime Deco Storage Box

Hello everyone!

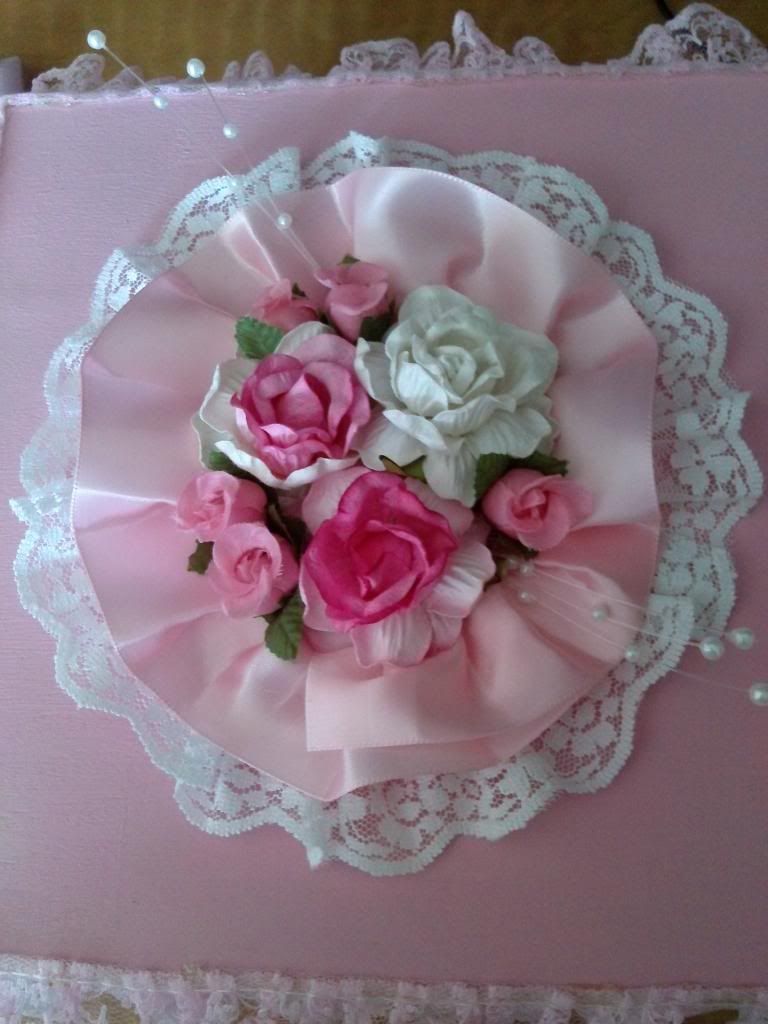
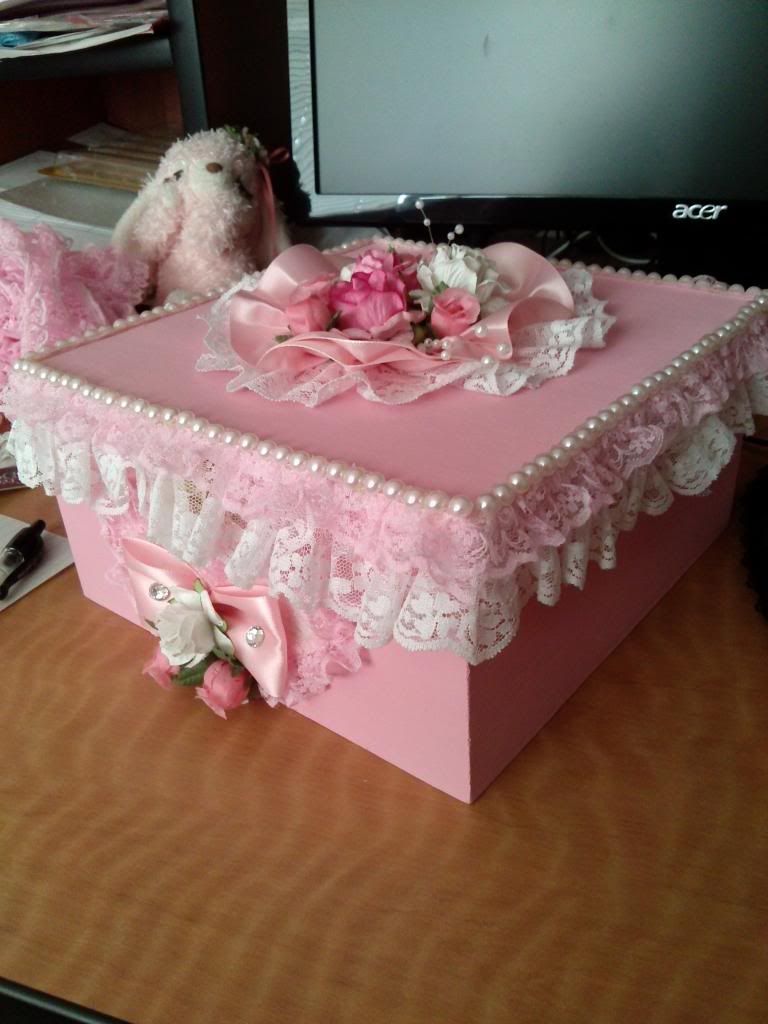
As I had mentioned in the corsage tutorial post, I had been working on a deco project on the side in addition to working on the corsage itself. I will now go over that particular project, which is in essence is just a fancy overdecorated box. I had decorated a box before a while back when my blog was still "new", but I have not done it up to this caliber until recently.

Why a box? Surely you might be wondering about that by now. Why waste time and effort on something so mundane when I could be doing something else, like say making more head bows. I do not know why, but I had been wanting to decorate a box for quite some time now, especially since I keep seeing a bunch of them lying around in the crafts aisle of Dollarama for very cheap prices. I had gotten the one that I had decorated for $3! Plus, boxes definitely make great storage containers, particularly prettified storage containers!

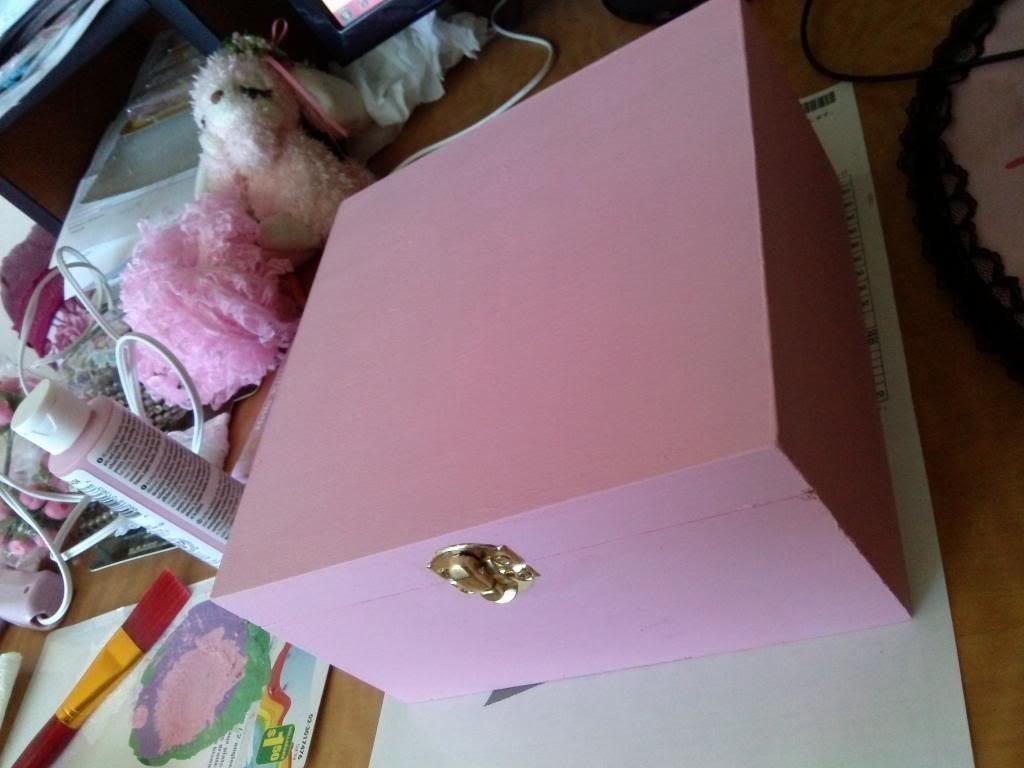
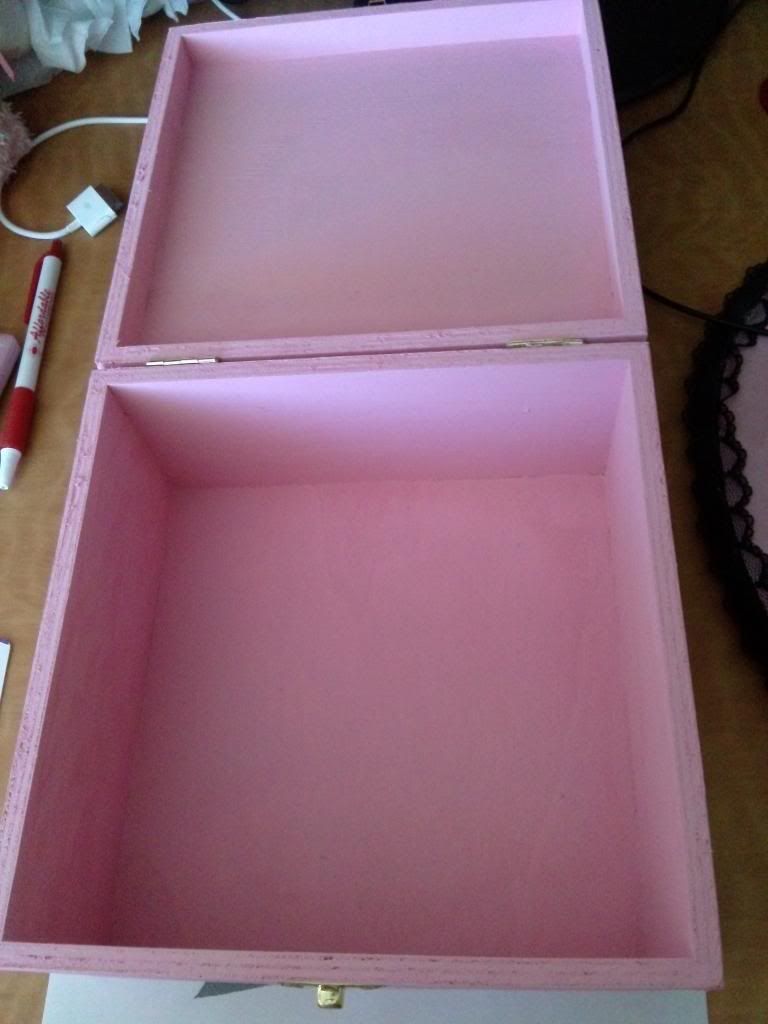
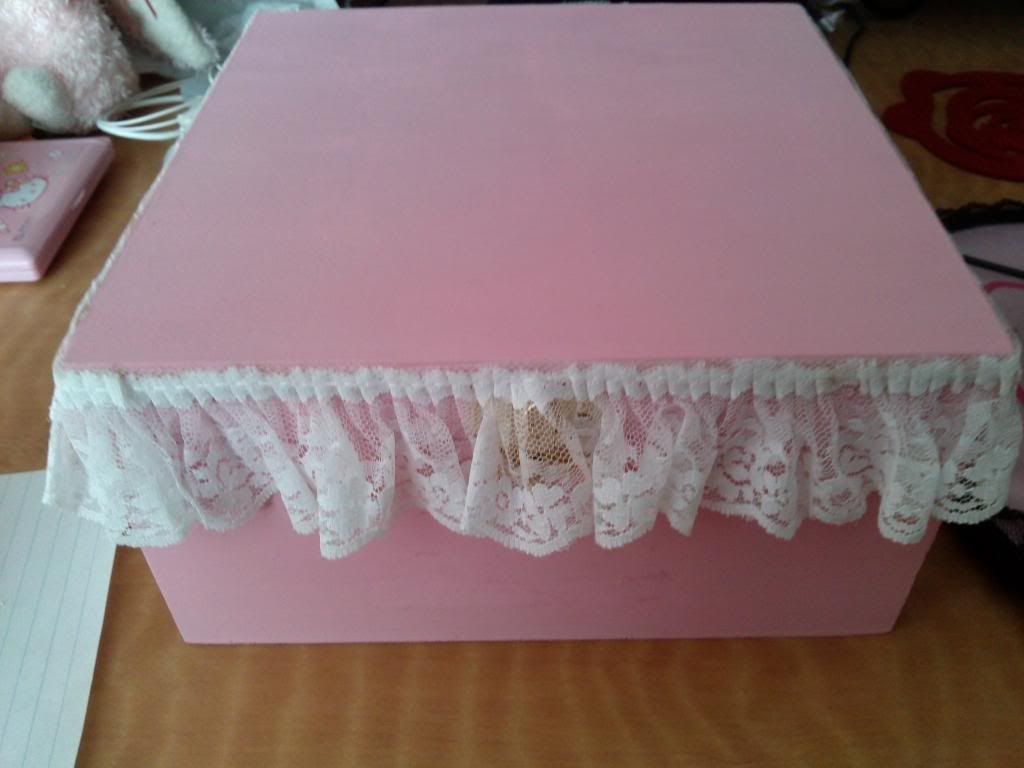
There will be no tutorial this time around. I believe decorating a box is quite straight forward. I did take some progress pictures as I was working through it however.

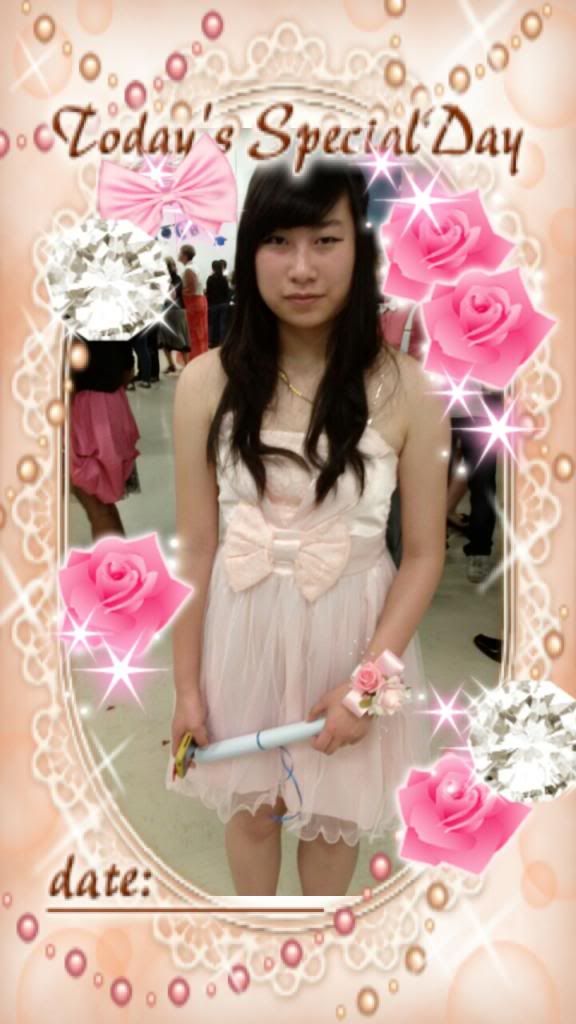
Before starting, I thought I would show off what my sister looked like on her graduation day! =^.^= I had glammed up the picture with a Purikura app called Kiradeco!

Isn't she so pretty? *_*

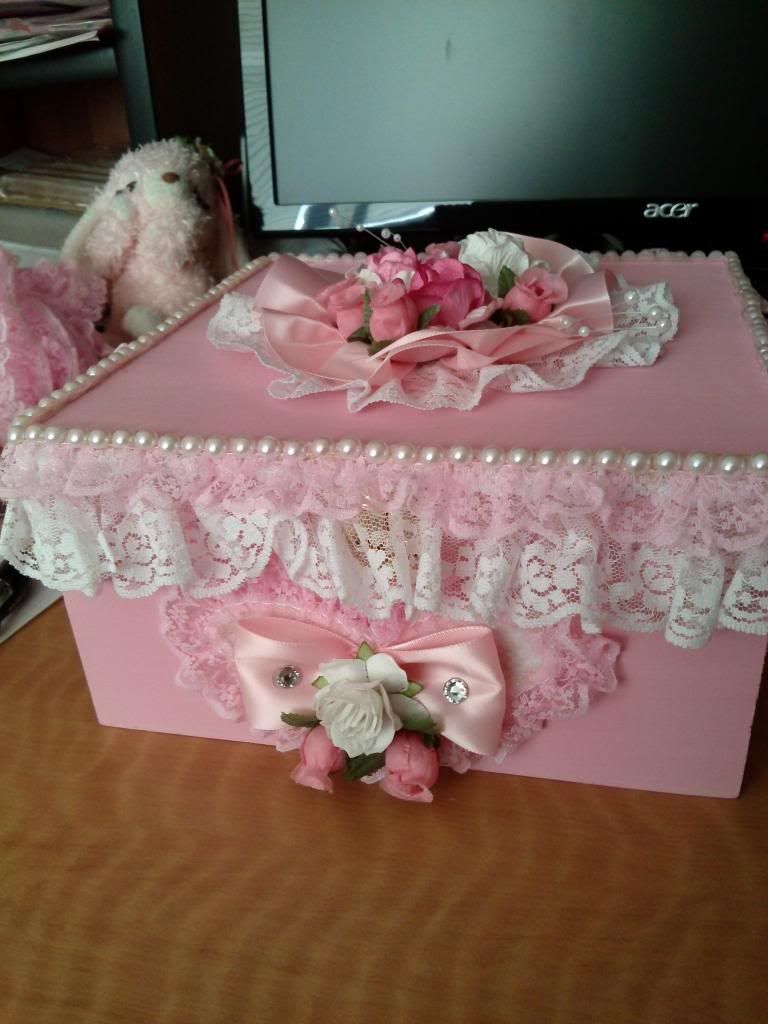
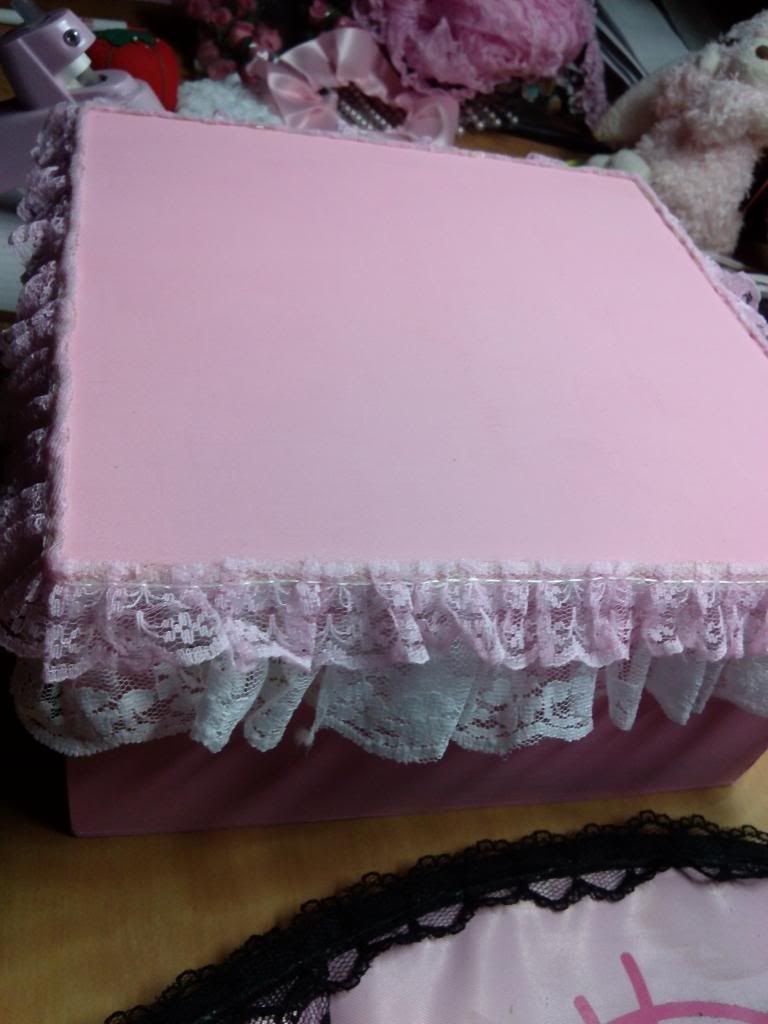
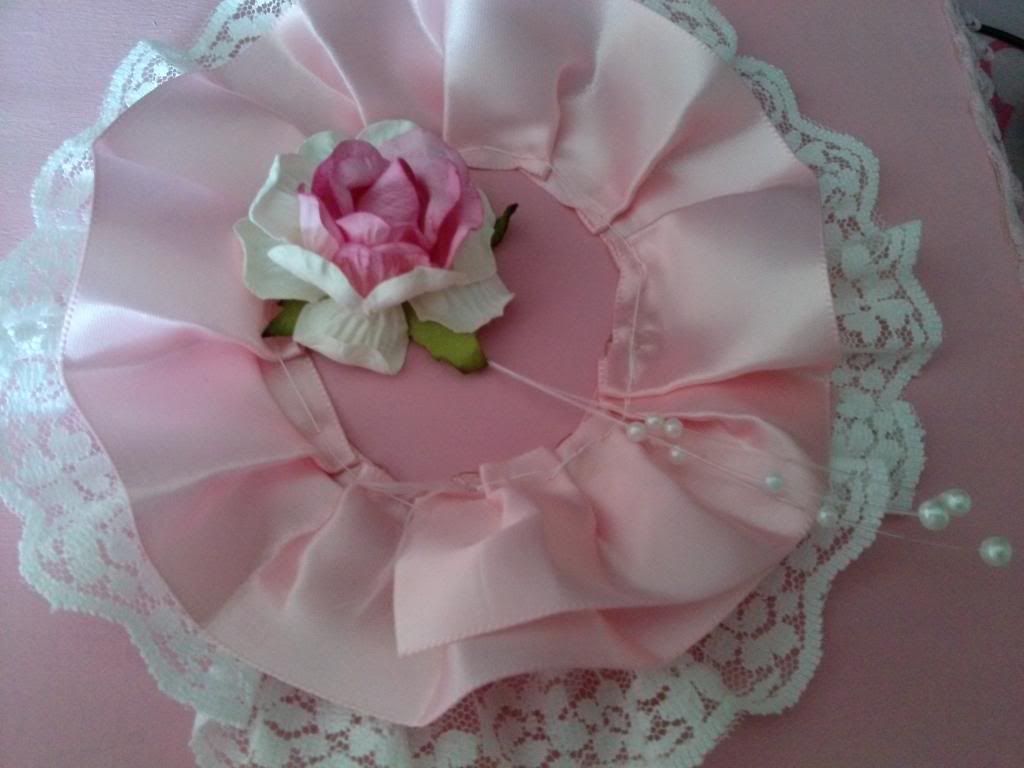
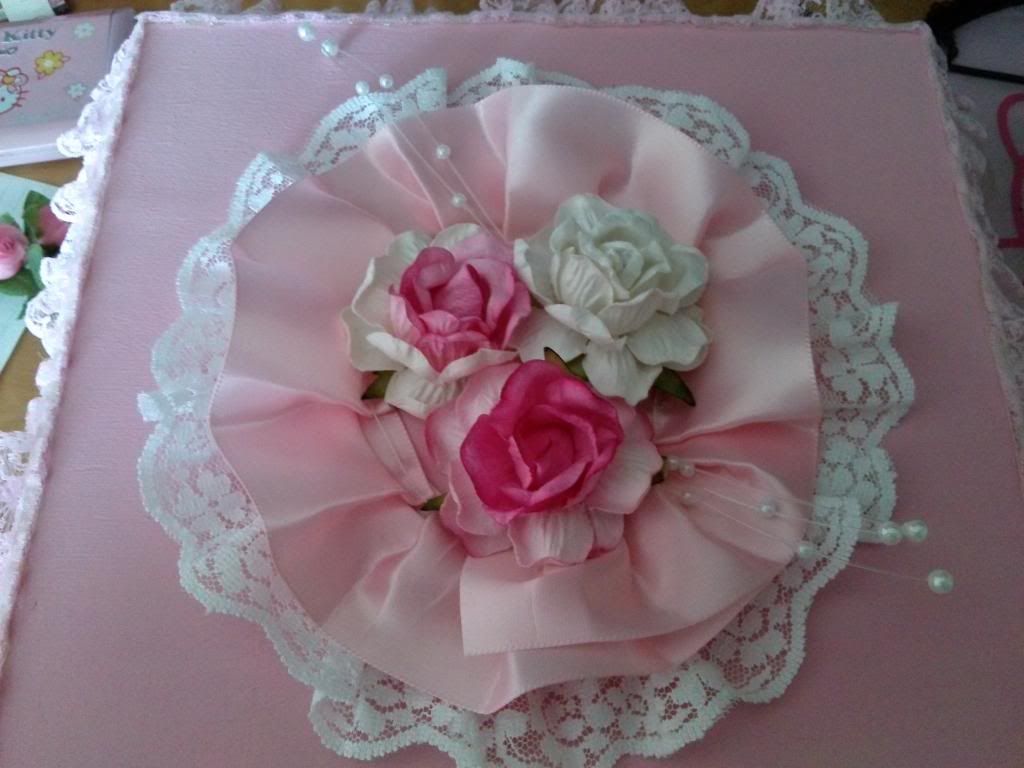
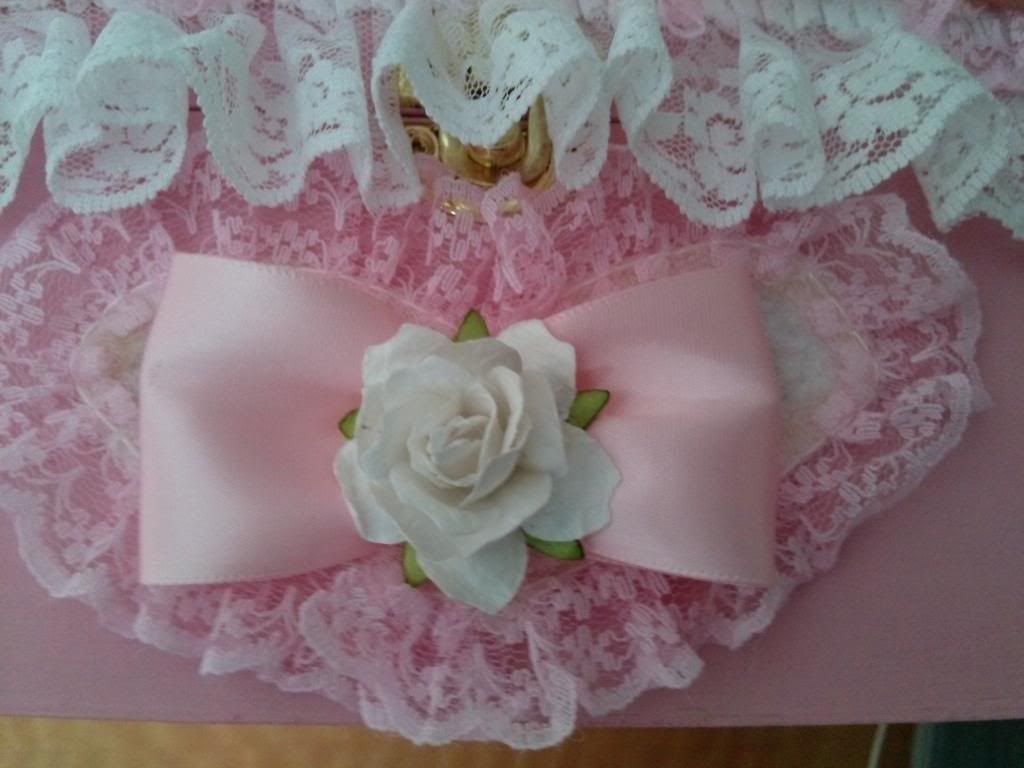
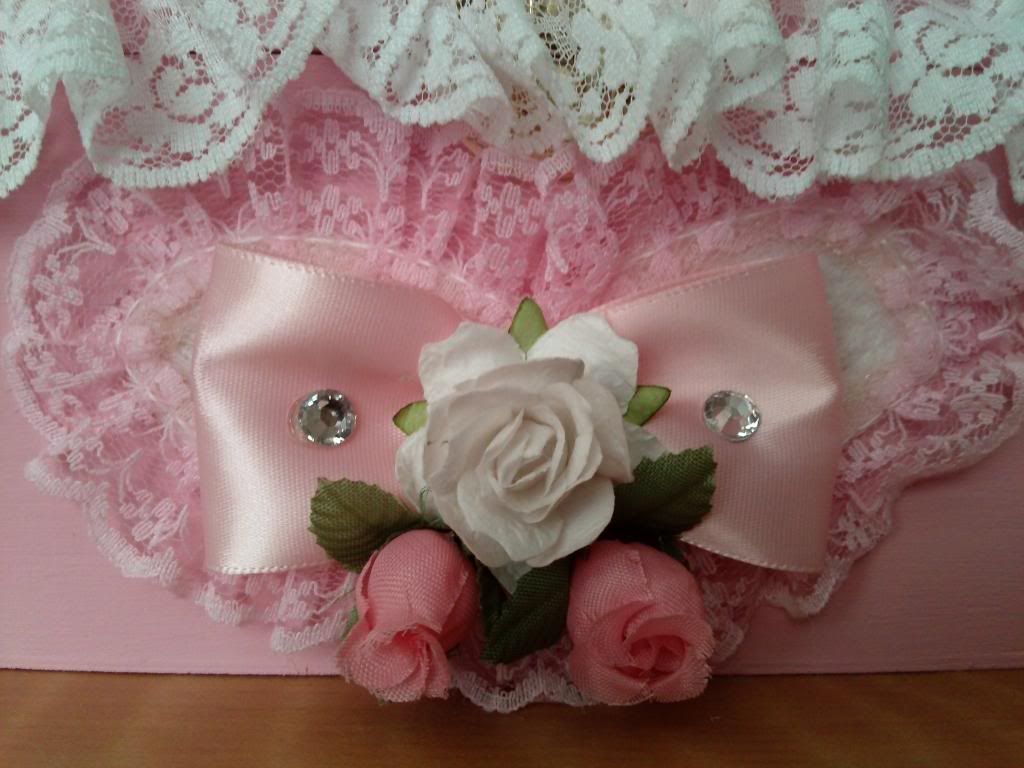
Here is the result of the deco transformation. 


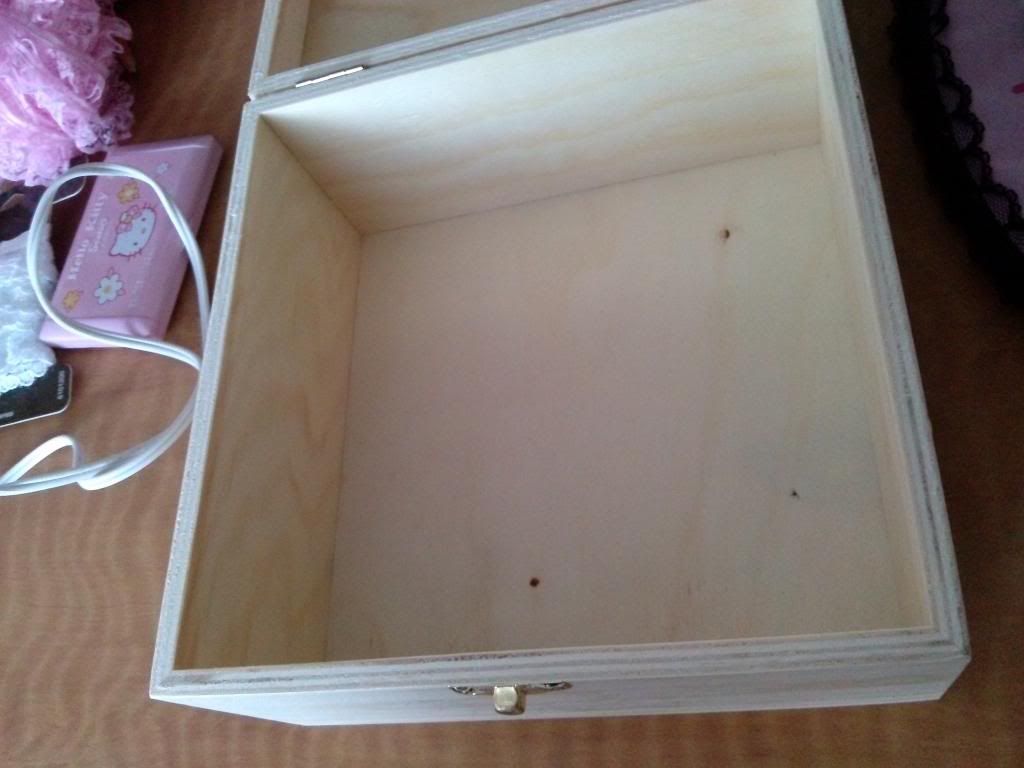
Now for some progress pictures!


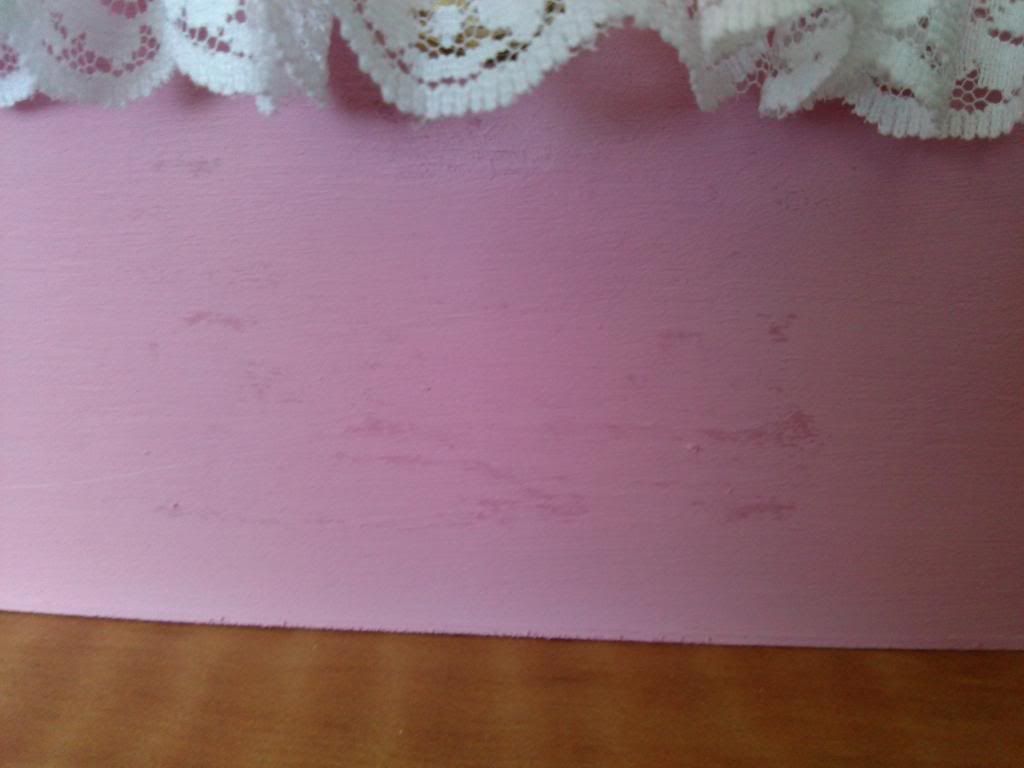
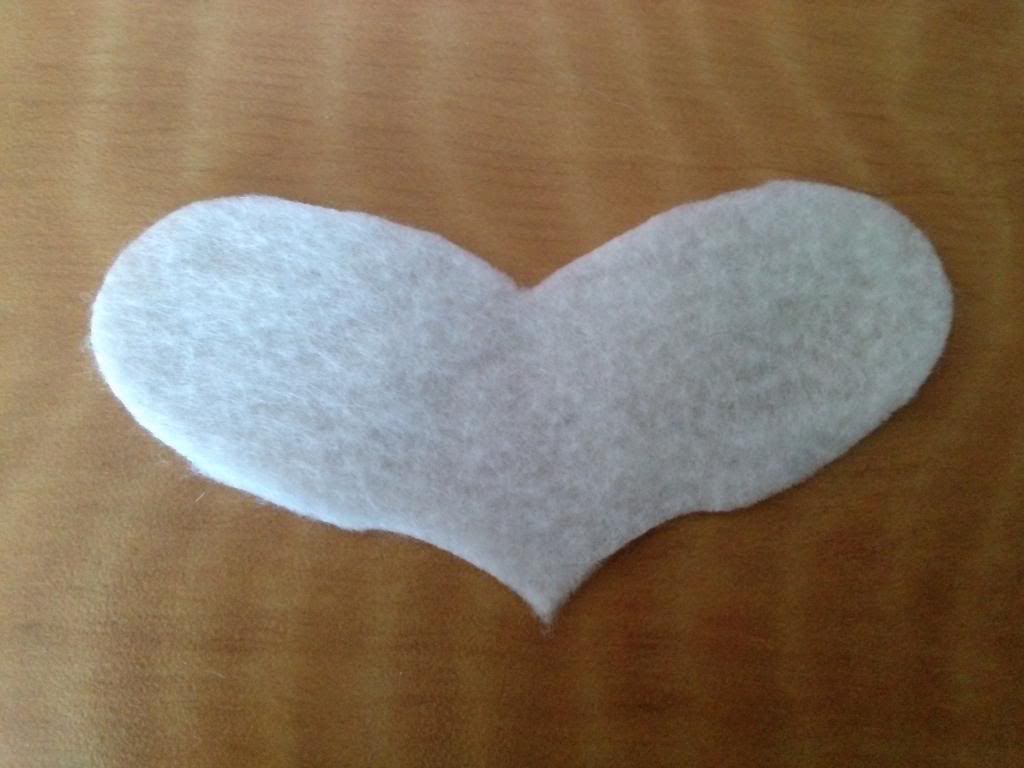
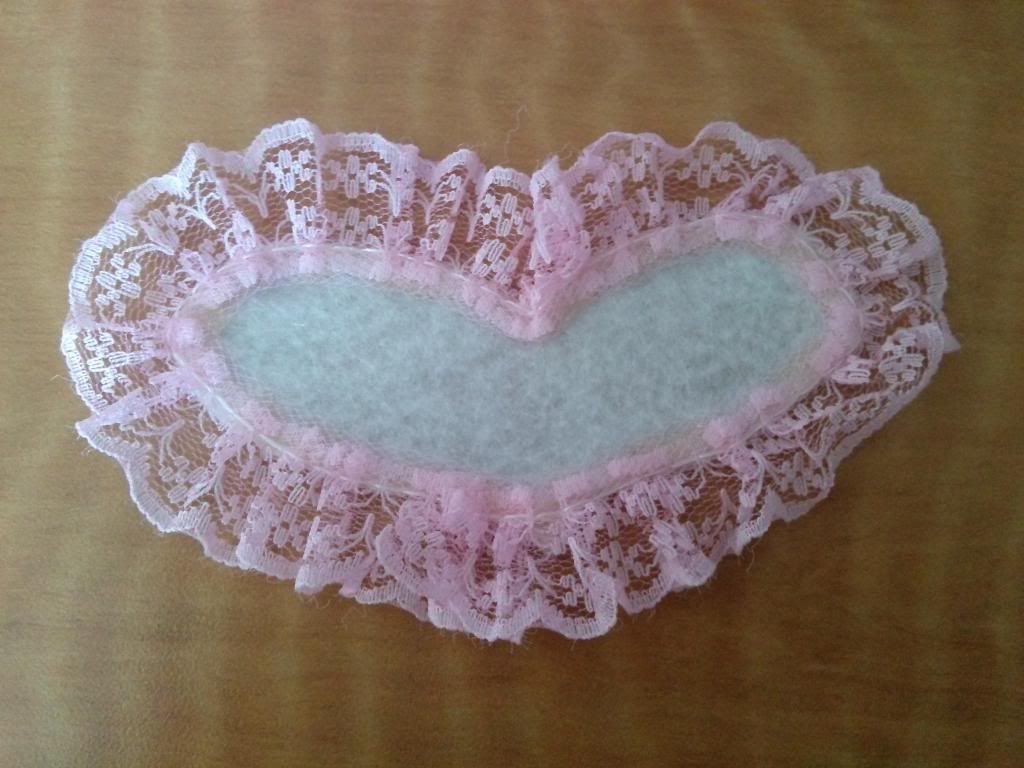
I noticed that even with two coats of paint, the marks on the front of the box still had shown through the paint as seen in the above picture. I think they were the remaining marks from the product sticker that used to be on there before. To solve this, I just simply cut out a felt heart to cover it. 


And there you have it! One of the many ways to glam up a plain wooden box! ^^   

Friday, 31 May 2013

Hime Deco ID Card Holder Tutorial

Hello everyone!

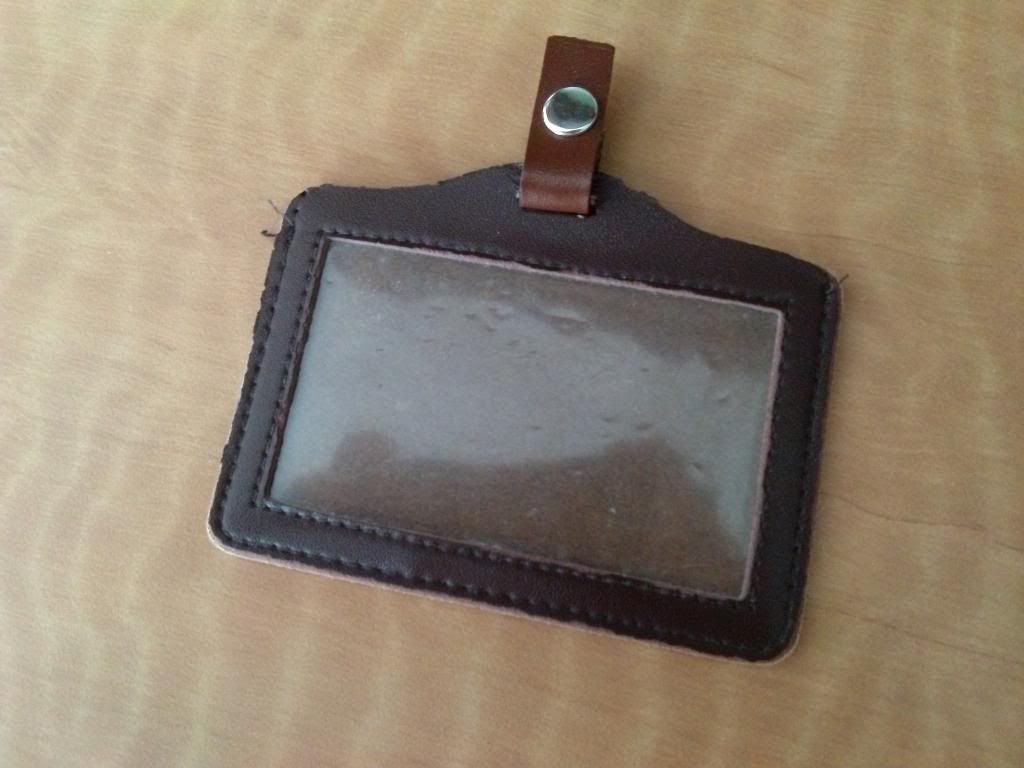
As I had mentioned before on a couple of previous posts, I was and am still planning a crafting post sometime later. Finally, I had done one, and I am quite eager to share what I had created in this post! I wanted to start out small, since I have not crafted in awhile. So why not start out with this plain ID card holder/tag?


This ID card holder was one of the numerous gifts that was given to me from my grandmother during one of her annual trips to China. It did not occur to me how frequent I was using it until typing up this post, since I often use transit. Actually, it is a combination of that and honestly not feeling like constantly pulling out my wallet out and having to dig around in the numerous pocket slots for the bus pass. The ID holder originally had a clip on the strip end of the ID holder that allows the ID to be clipped onto a top or shirt, but came off after a combination of moderate usage and some rough handling. I don't even bother clipping the ID holder onto anything, so it didn't really bug me, and I usually store the ID holder in a separate bag pocket anyway. However, after constant usage of the ID holder, I do realize that it is quite plain. So why not revamp it up Hime-style?

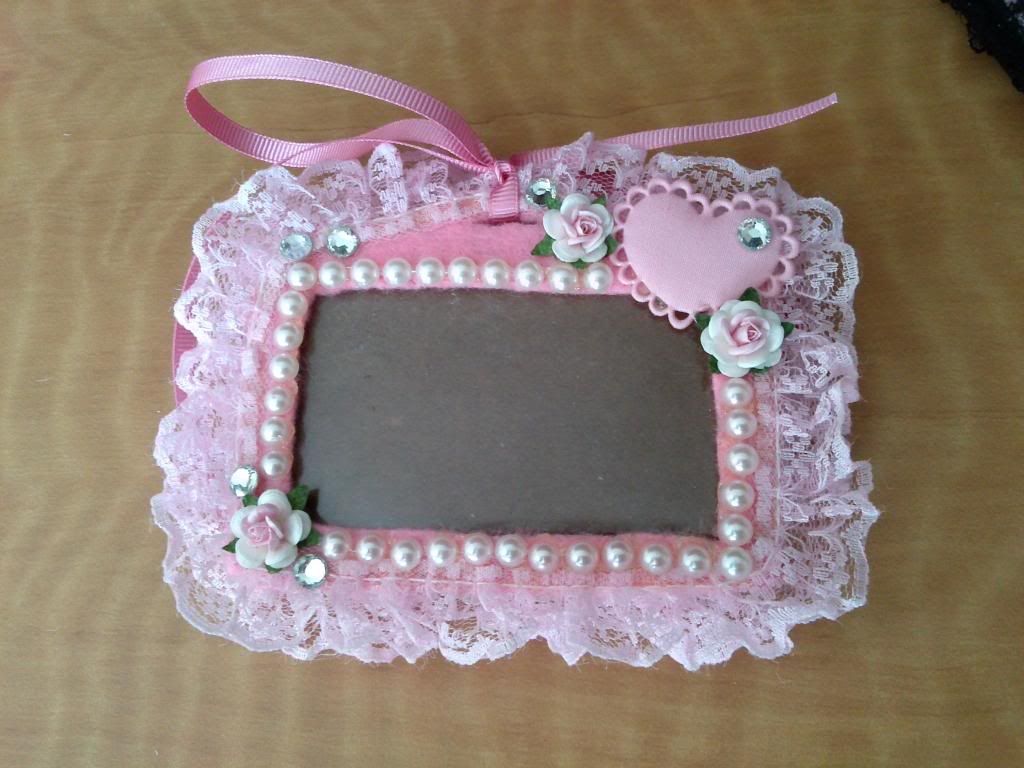
After some delicate and careful work, this is what I had gotten as a result!


Monday, 6 August 2012

Everything is Better with Roses! and H&M Haul!

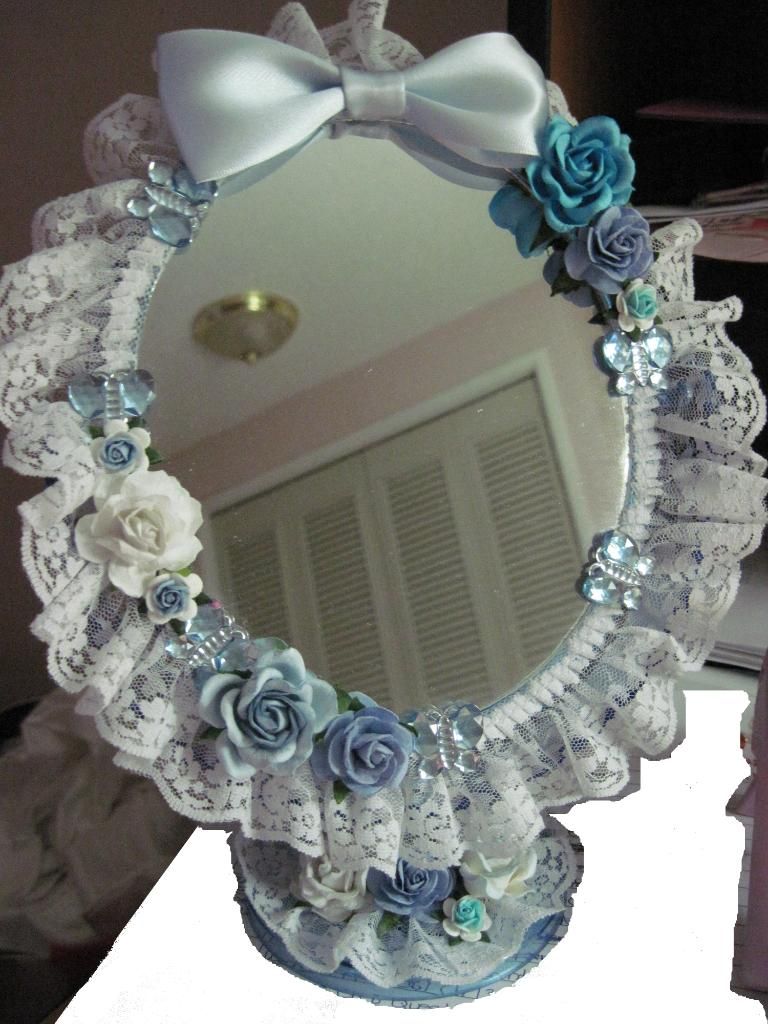
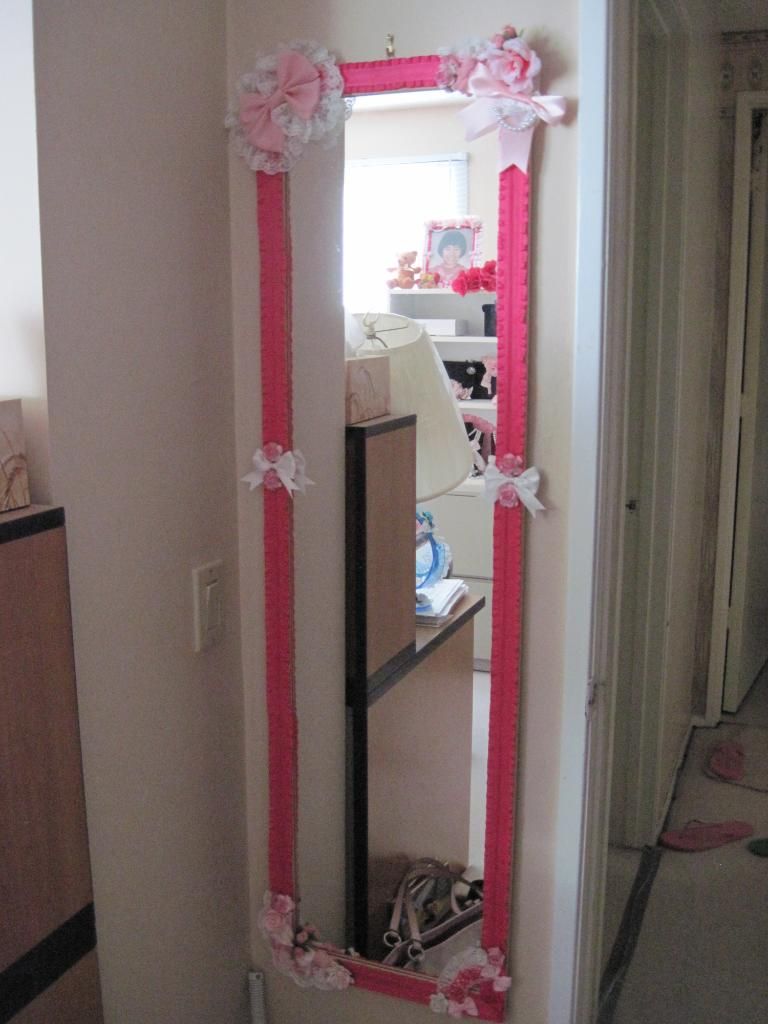
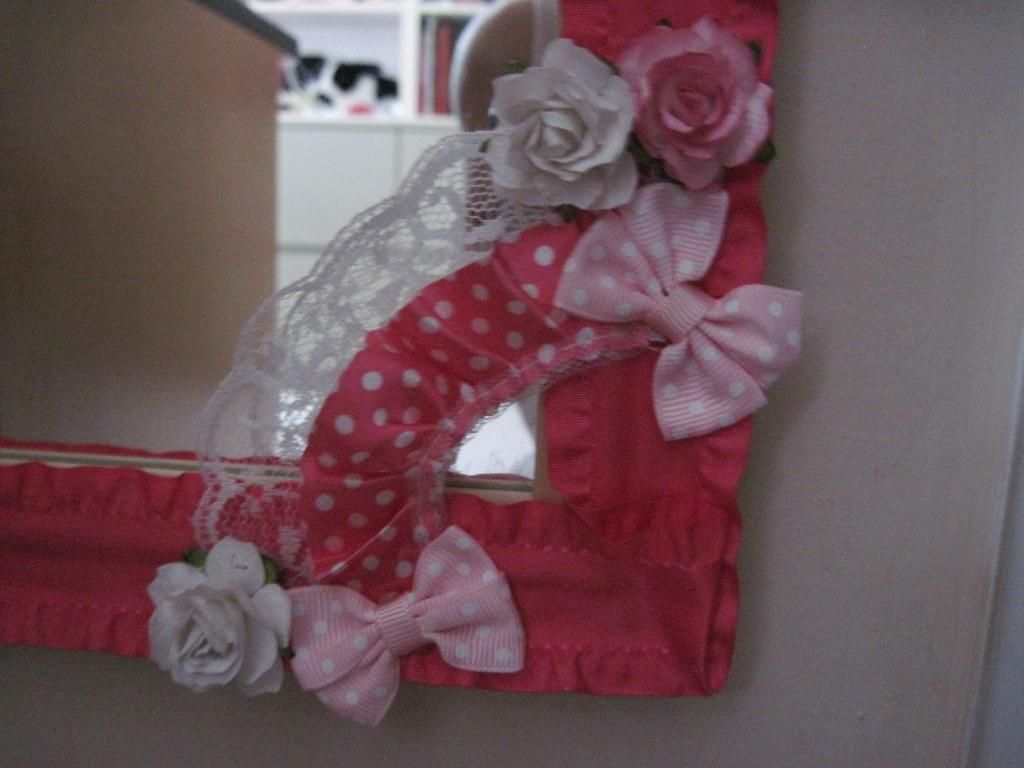
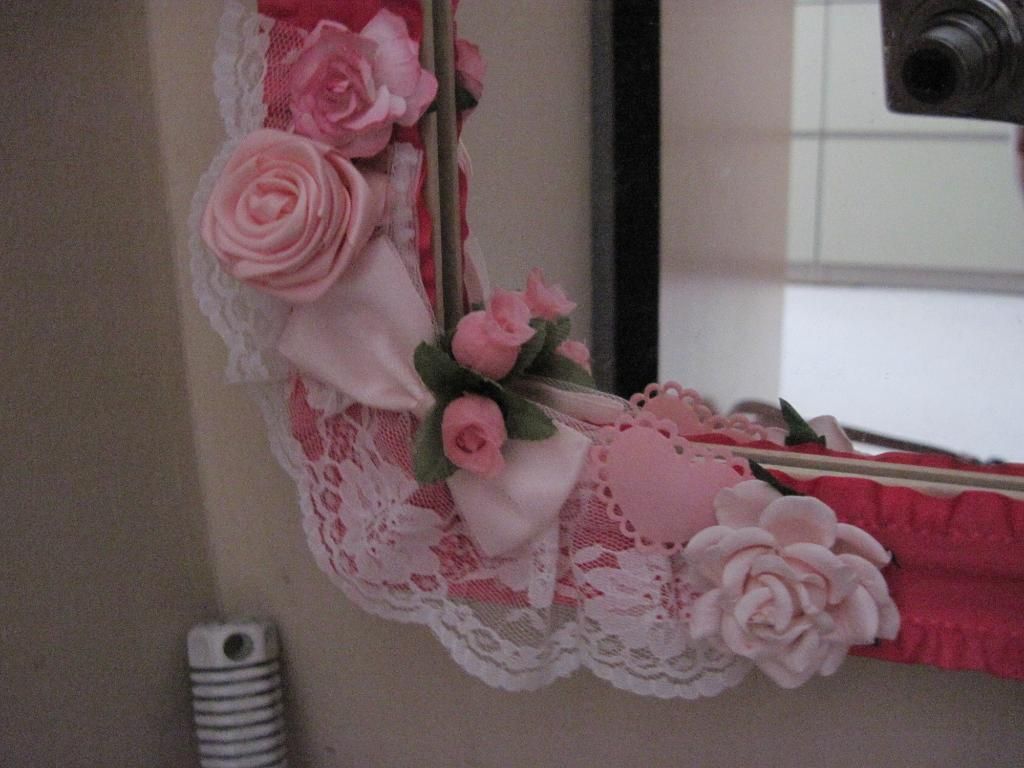
Remember a while back when I had made that review on Wild Orchid Crafts? Well I had basically put some of the flowers in action with two of my mirrors. Not sure what I'm talking about? Well let me elaborate...

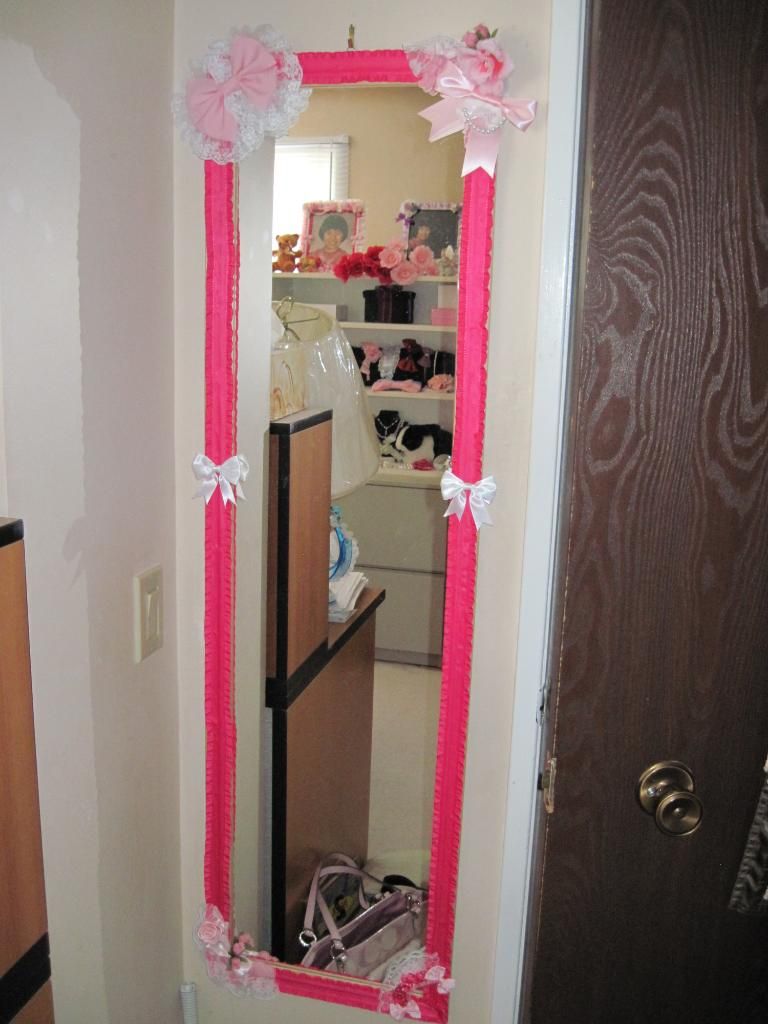
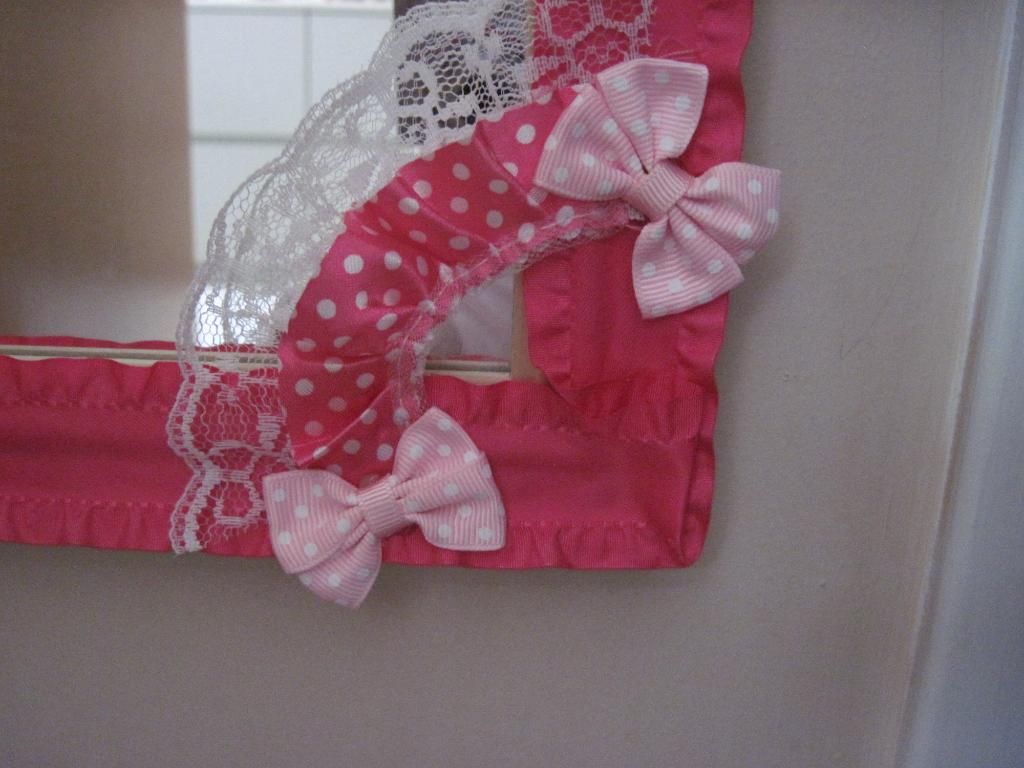
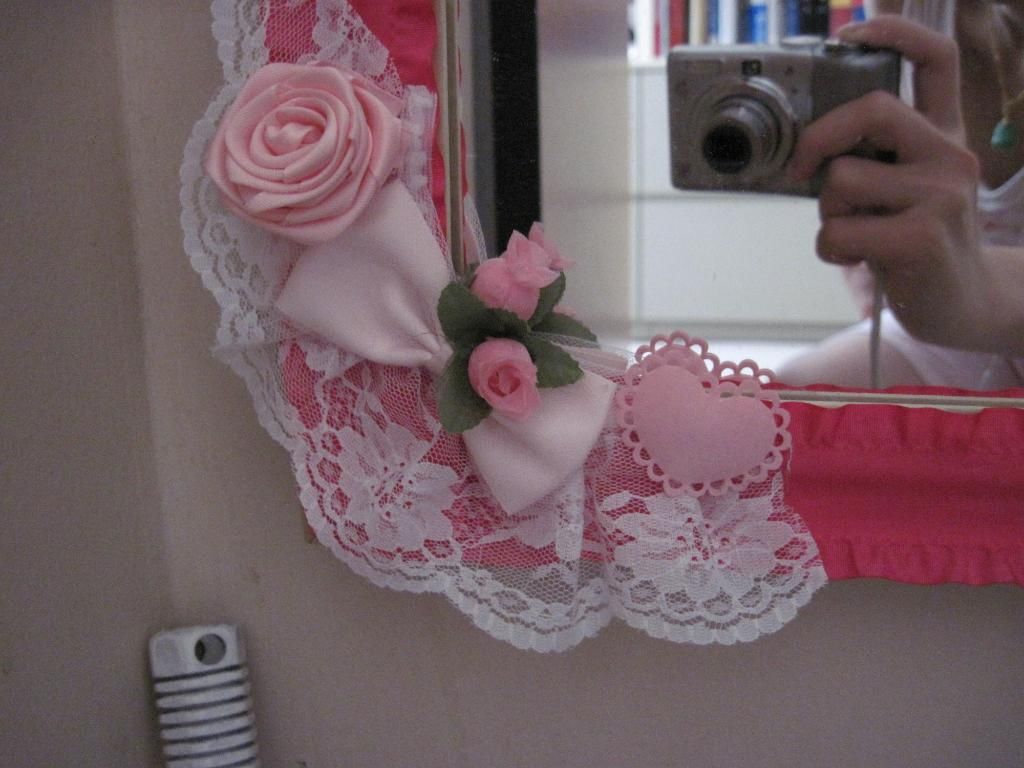
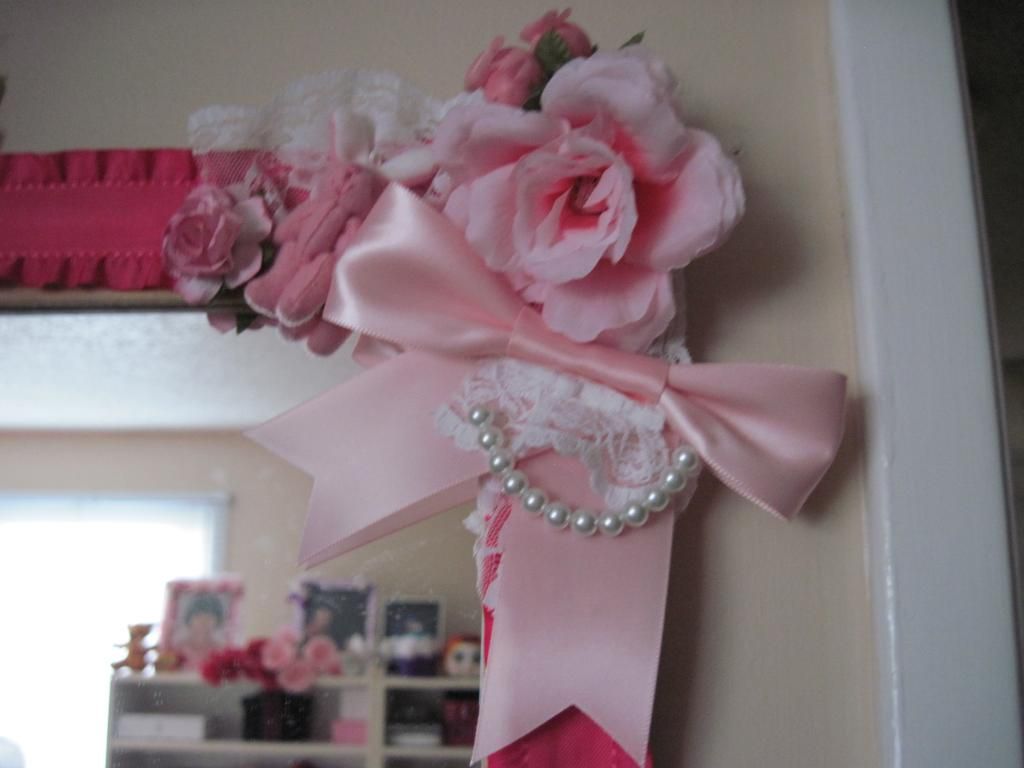
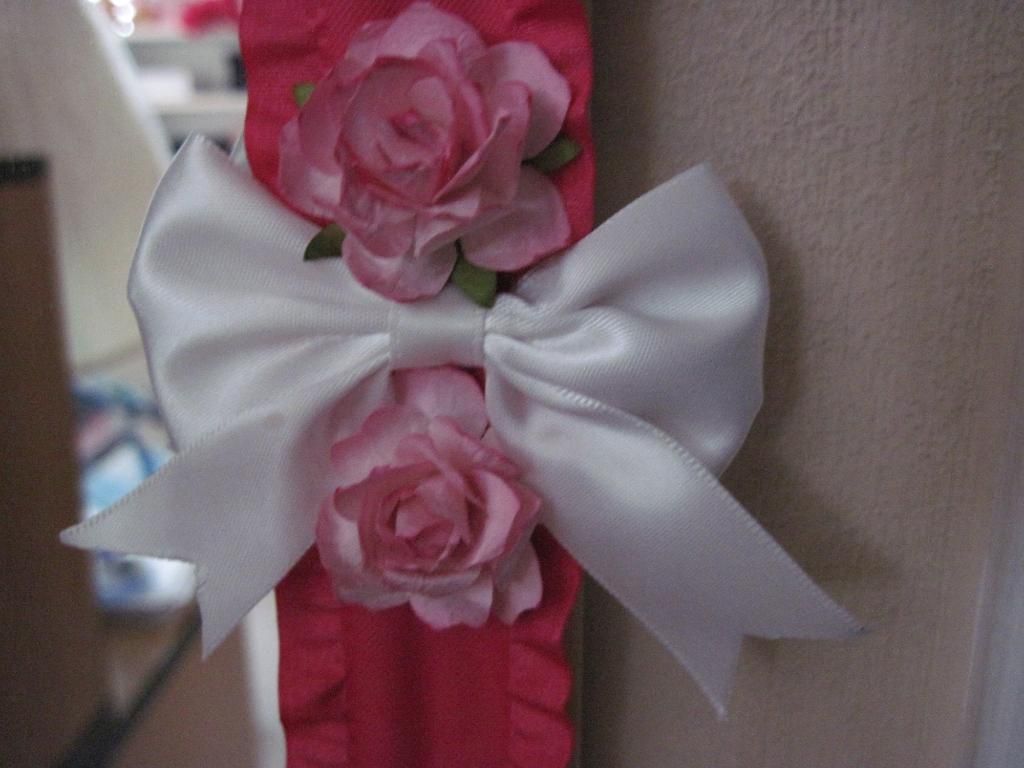
Previously, my mirrors were still just mirrors. Plain old mirrors that you could find just about anywhere in any general store, even though one of the mirrors was given to me as a gift. Eventually, I started up a major project to have my room completely renovated to match my Hime tastes, and in turn deco-ed two of my existing mirrors, as shown here and here. At the time, I did not really have a lot of roses on me and I did not have much luck trying to find regular fabric roses or even foam roses! I did not know how you all did it, since I had already seen a couple of tutorials incorporating rose heads. So for the sake of this blog, I am just going to assume that you all had (have) better luck than I do. Due to the lack of roses therefore, I do not have much artistic liberty when it comes to decorating the mirrors.

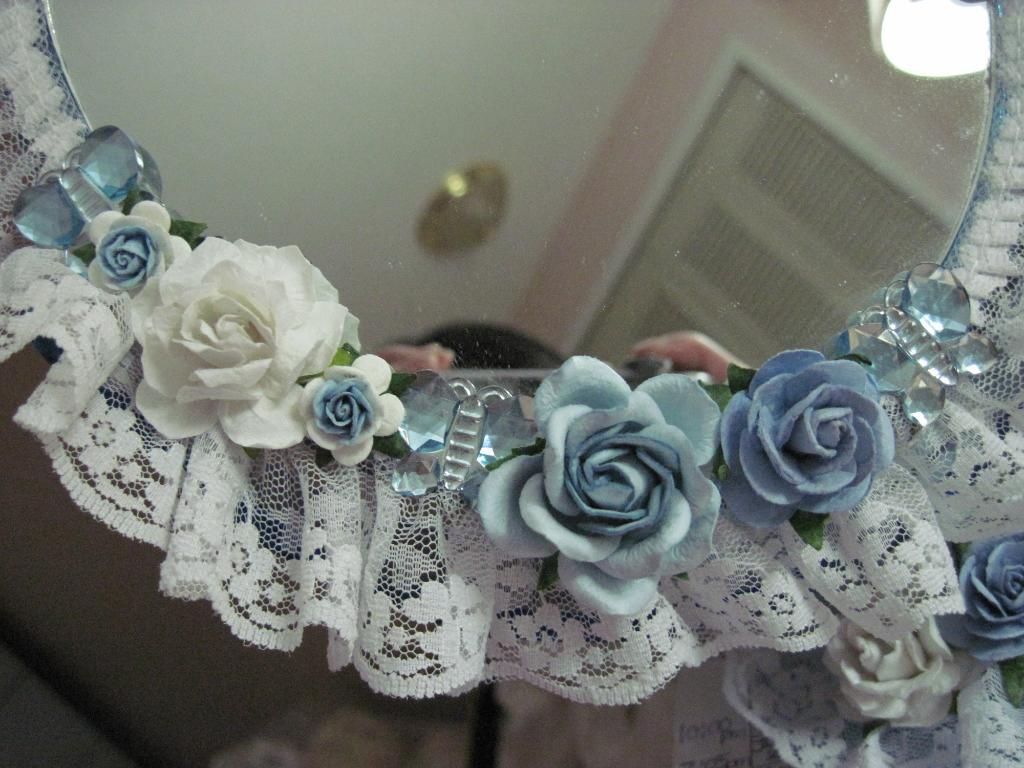
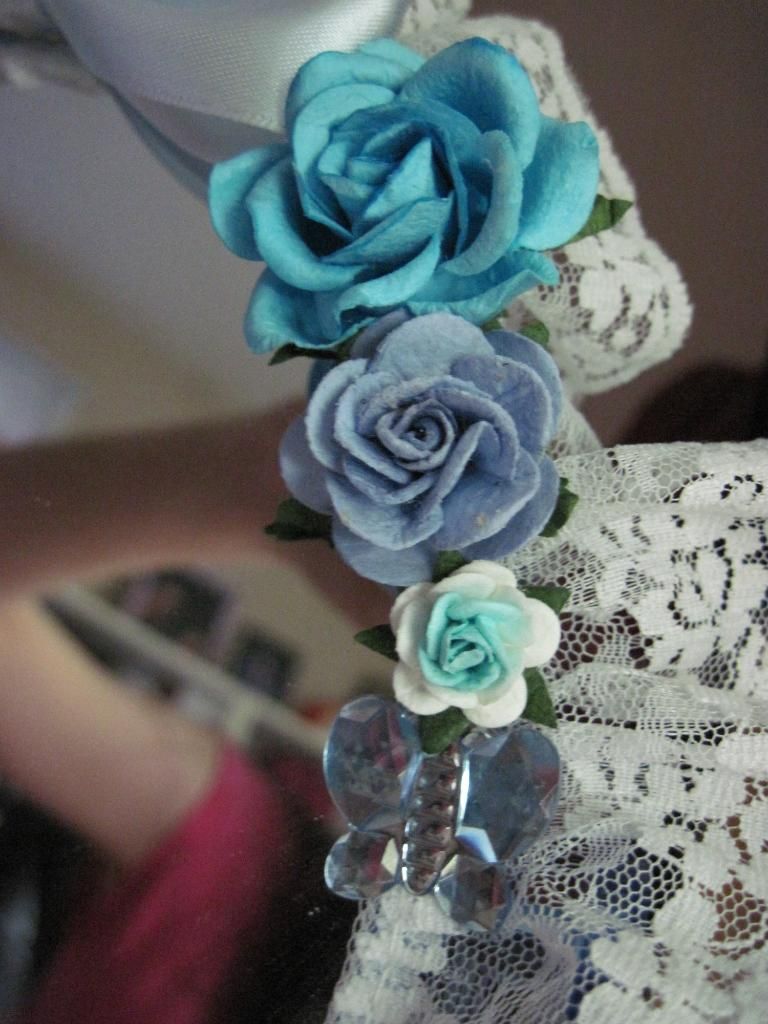
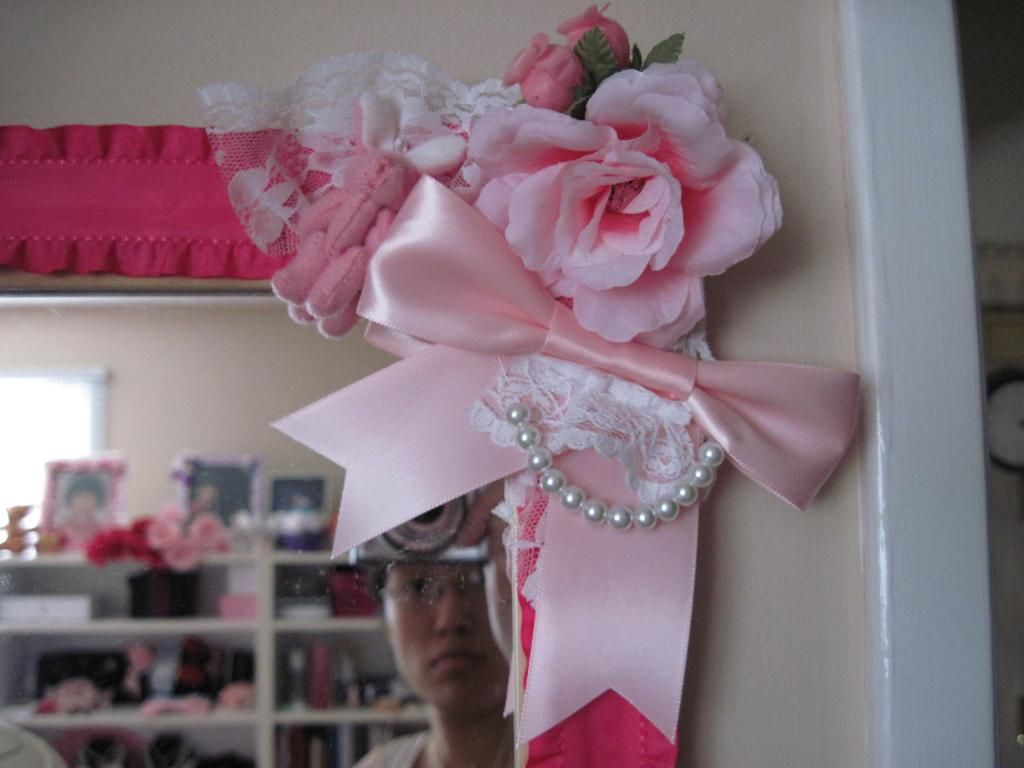
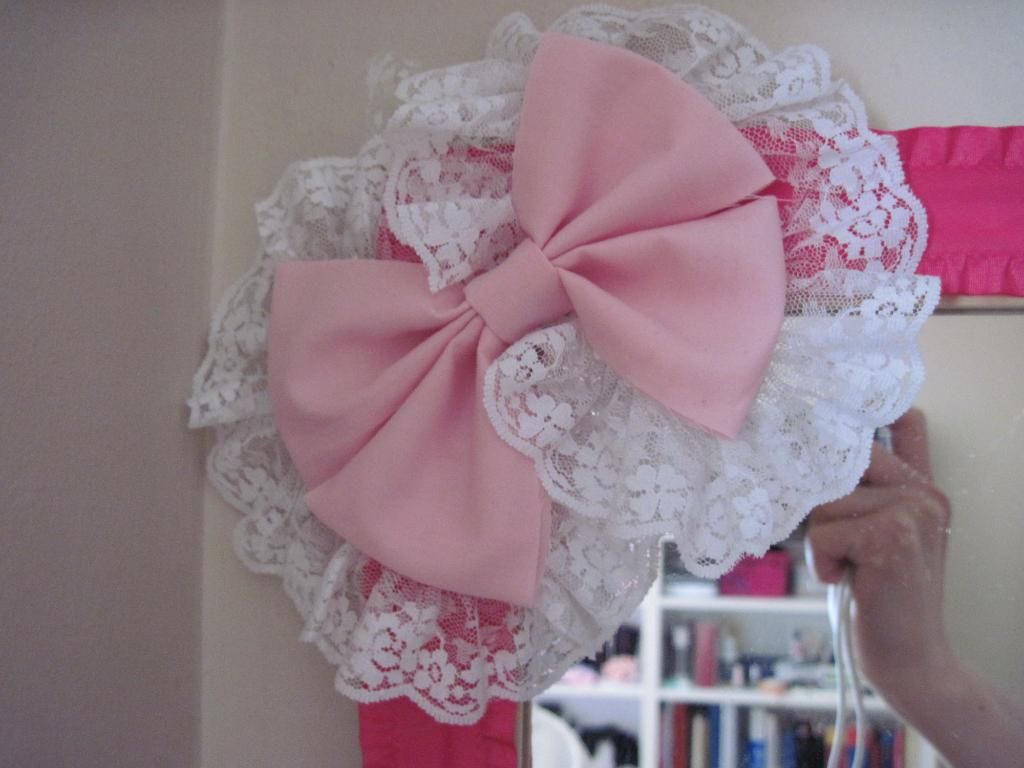
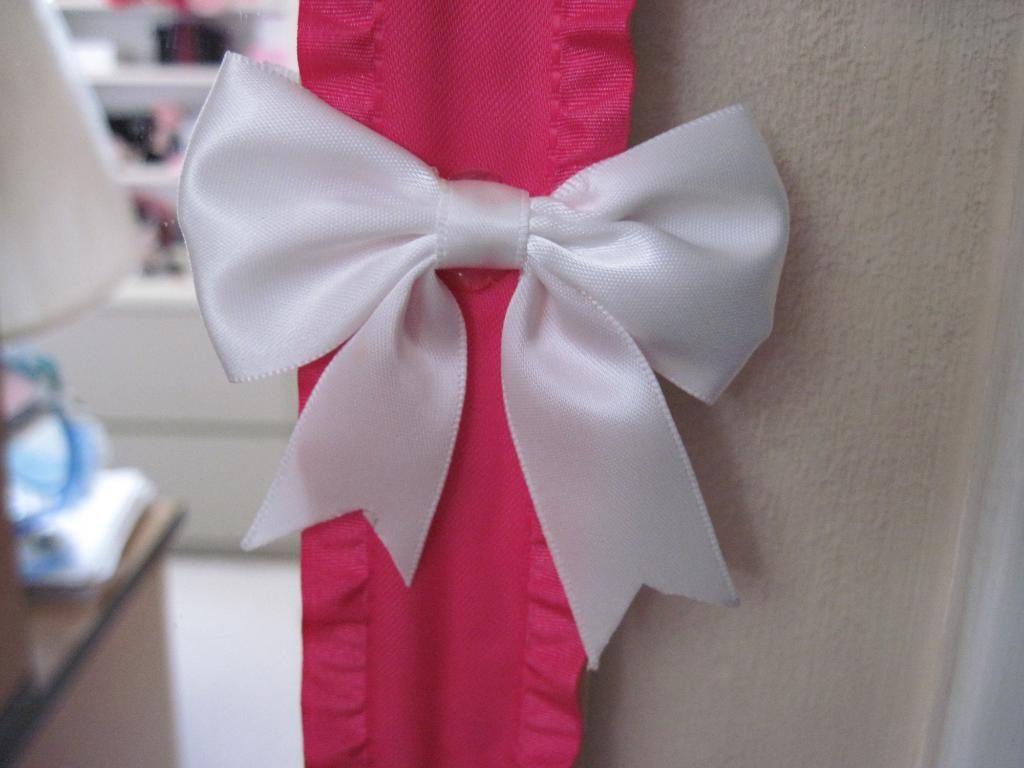
This is where the WOC review comes in. Luck turned my way once I had discovered the website and ever since, had basically gone crazy with the things. I had been crazily gluing roses onto everything that I can set my eyes on and the mirrors are no exception. Here are the before and after shots of each mirror, and the detail shots.

Before and After (Desk mirror)

 
Details


Before and After (Full length mirror)

 Can you play "spot the difference"?

Details

  NOTE: First five pictures are details from before, next couple are details from after


What do you think? I think the roses had greatly improved the look of both mirrors, especially with the blue one. I thought it was too plain with only the blue butterflies and lace. 
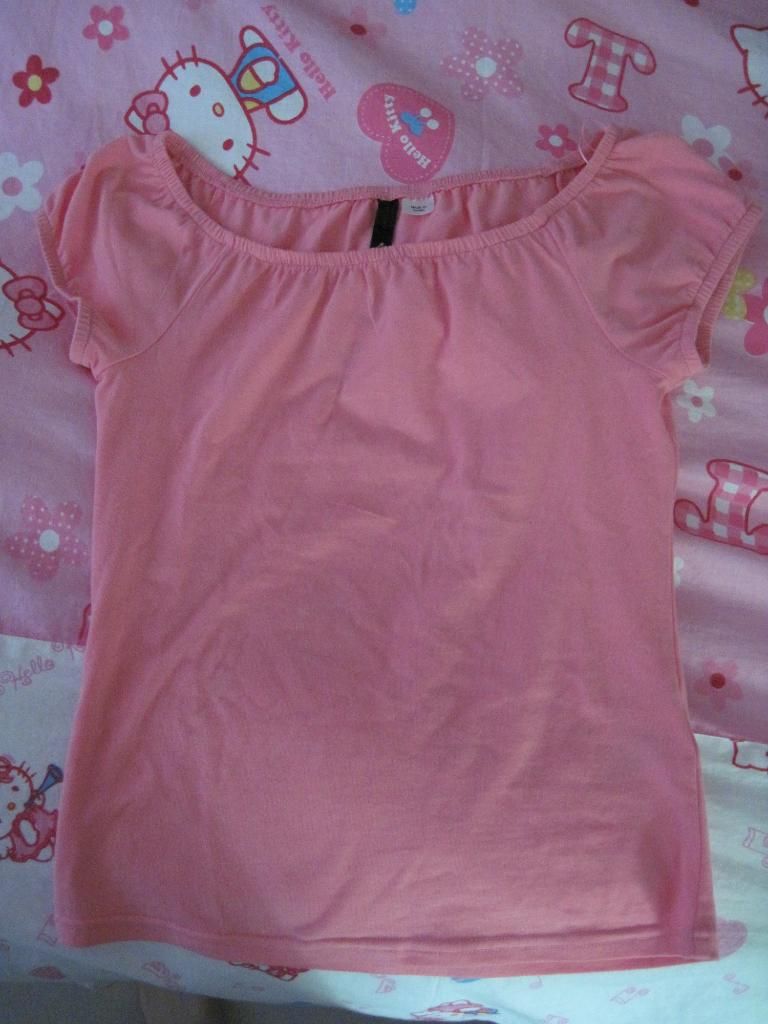
On another note, I had made a small purchase at my local H&M after watching the Dark Knight Rises! By the way, it is a very good movie and definitely something movie-goers should check out if they had already checked out Dark Knight!

Anyway, H&M had a few pink tops on clearance for $5 and after trying the bigger size on and finding out that it fitted perfectly, I just HAD to get one! It is in the shade of pink that I love too and has a lot of Hime deco potential! 


Related Posts Plugin for WordPress, Blogger...