Hello everyone!
It seems that no matter how hard I try to blog frequently, I always seem to find time running away from me. I am pretty sure that I am not the only one. I mean it is already in the middle of July, and I haven't even gotten through half of the deco ideas that I had planned up on my inspiration/ideas board! So for the time being, I am going to try my hardest to get through the projects while working on the side.
I also realize that I have been gradually neglecting my goals as a hime in training, and I have to say, have no fear! I am still slowly but surely working towards those goals. It just does not seem as prevalent as of right now. Even though my hime goals are pretty much on the back burner, I do know that I might absolutely get a 1) half wig and 2) circle lenses. I had been diligently browsing through websites to try and get a good deal on either of those items, but we shall see how that goes.
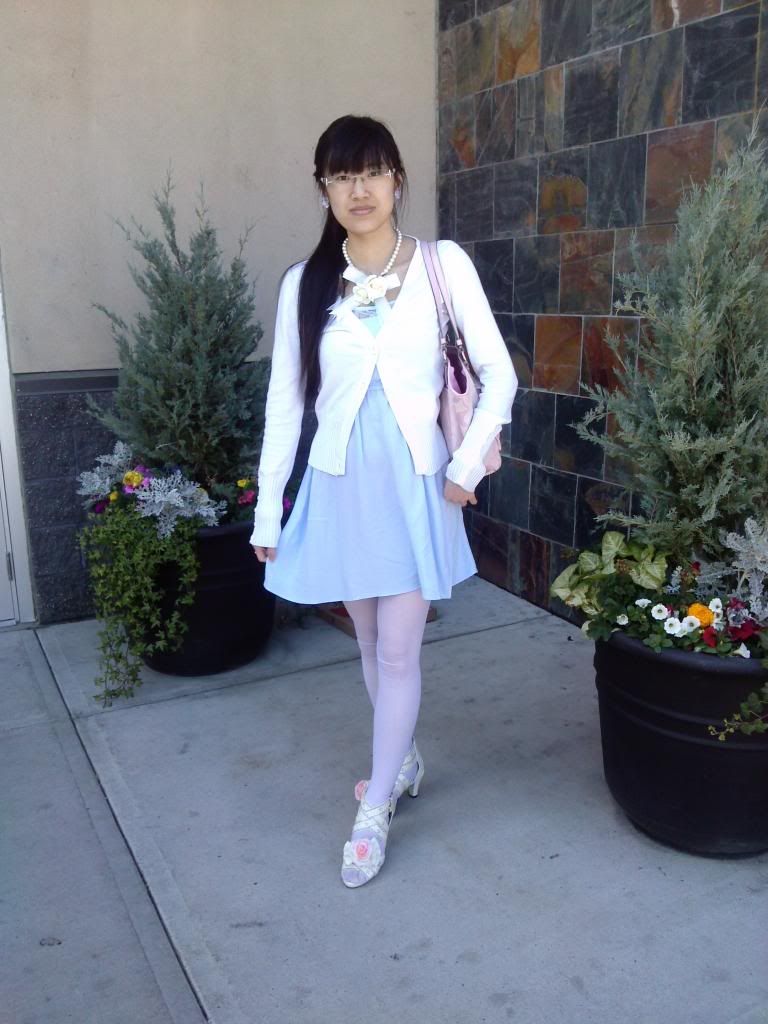
Anyway, here is a casual outfit that I had worn on one of my shopping excursions. I had finally gotten the chance to coordinate the lavender-blue dress that I had bought from H&M ages ago, since I honestly don't have a lot of items that go well with this particular dress. In other words, not enough lavender things. I should be able to hopefully fix that in one of my upcoming crafting marathon projects! ^^;
Dress: H&M
Cardigan: Urban Planet
Shoes: Yumetenbo
Bag: Coach
Accessories: Taobao (Necklace), Spring (Earrings)
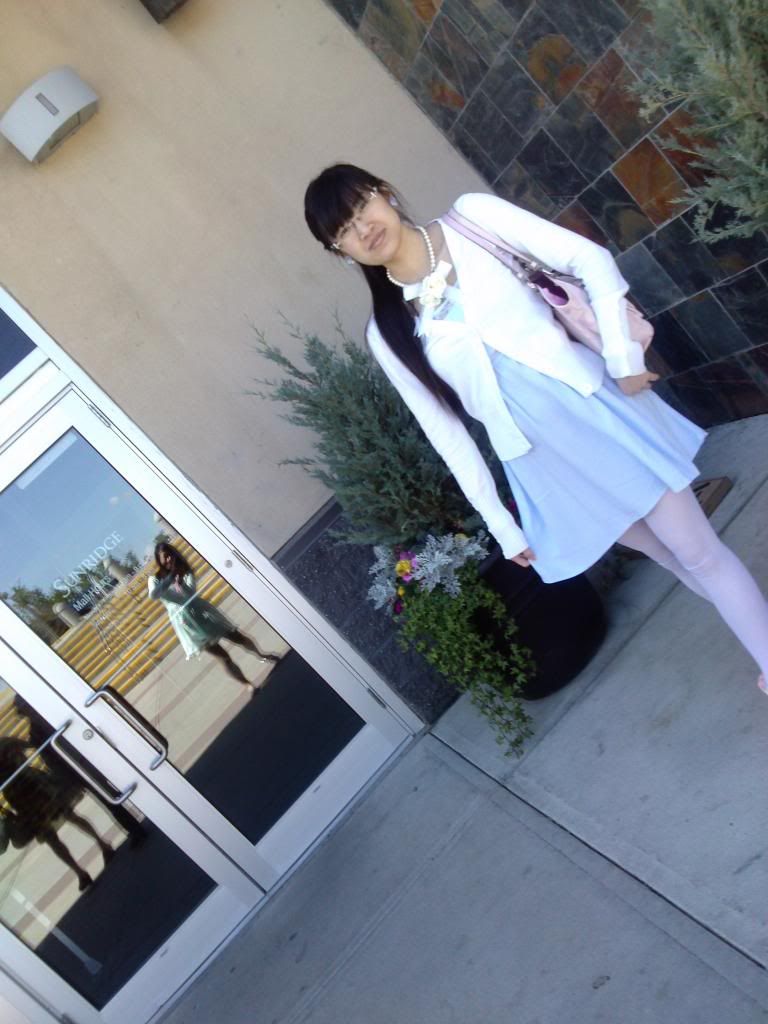
My photographer (sister) pulling off random shenanigans
There are times where I truly treasure my beloved Jesus Diamante wallet and there are times where the bulkiness of the wallet can be an inconvenience. This happens to be one of those times. Ever since I had bought the Jesus Diamante heart bag a while back, I had hardly used it! So to fix that, I decided to make a new wallet. Thus, a new tutorial was born!With that being said, if anybody that has a small bag of any sort, whether it be a heart, dog, star, rainbow, or even a cake, feel free to check out this tutorial!
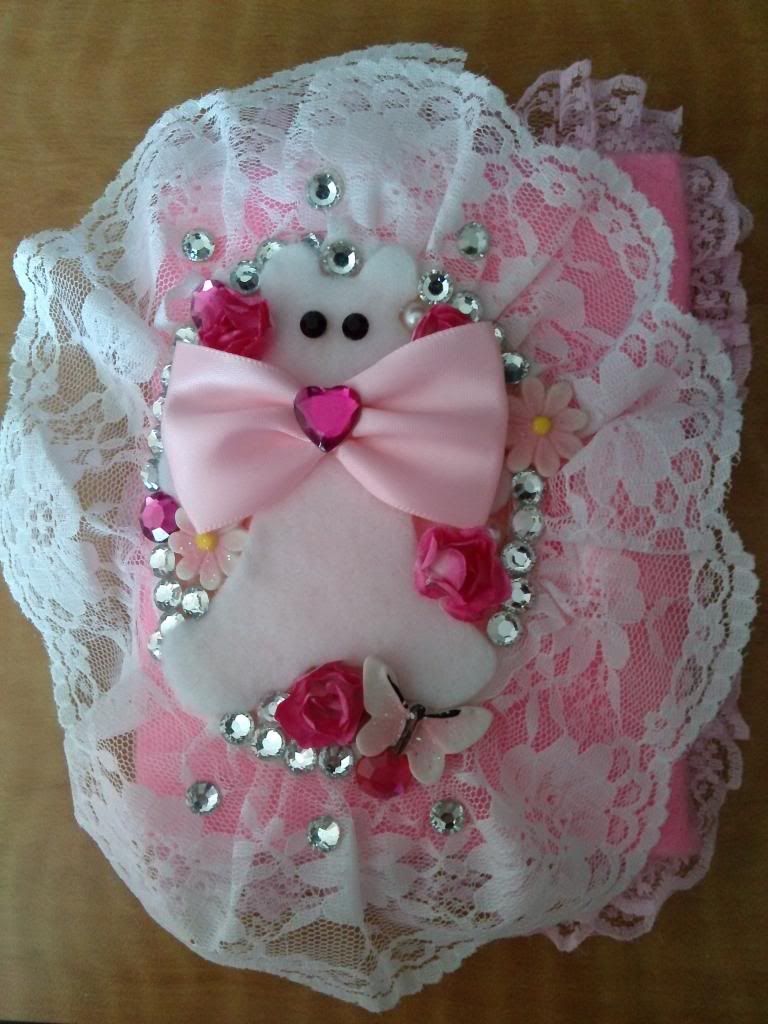
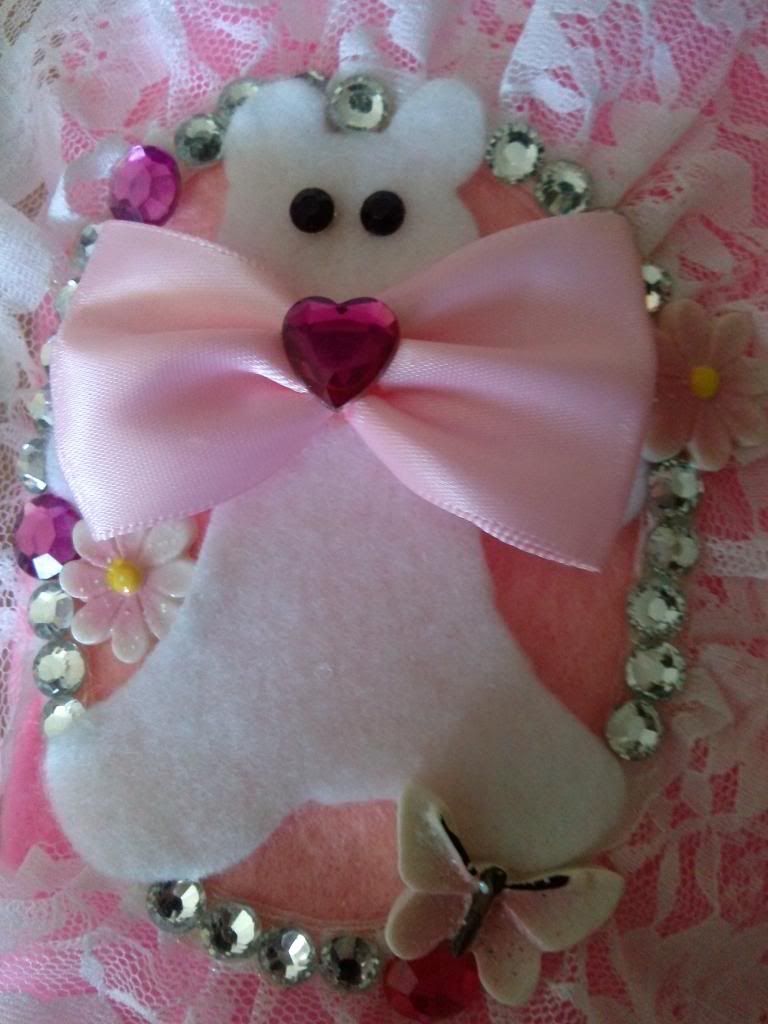
This is the result.
- Thin cardboard paper/paper stock (basically any cardboard paper that can be folded)
- Felt
- Needle and thread
- Lace trim
- Any deco piece (Roses, rhinestones, butterflies, bows, bears, etc.)
- Scissors
- Glue gun
- Velcro
- Pattern Fabric (Optional)
Step 1
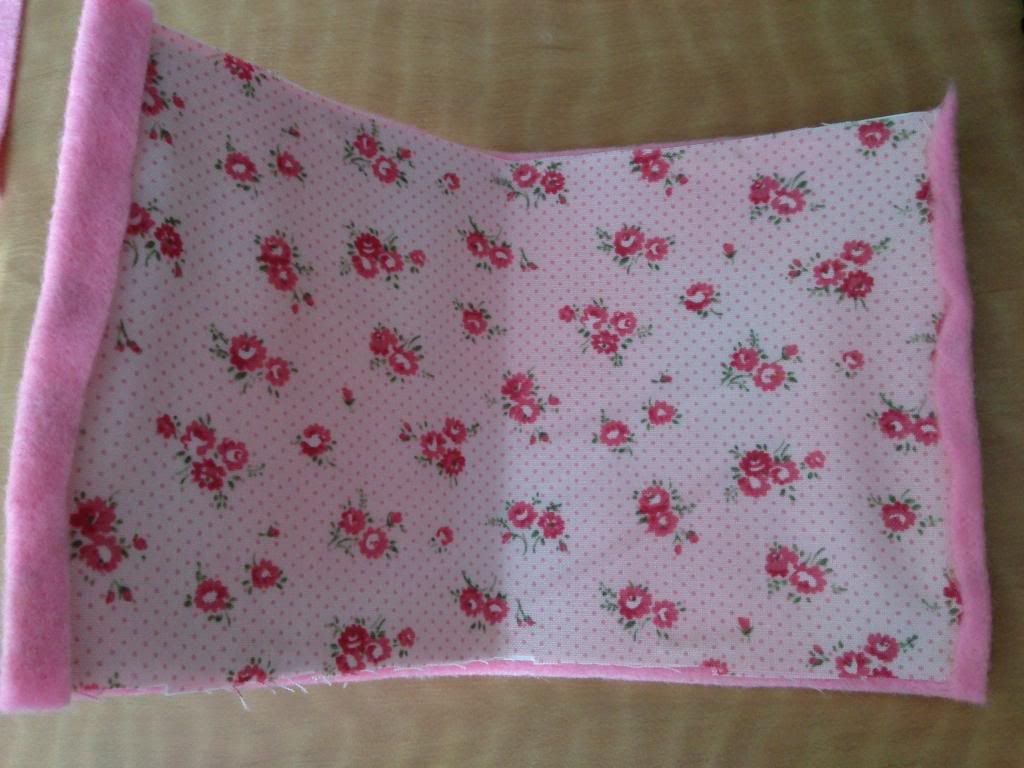
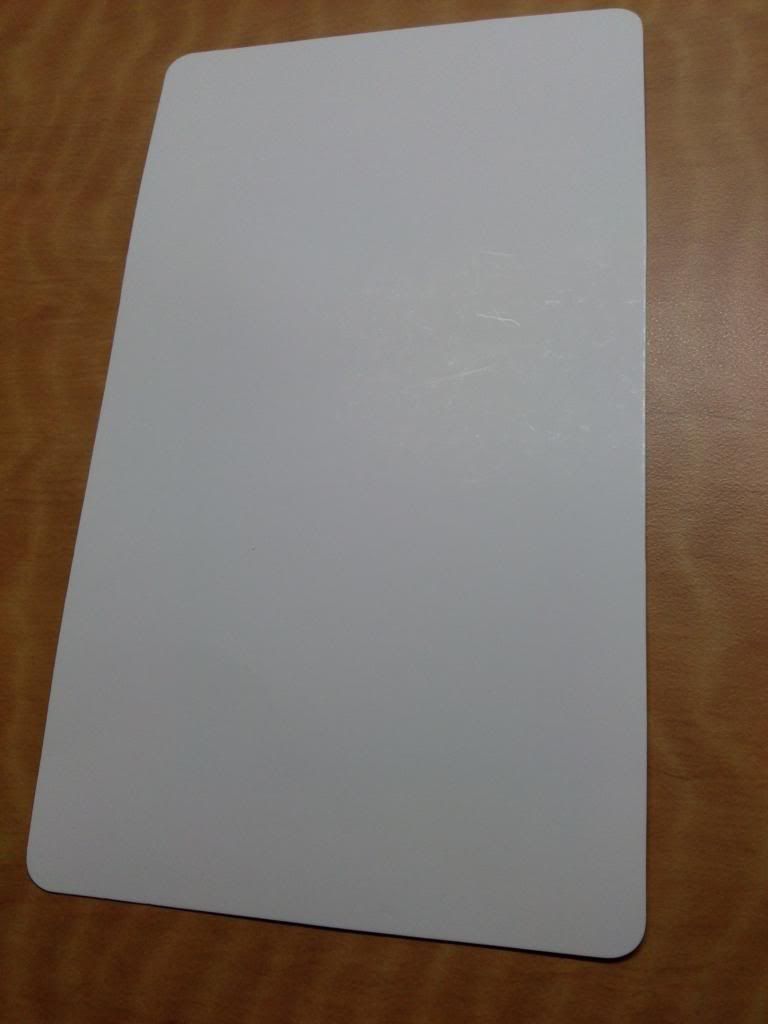
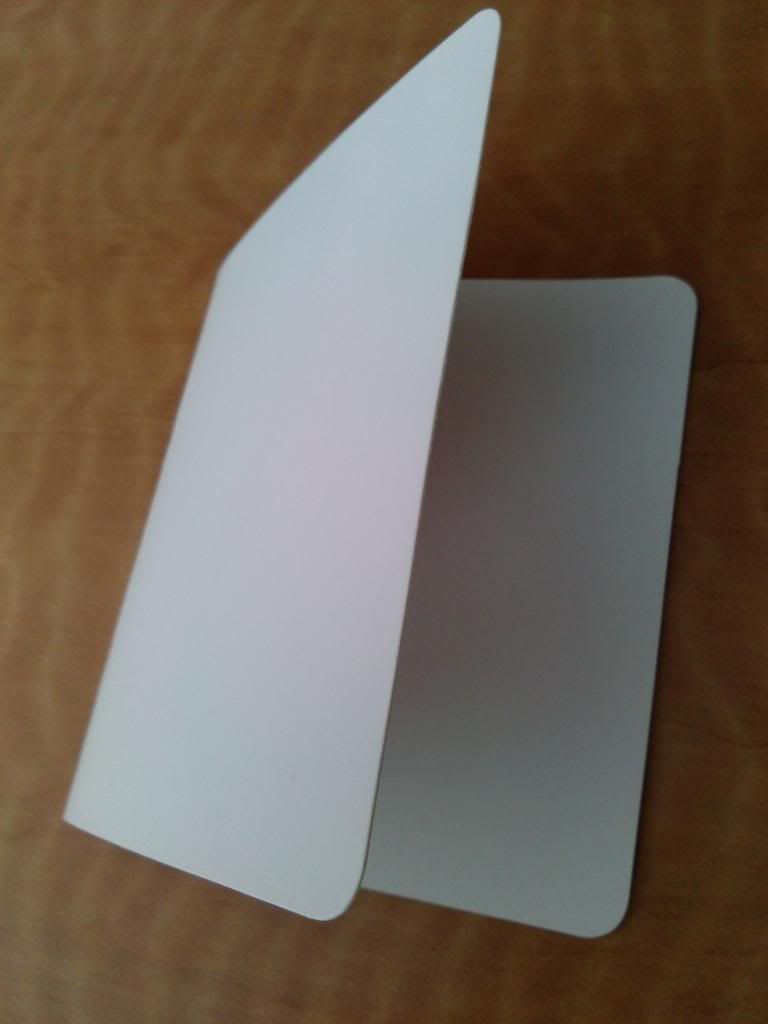
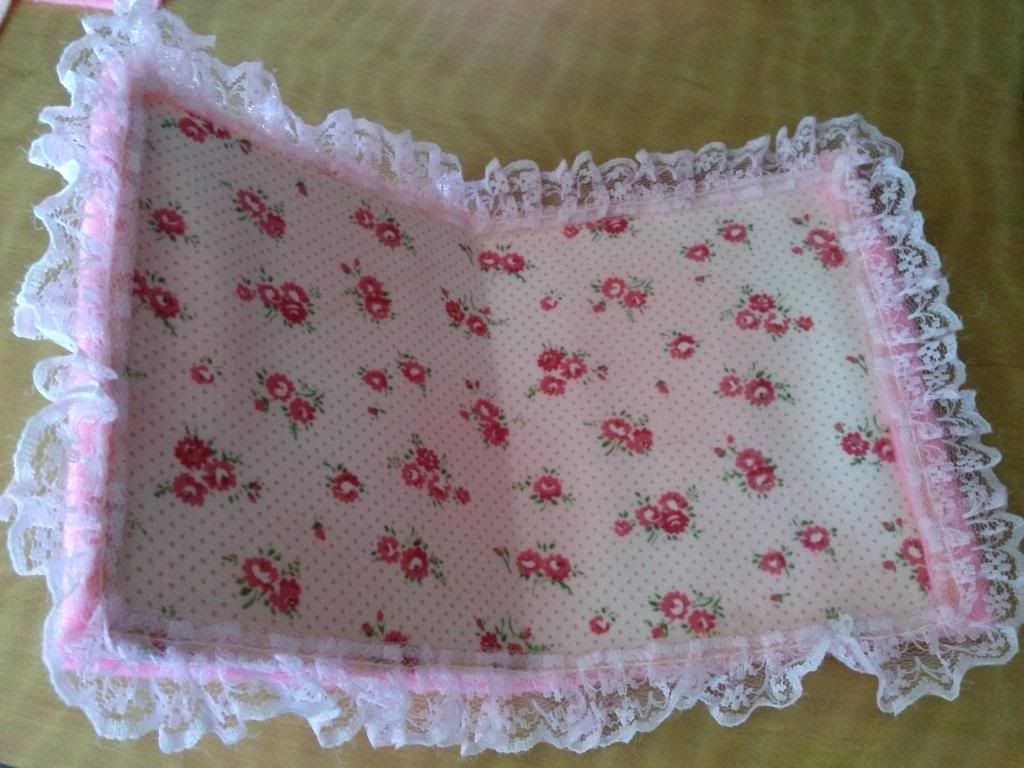
Take your length of cardboard paper and fold it in half. I did not measure out the length, since I had already gotten the length that I wanted. If you don't have the length that you want, then simply measure it out before folding.
Inside
Outside
Step 2
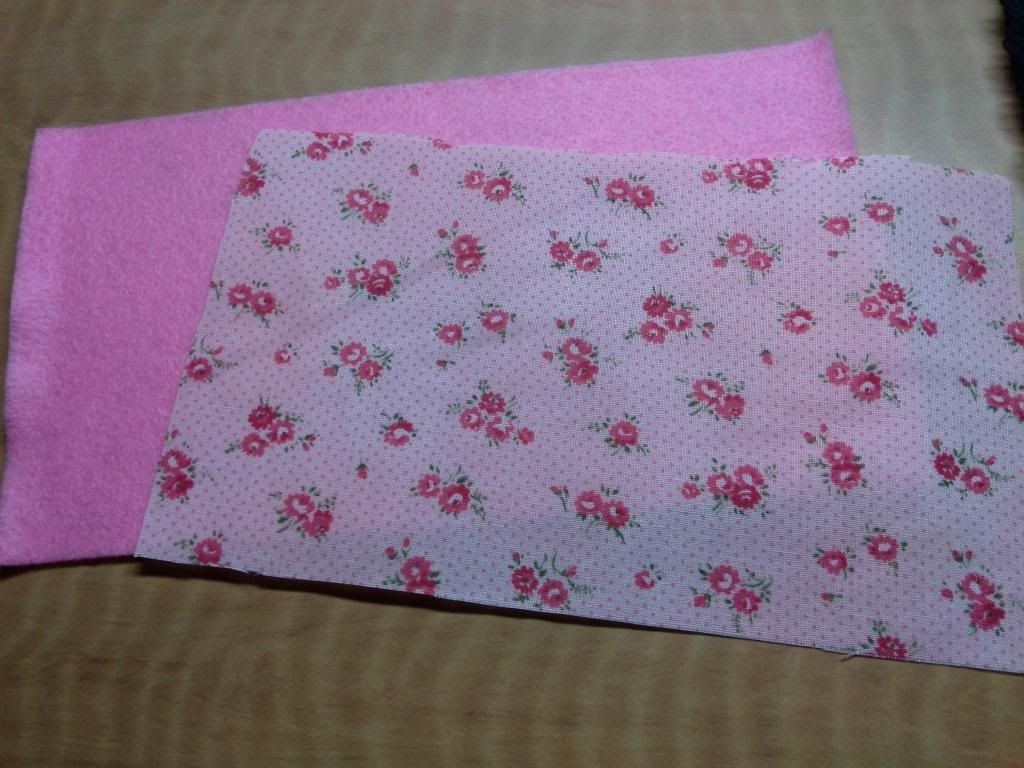
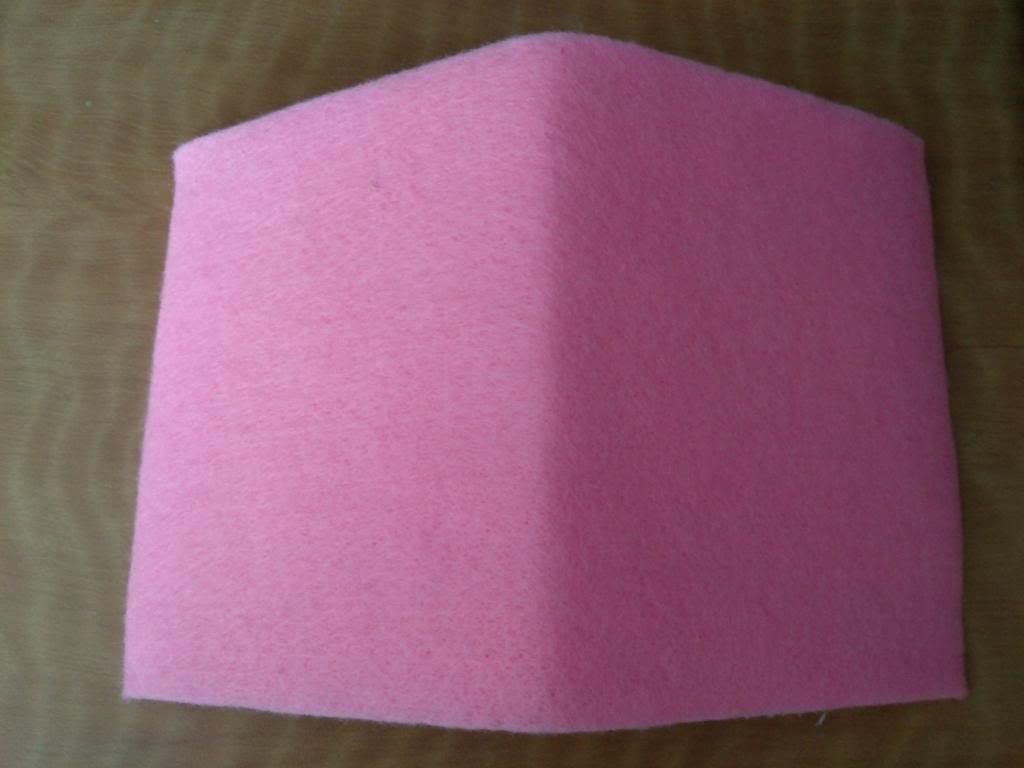
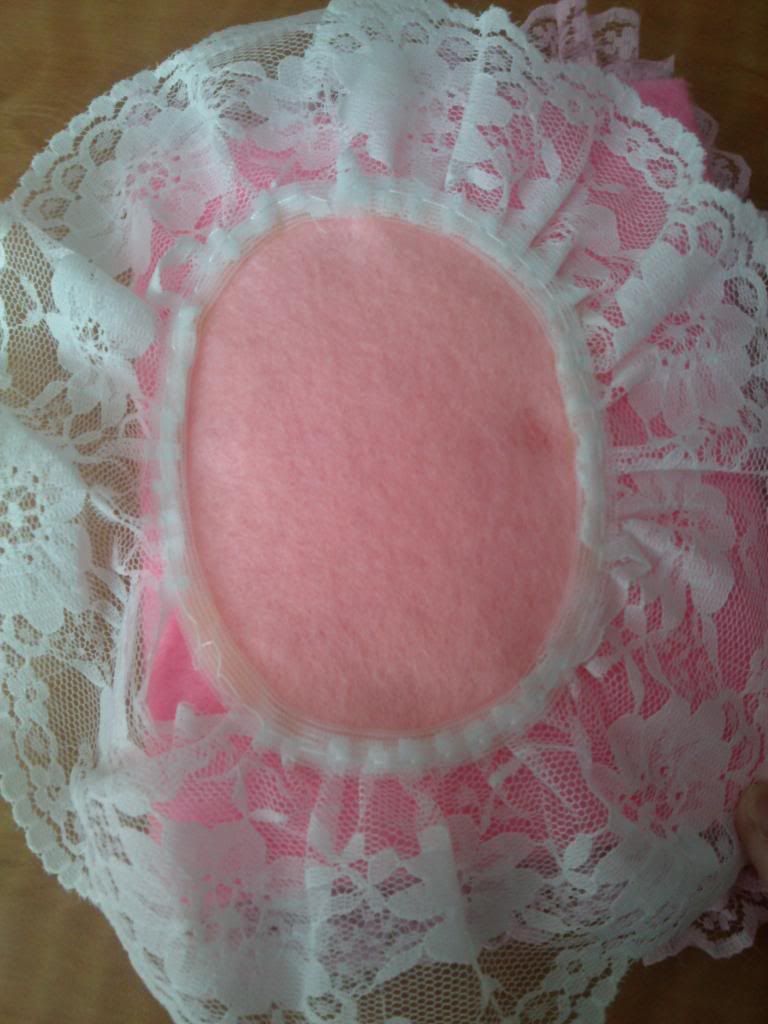
Measure and cut out two pieces of felt to approximately the same size as your cardboard paper. These will be used to cover both the inside and outside of the cardboard. If you are planning on using pattern fabric however, you may measure that out as one of your two pieces and will be used for the inside. Glue everything in their proper places. So far, your cardboard should look similar to the pictures above. If desired, you can glue lace trim around the edges on the inside after you are done.
Step 3
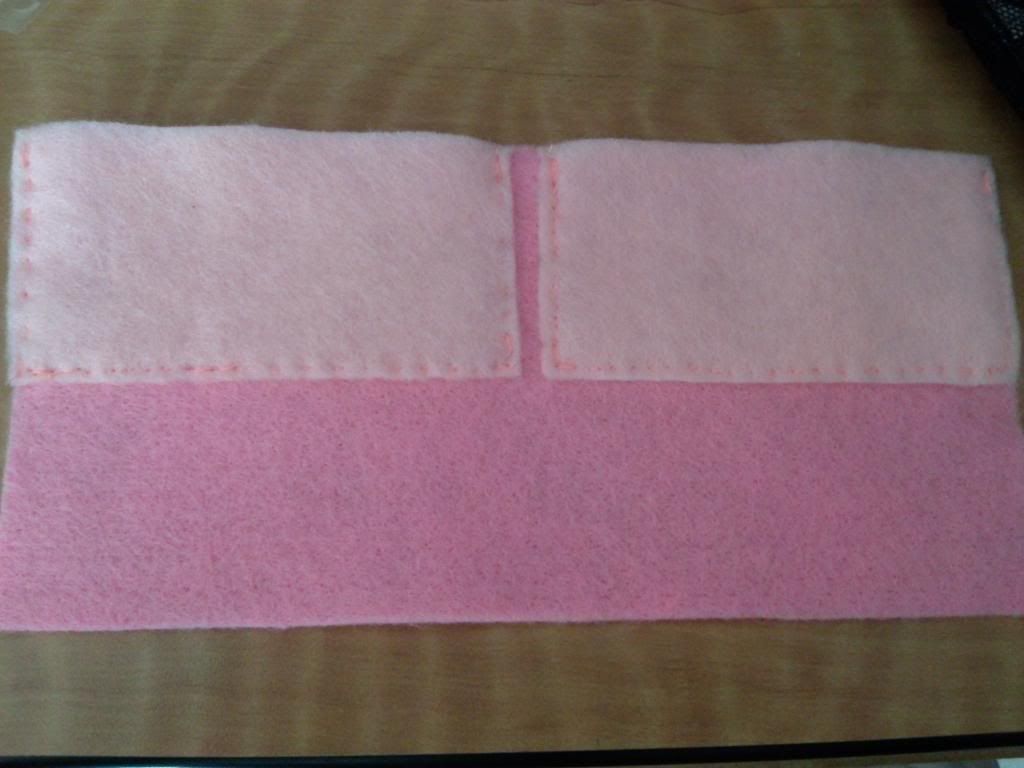
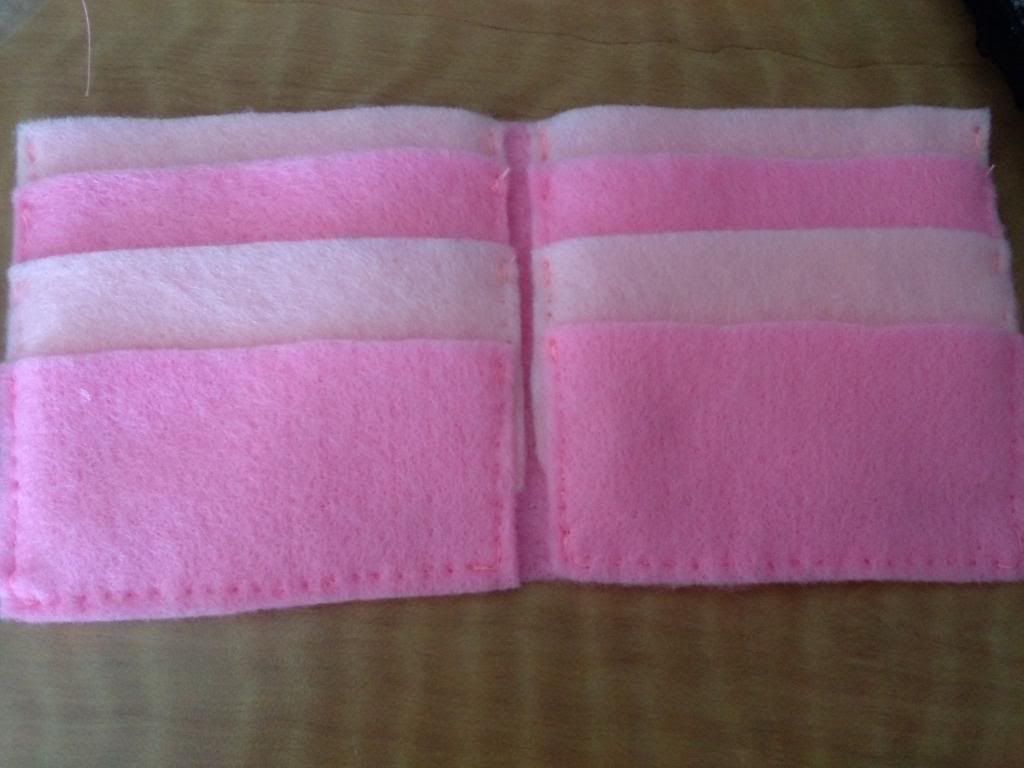
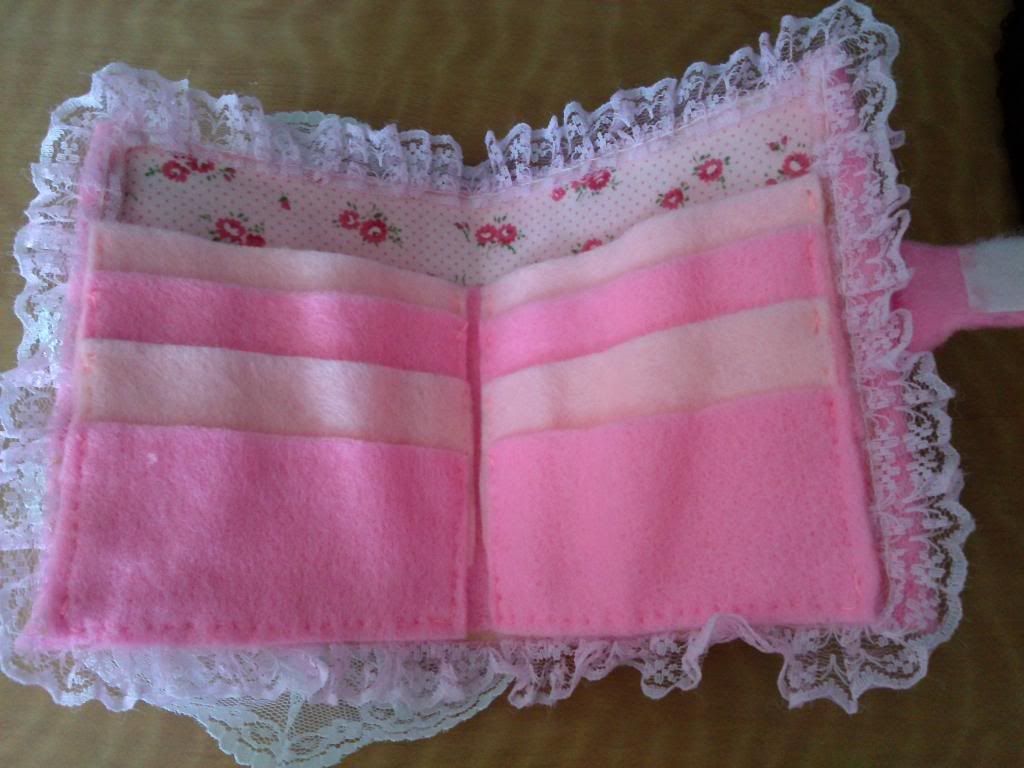
Measure and cut out another piece of felt, but have it slightly shorter in length than the cardboard. Measure and cut out two more pieces of felt, but this time have the size approximately halved in both length and width. The larger piece of felt will serve as the foundation for all of the card pockets while the smaller pieces of felt will serve as the card pockets themselves. There should be eight card pockets in total after aligning them all up as shown above. Start with sewing the upper pockets and then make your way down until you got them all sewn on. Afterwards, glue the entire foundation onto the inside of your cardboard.
Step 4 (Final)
You are pretty much done with the inside at this point! Now you have artistic freedom when it comes to the outside, since that's where all the deco action happens! This is how I had decorated my own (and yes, I had drawn and cut out the bear myself).
Hope you enjoy the tutorial!





Gahh that outfit is super cute! Love what you did once again. You're gradually becoming a craft queen haha ;)
ReplyDeleteThank you Emma! :)
DeleteOmg this is beyond kawaii! I am in love! I want to try this and when I finish mine I'll send you a picture :)
ReplyDeletexx
www.janicethitran.com (◕‿◕✿)
Aww thank you! I am very flattered! ^^ Can't wait to see what you do!
DeleteYou look so pretty, Wanda! *w* and love love LOVE those shoes.. /grabby hands
ReplyDeleteAnd geez, you are so crafty -- it's amazing! ♥
Aww thank you Caylee! ^^ Hehe you can always find cute shoes off of Yumetenbo! Once again, thank you for the compliment! I cannot wait to see what I do next!
Delete