
Just like what the title suggested, this is the continuation to the previous post that I had made on the headband holder. Originally, I had decided to just leave the headband holder as is and move on to other projects until I feel like modifying it or working on it again, but the state of the holder was bugging me, since the edges didn't look nice at ALL and the thought would not leave me alone until I had fixed them. I then decided to get off my lazy buttocks and continue working on the headband holder. Come to think about it, I
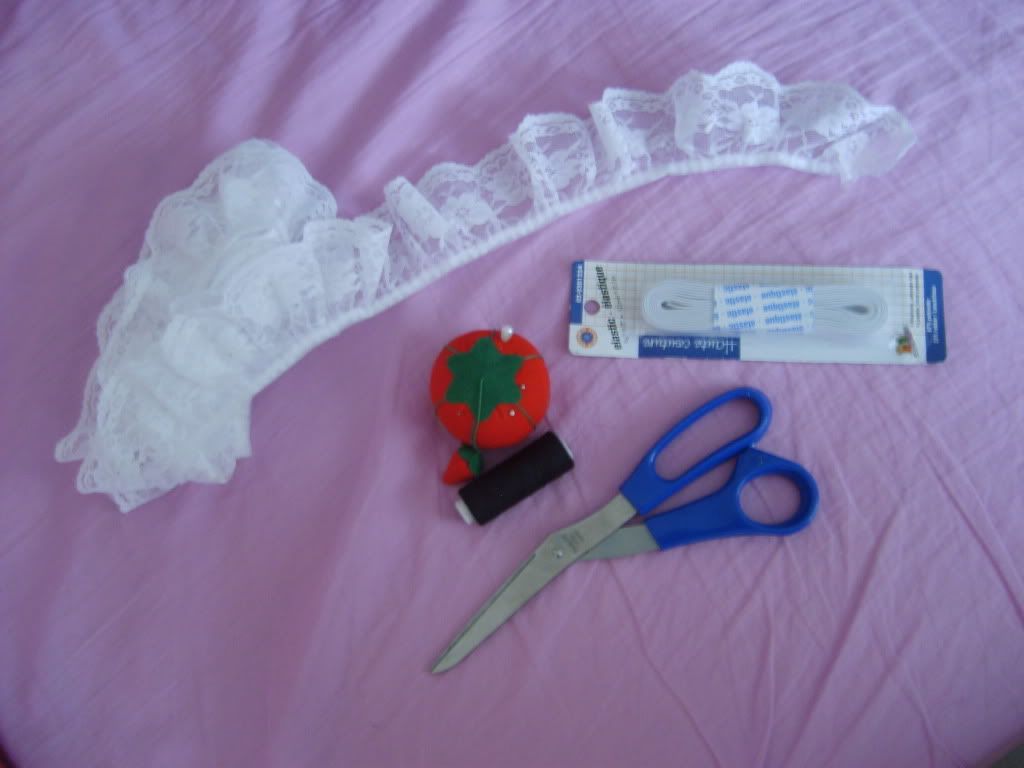
- lace
- needle
- black thread
- scissors
- elastic
- headband holder cover (made in previous post)
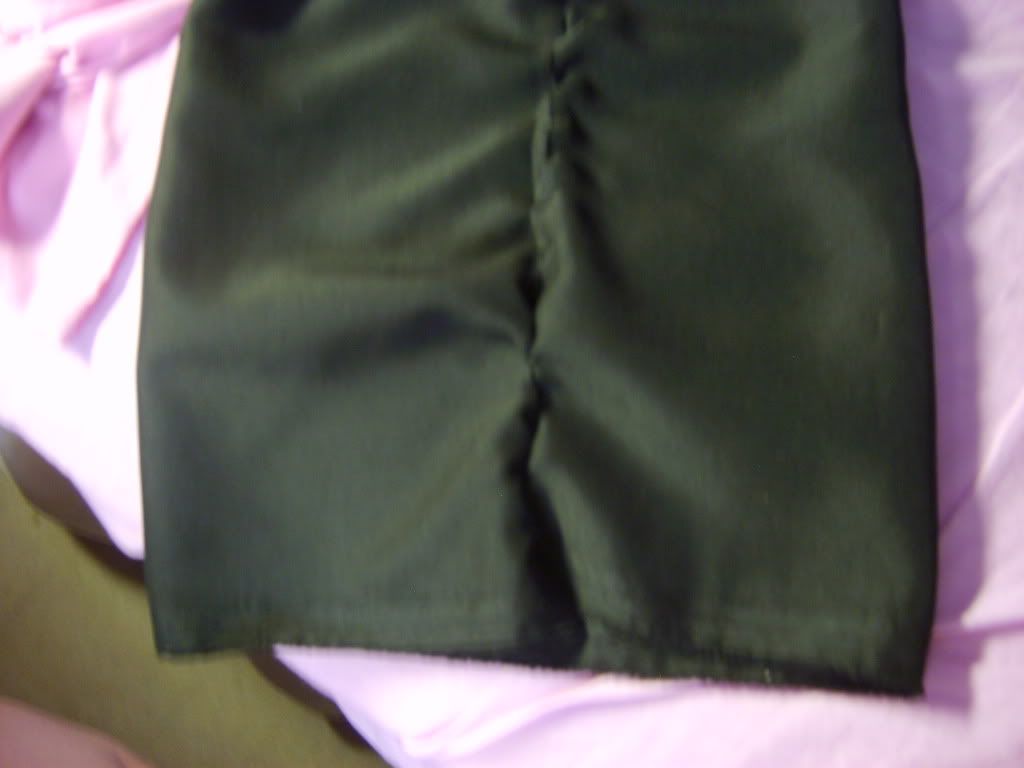
First what I did was took the cover off of the throw pillow and then turned it inside-out so I can hide the stitching that I had done on the outside.

I then fold the edges inward and sew them closed. I had to make sure however that the folds are big enough to fit the elastics through. What I did was that I had started at a certain point and then kept sewing until I got near the end (near being around 3cm away or less), where I just left it as is.
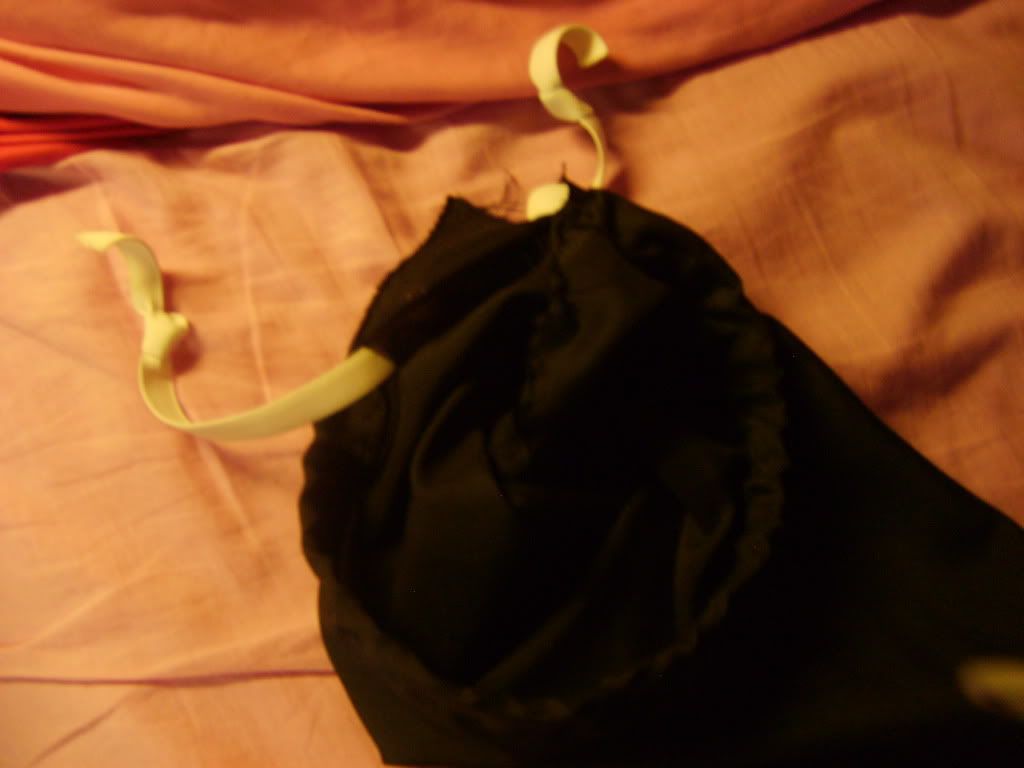

The small hole that I hadn't sewn shut was an opening for the elastic to be pushed through to get inside the closed folds. After what felt to be two hours of threading elastic through the opening, the elastic finally reached the other hole (the spot where the beginning stitch started). To ensure that the elastic won't accidentally disappear back into the bag, I tied a knot to each hanging elastic, leaving the whole thing looking like a drawstring. After I had done that, I sewed the remaining hole closed. Repeat on the other side.

This as it was would've been good enough, since I was very concerned about the lack of tight edges. However, I felt that the cover needed something....frilly... :) So I had decided to add lace onto the edges.

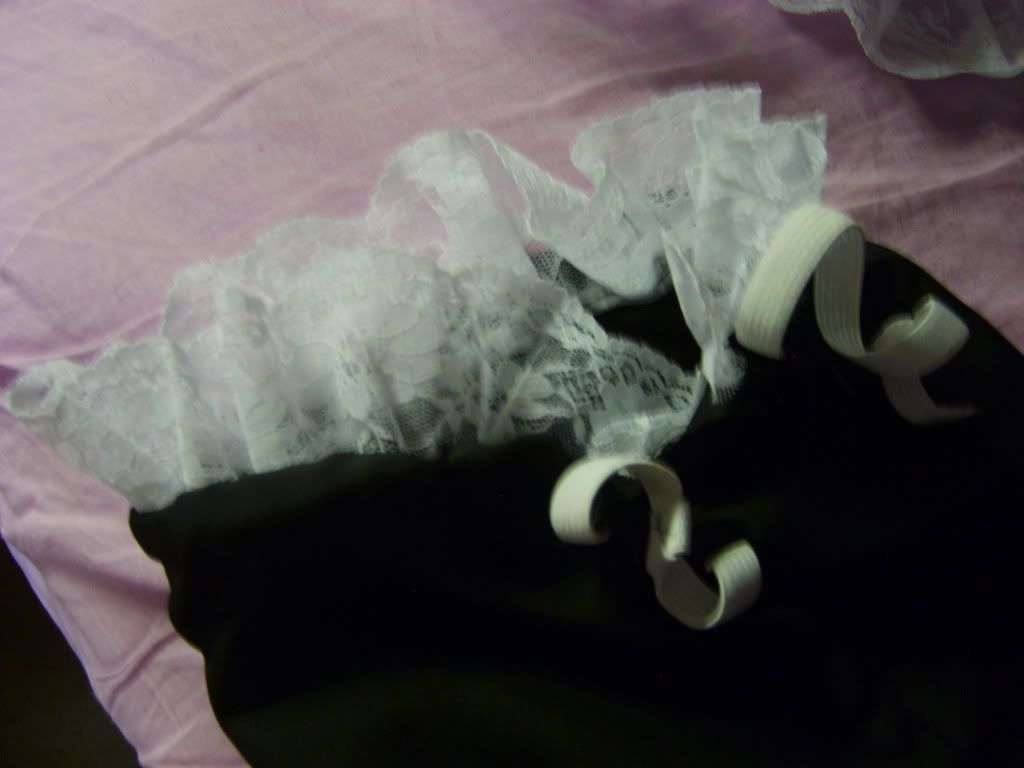
Just like what I had done with the folds, I had first sewn on the lace at a certain spot and then sewn my way around underneath the folds. The only difference was that I get to the end with the lace. I sewn underneath the folds due to not wanting to accidentally sew the elastic in place so that it could not move. Once again, repeat on the other side.
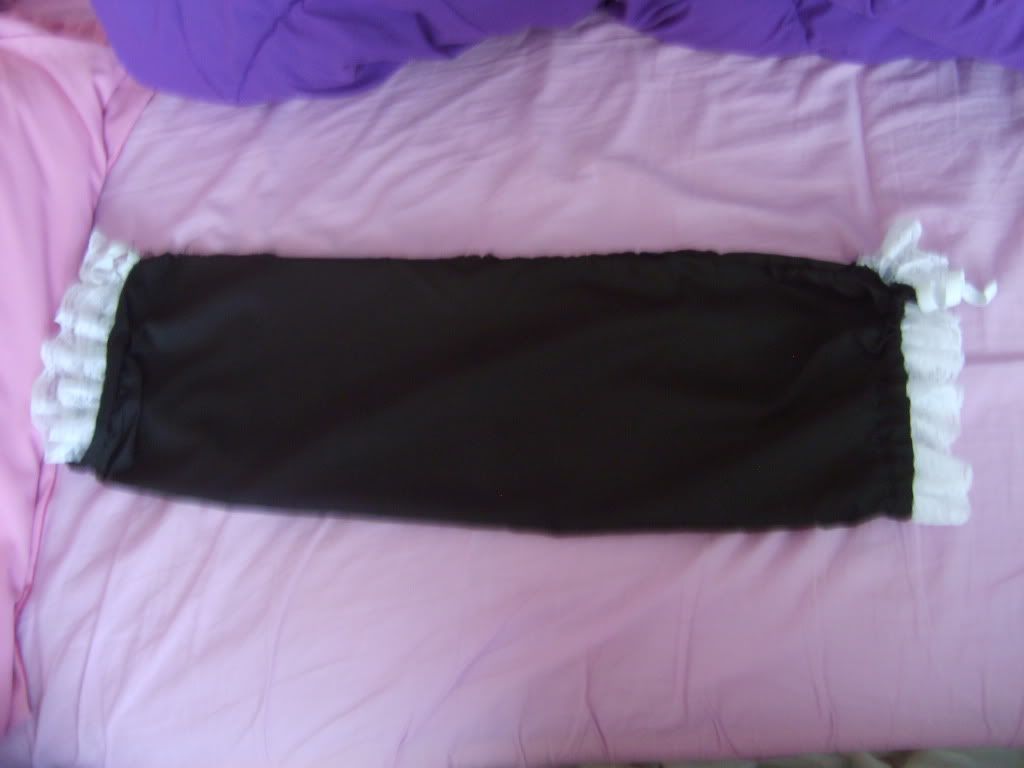

The finished cover, with the top one by itself and the bottom one covering the throw pillow.
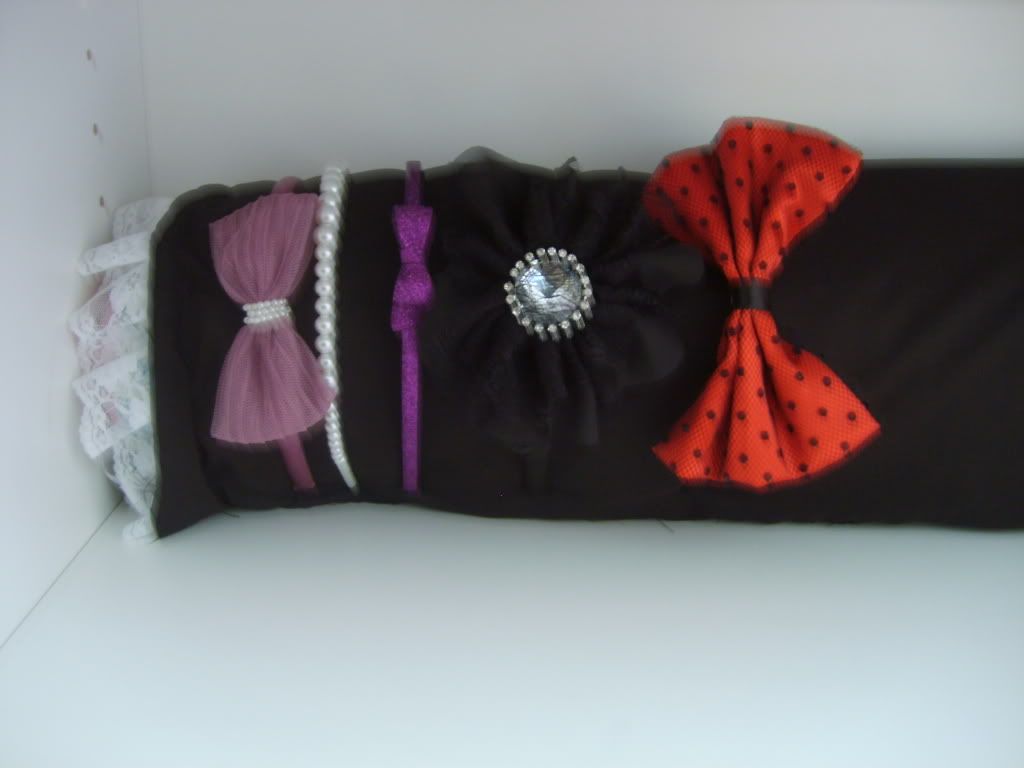
The headband holder in action. A definite improvement in the edges, which now has frilly lace around them (at least now my head can be in one piece -.-). I only took a photo of one side of it, since these are the only headbands that I currently have at the moment. I am planning on making some hime headbands out of a set of purple unused ones that I had bought a while back so we'll see how it goes ^^. One final thought about this project is that I have to admit that this is my first time sewing something like this. It never had occurred to me to have both the edges sewn like drawstrings, which i got the drawstring inspiration from this blog.
Anyway, see you later! <3


I like your design you are really creative, even-though it is your first sewed it looks like something from boutique you'll be great designer one day =) Tips Tricks Blogger
ReplyDelete@Tips Tricks Blogger Thank you very much! It warms me to hear that. ^^ This was really my first time in sewing something like this and like in the post, I had to refer to the blog to see how to make the drawstring part. I am just amazed that it had actually came out good in the end.
ReplyDelete