
Sorry for the very late post. I realized that I haven't been posting much of anything over the past few days. This is because for the past few days, I had been essentially ripping a bunch of paper to shreds. My desk had been collecting a bunch of junk lately and I figured that with the upcoming school year, I might as well clean it all up. Of course, the recent beauty hauls that I had made isn't helping matters, rather just adding itself to the "junk pile" that collected on top of my desk. -.- You see, before I got into the makeup/beauty craze and going to different kinds of stores to get all the makeup that is out there, I didn't have much of a vanity table. I still don't to this day, though I did find some temporary storage in the form of a small transparent drawer unit that also houses my other practical things, such as a sharpener and hole puncher.
Now with that problem solved (at least for now) along with clearly out most of the scrap papers, I can finally focus back on crafting/decorating. This time, I decided to decorate my other mirror and as hinted in the title, my desk mirror. I am pretty sure that you know who is now the frilliest though. ;)
On an unrelated note, my mom brought a huge bag of hangers back home last night. Yay for new hangers! :D These hangers are definitely better than my old hangers, which were basically made out of thin metal.
Materials used:
- any desk mirror
- hot glue gun
- lace
- blue butterfly gems
- blue ribbon
- thread
- needle
I am not going to take a picture of the materials that I had used for every post, since it is becoming redundant and I'm pretty sure that everyone knows what I'm talking about.
Here is the mirror before its "makeover".
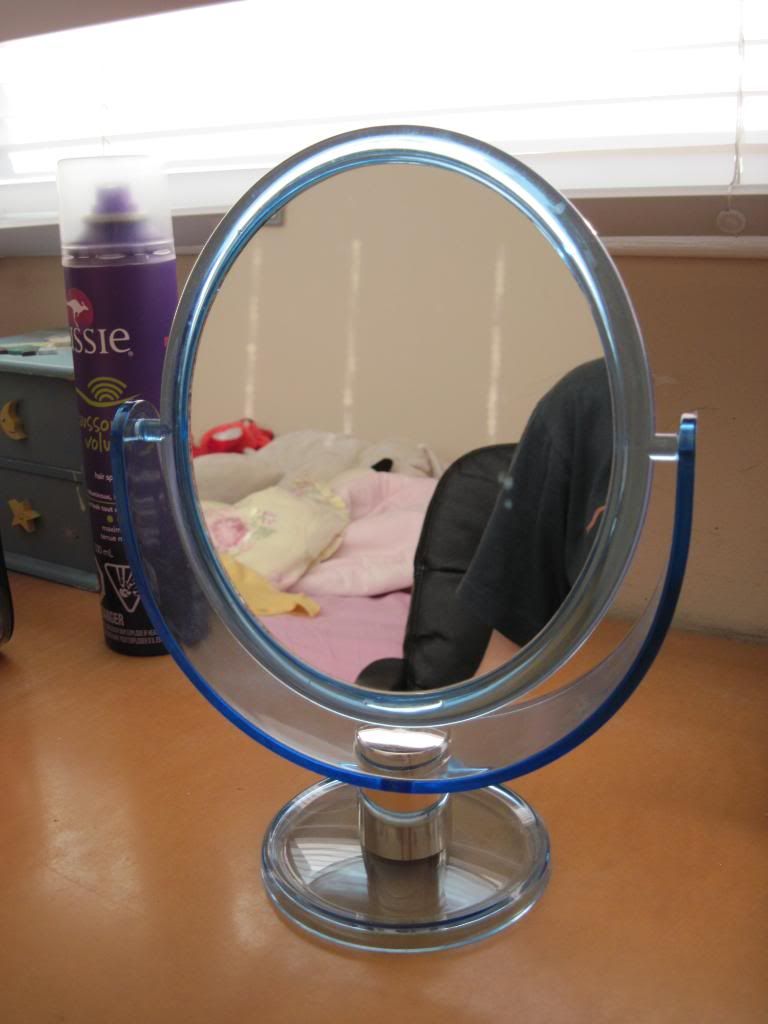
Before
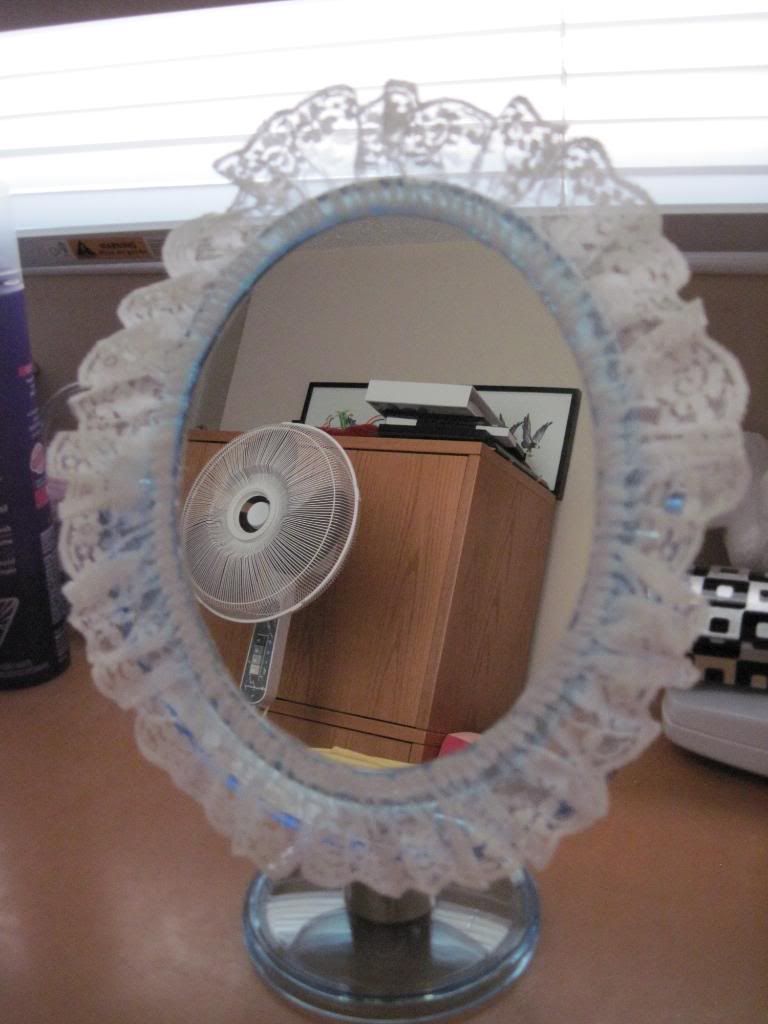
What I first did was glued on the lace on the "frame" of the mirror or around the face of the mirror so it would form a pretty lace border like so.
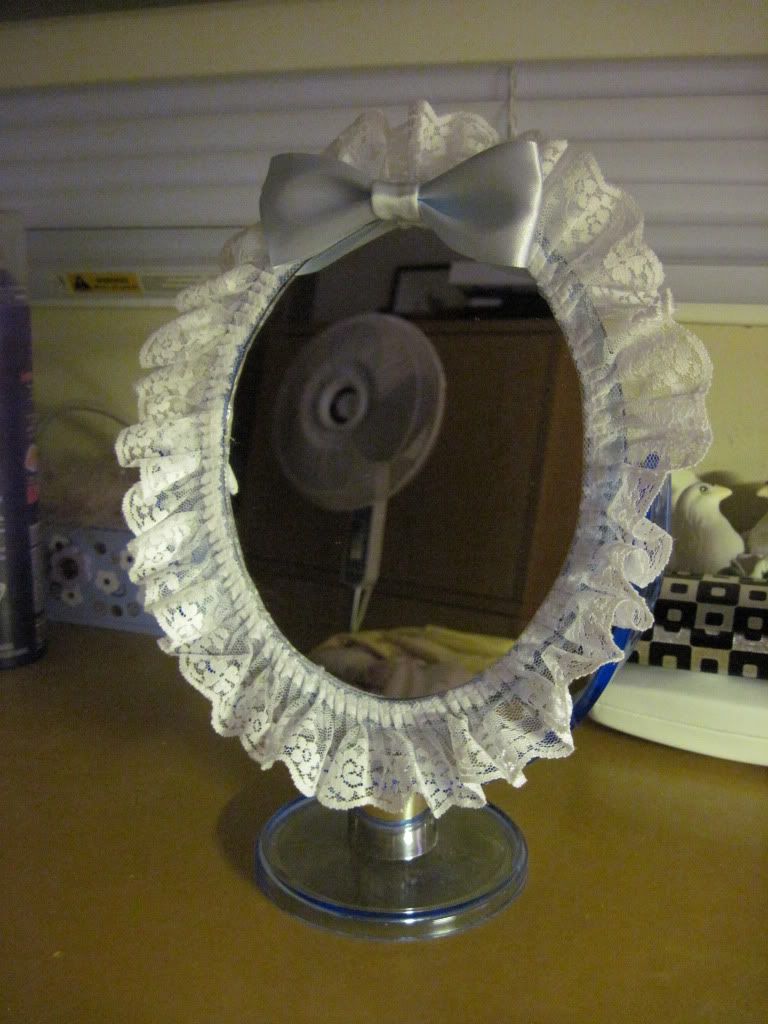
I then added a big blue bow onto the top of the mirror. I made the bow myself by using a long strand of blue ribbon and sewing the ends together, and then wrapping the middle section tightly with thread and another piece of ribbon. The ribbon that was for the middle section was a bit too big, so I folded it in half and sewn it together and then turned it inside out. I apologize for the poor lighting, but this was taken during night time and turning on the top light made the mirror looked too bright so I turned it off.
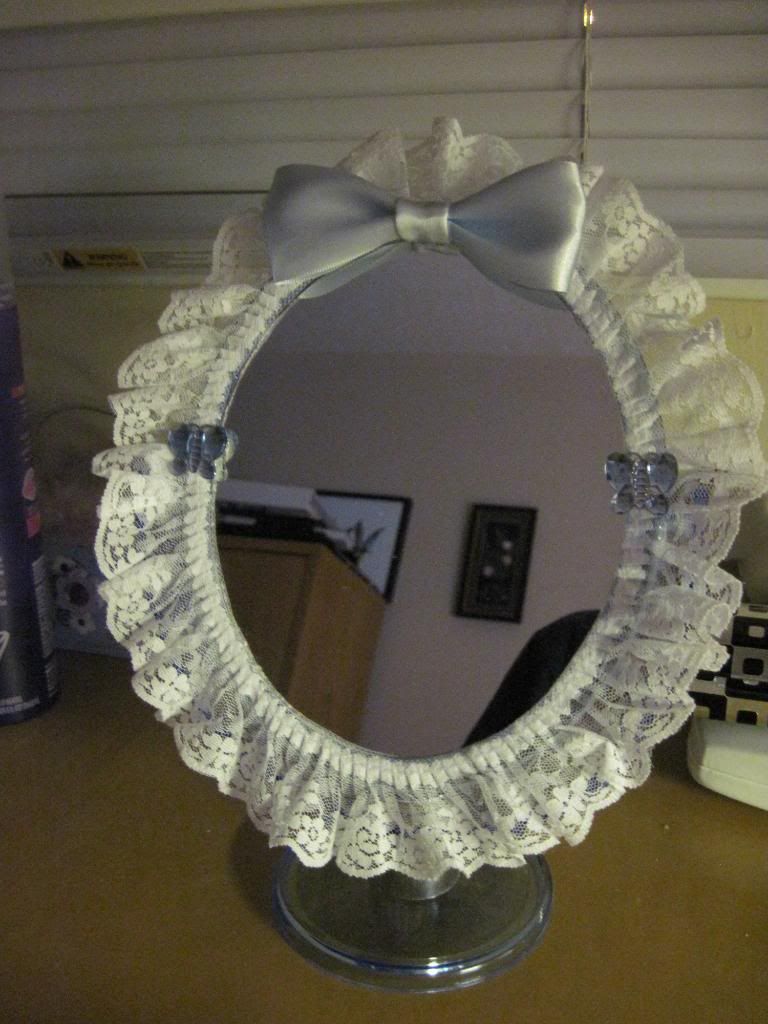
I started adding some blue butterfly gems, initially on the sides and then gradually around the mirror until it formed a butterfly border.

Here is a closeup of one of the butterfly gems.

I got these blue butterfly gems a long time ago at my local dollar store and didn't get the chance to use them until now, since I am apparently working on a blue and white theme on my mirror. Come to think about it, there is lack of blue things in general in my room.
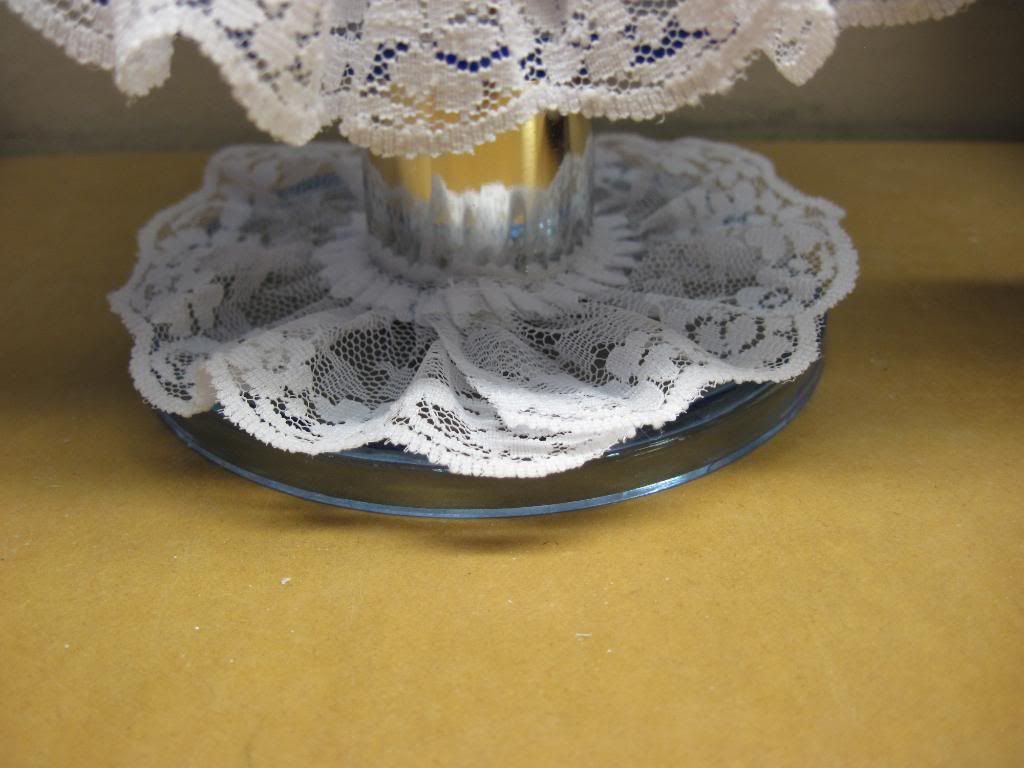
Anyway, for the bottom, I just basically wrapped the lace around the stand just like what I did for the frame of the mirror. The mirror now has a sort of "skirt" for the base. xD
That's about it! The finished result.

I took another picture in the daytime so you can see better.
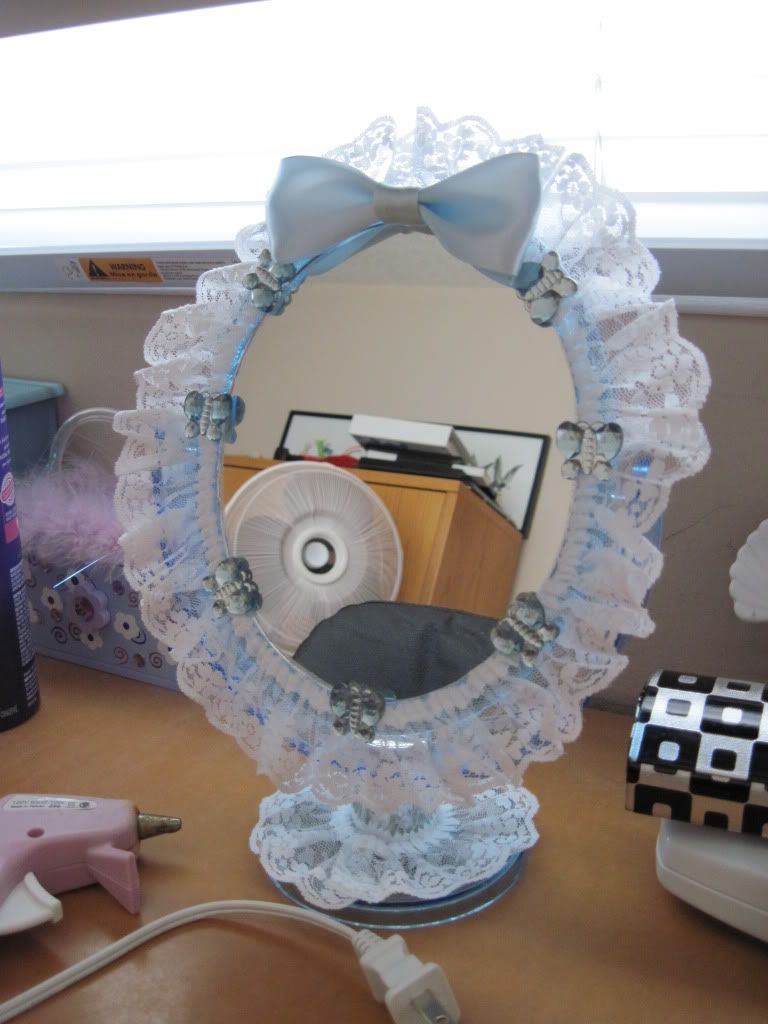
After
What do you think? I figured that instead of attacking this head on and gluing a ton of rhinestones, gems, and lace like I did with the other projects I just made this more simpler. Other than having a lack of blue craft supplies in general, I wanted to make it simple for easier cleaning.

I just love it! :)
ReplyDeleteAww it's really cute dear love it!
ReplyDelete@Katie Thank you for your lovely comment! ^^
ReplyDelete@Emmanuella Thank you! :) Happy to hear that.
pretty! ^^ love the butterfly's ^^ all your deco's are super pretty ^^
ReplyDelete@Lita Aww thanks! <3
ReplyDelete