
Unlike any craft or deco posts that I had done previously, today is going to be a surprise craft post. I actually did not plan out this project ahead of time at all. Instead, this was suggested to me two days ago by my sister, who is going to be graduating this upcoming Friday! I haven't actually created a corsage before, but given the nature of the request and the time constraint, I decided to give it a go!
As a note, I did not do any research beforehand on what constitutes a corsage. All of this was done "free form". Also, I am quite aware that corsages have stretch bands, but I had botched my attempt at making a lacey stretch band, so I turned it into a velcro clasp instead.
This took a little longer than expected, since I had another project that is a work-in-process at the time. I will show off that project for another post.
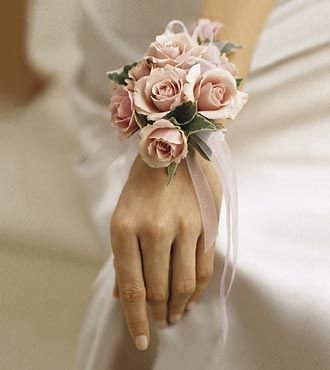
Here is what a typical corsage looks like:

- A bunch of different sized flower heads (roses if you are aiming for a more Hime theme)
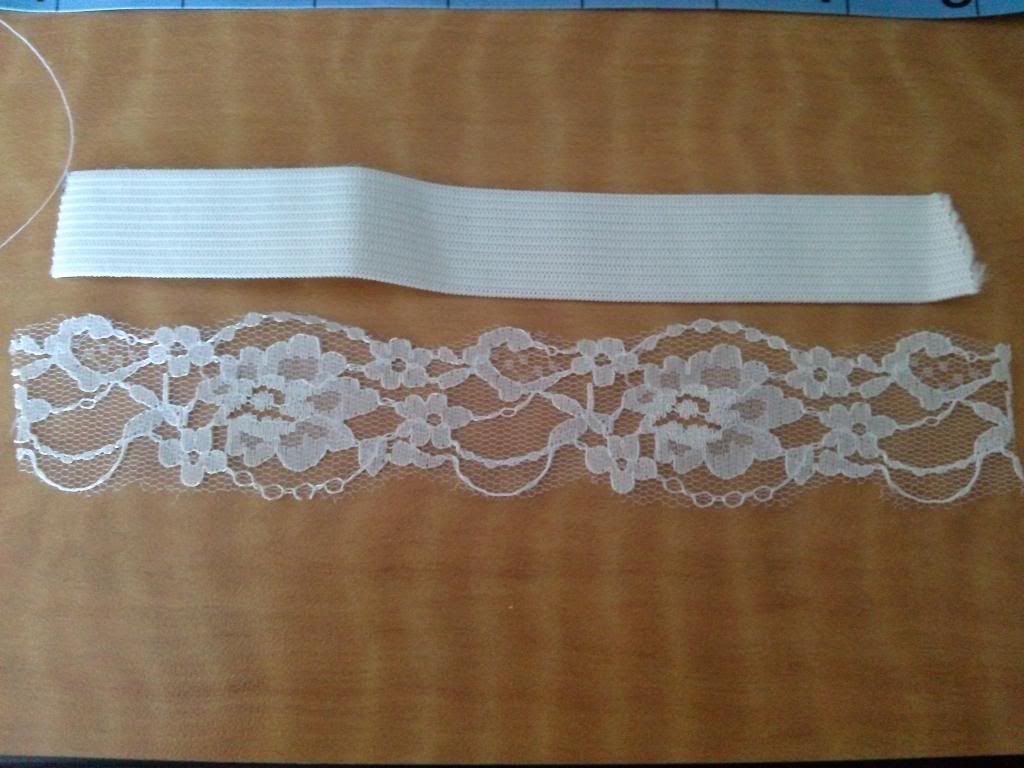
- Lace trim
- Ribbon
- Elastic, preferrably of a moderate size
- Pearl spray
- Velcro strips
- Glue gun
- Needle and thread
- Measuring tape for measuring the wrist
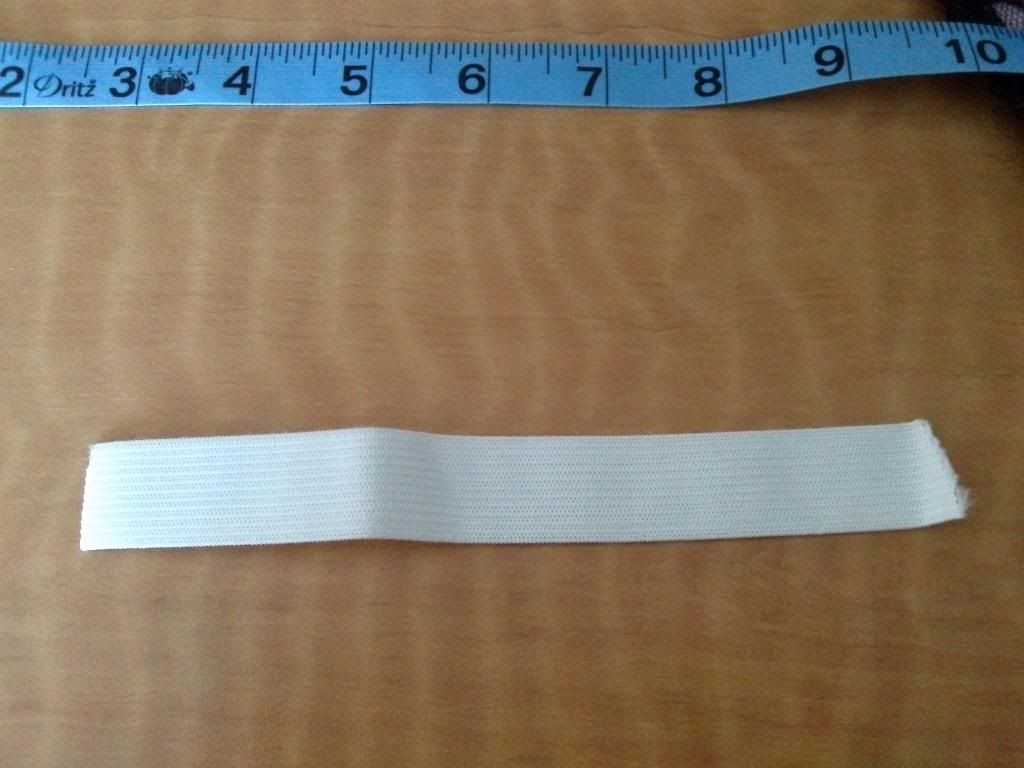
Measure your wrist using the tape measure and cut off the measured length of elastic. Make sure to include at least one inch to the measurement to allow room for any mistakes.
Step 2
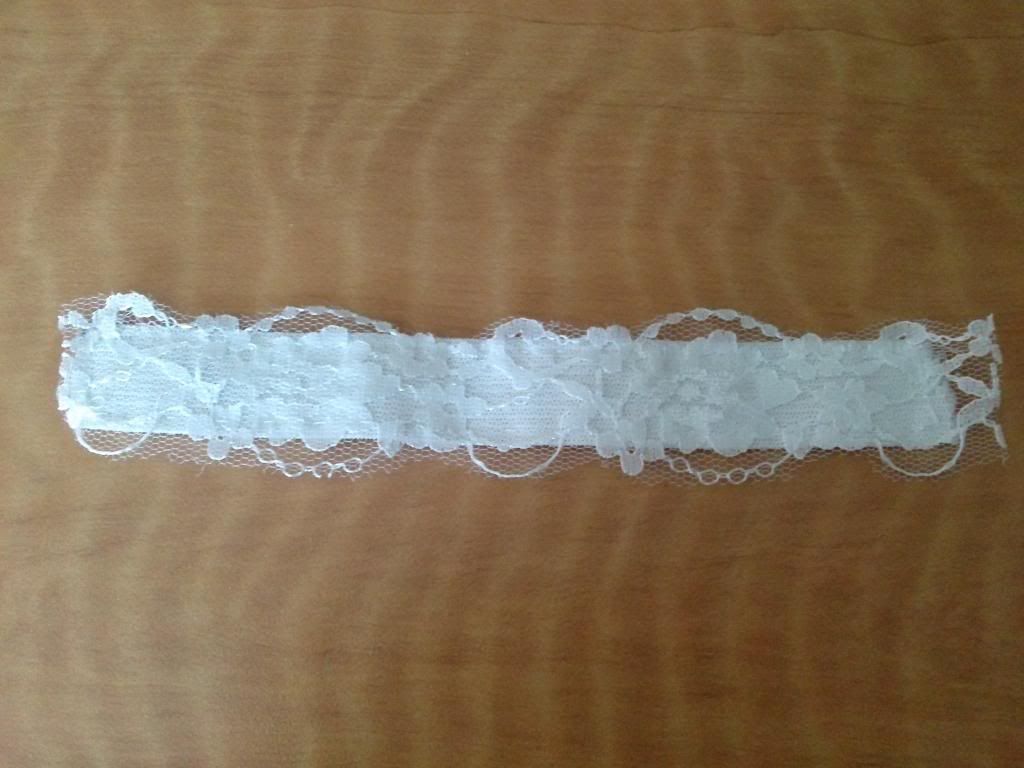
Measure and cut out the same length of lace trim so that it matches the length of elastic as shown above. Now this was the part where I had goofed. In sewing the lace onto the elastic, I had basically locked the elastic in place, making it not being able to stretch out anymore. If you still want the corsage to be on a stretch band instead, what you can do is omit this step altogether and just sew up the ends of the elastic.
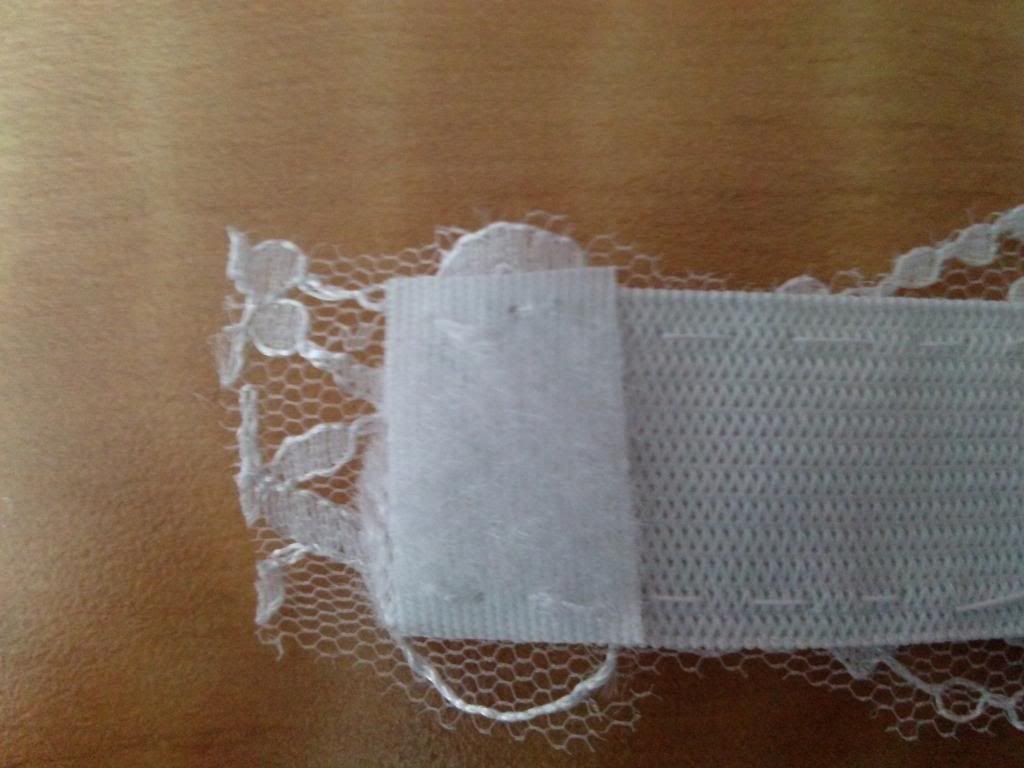
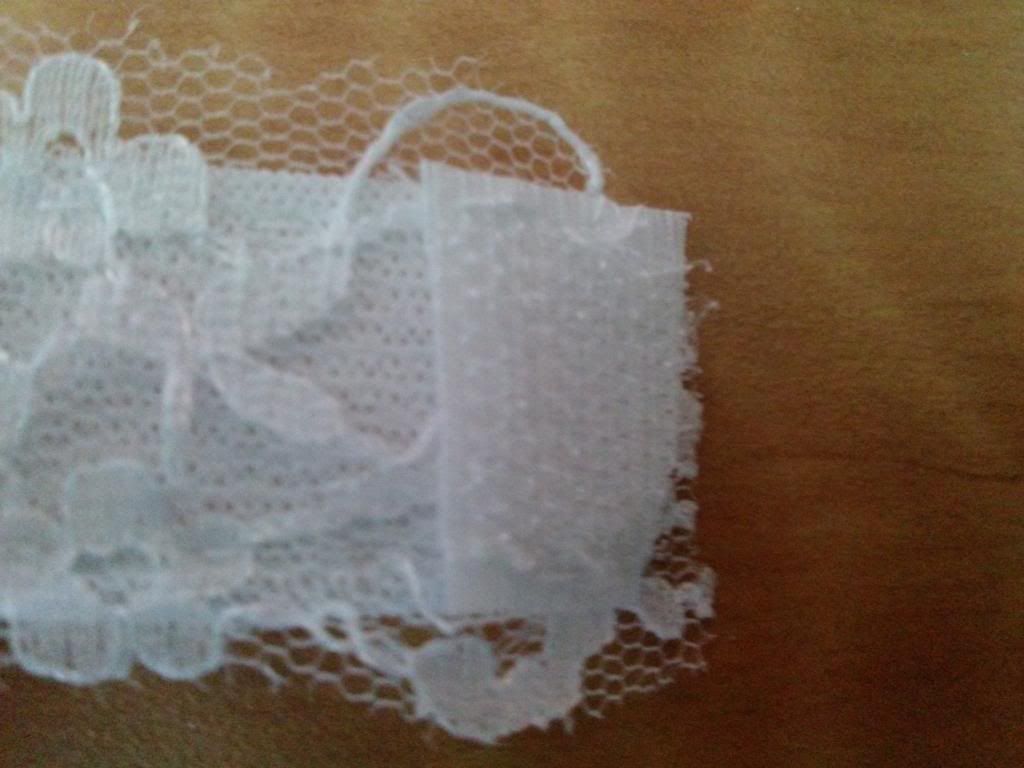
Cut out small pieces of velcro strips and sew one on each side. Make sure you have the two sides facing while doing this!
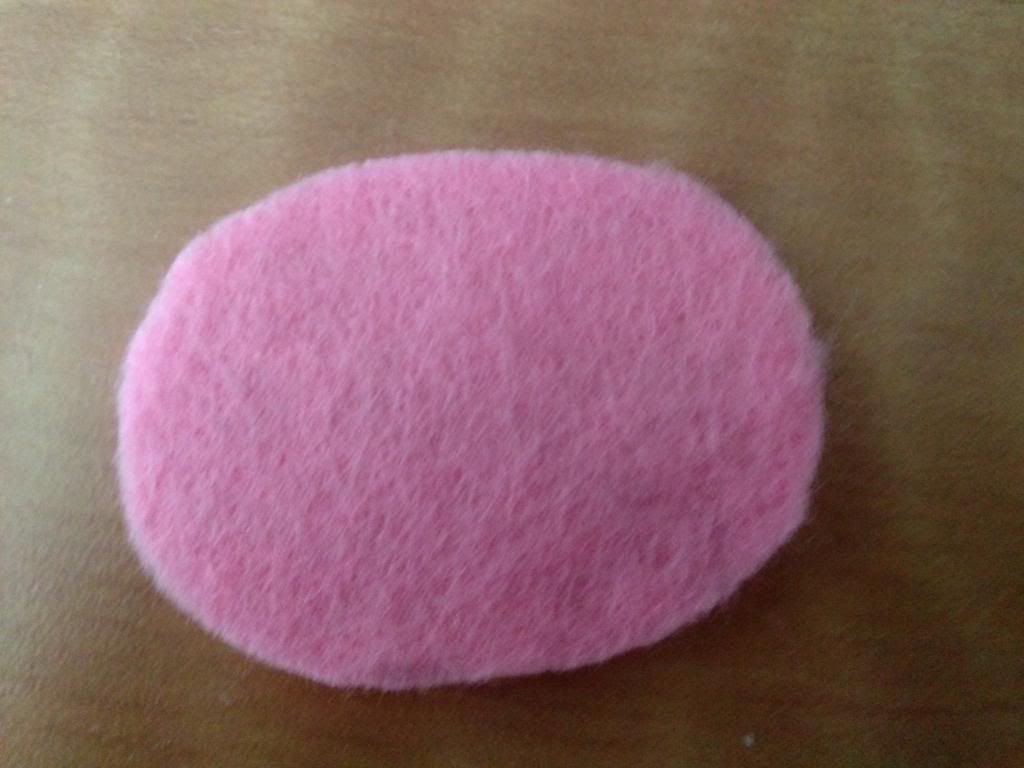
Remember those pieces of felt from the deco ID tag project? I took a moderate chunk out of them and changed it into a circle as shown above. The size of the circle should not matter, as long as you are able to fit most or all of the flowers you want on it.
Step 5
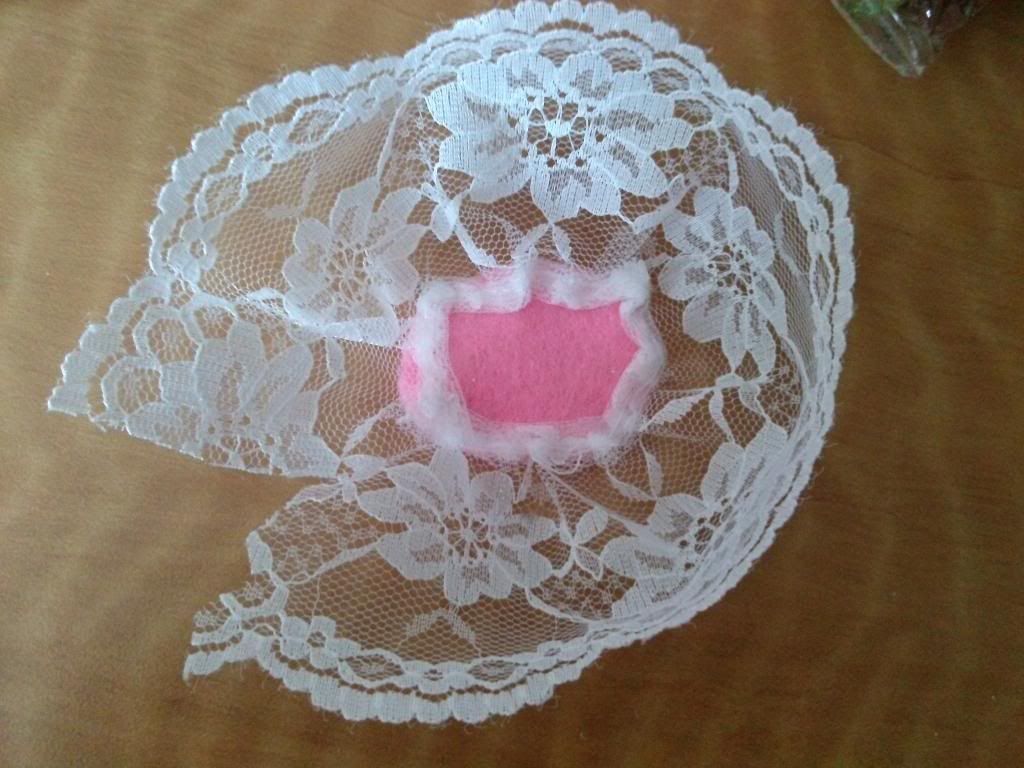
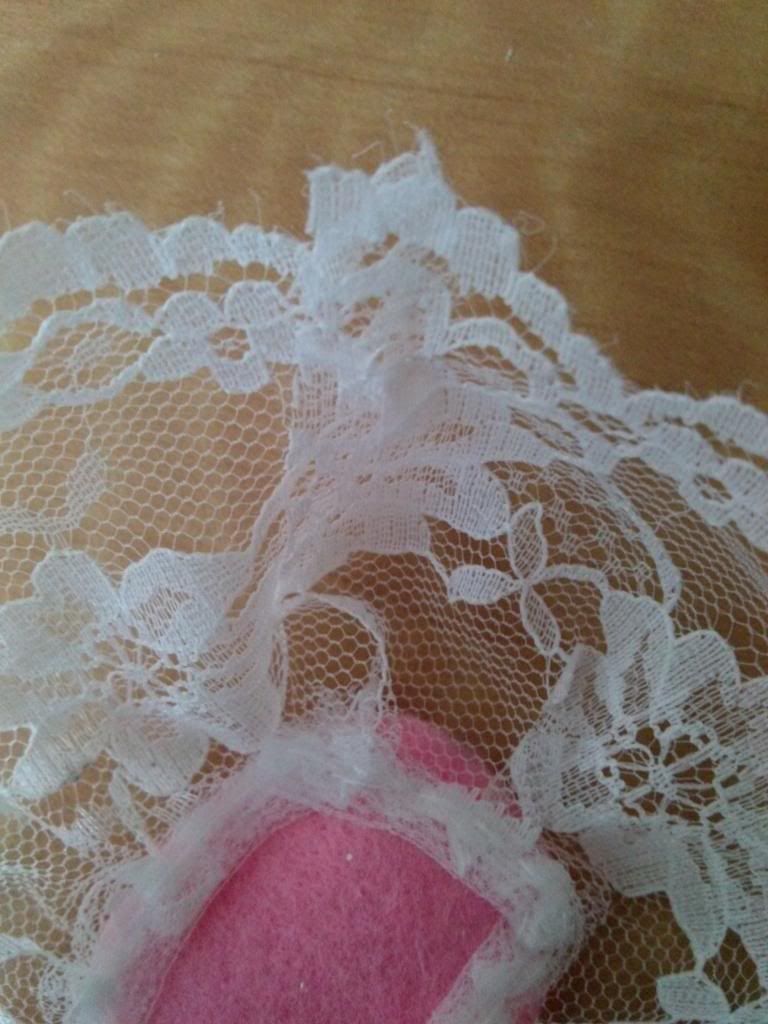
Start sewing on some lace trim around the circle. In particular to the one that I had made as shown above, I had made a mistake and had cut the lace trim a bit short, leaving a wide gap. I had fixed that up by simply sewing the two ends together as shown in the second picture.

Step 6
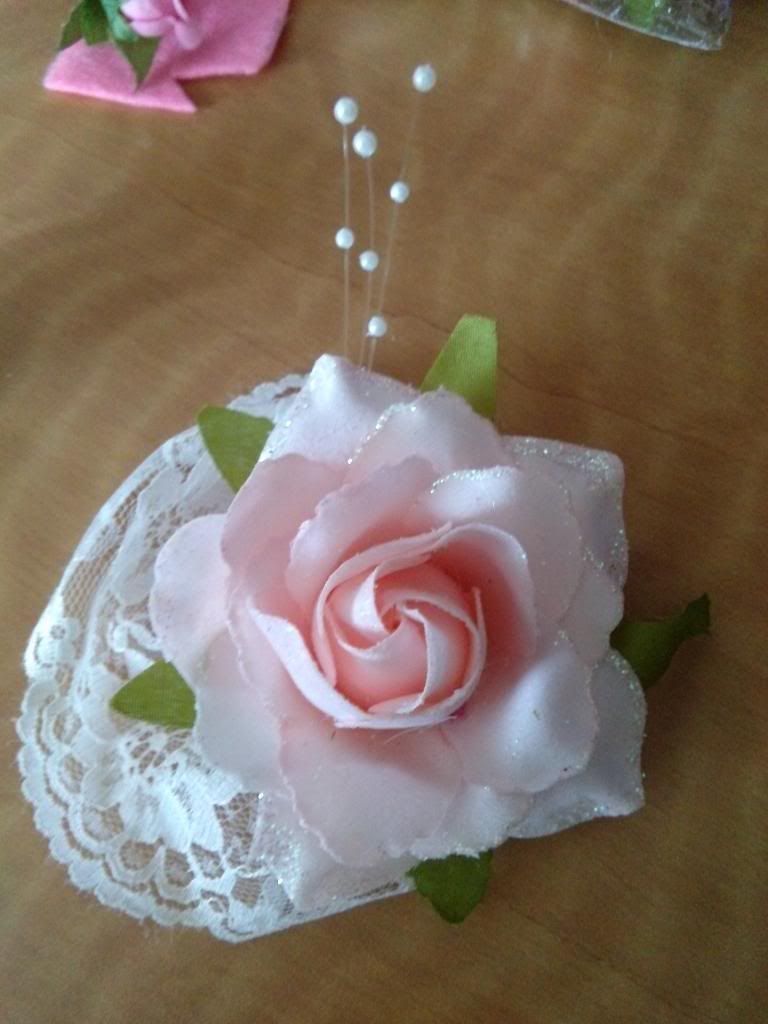
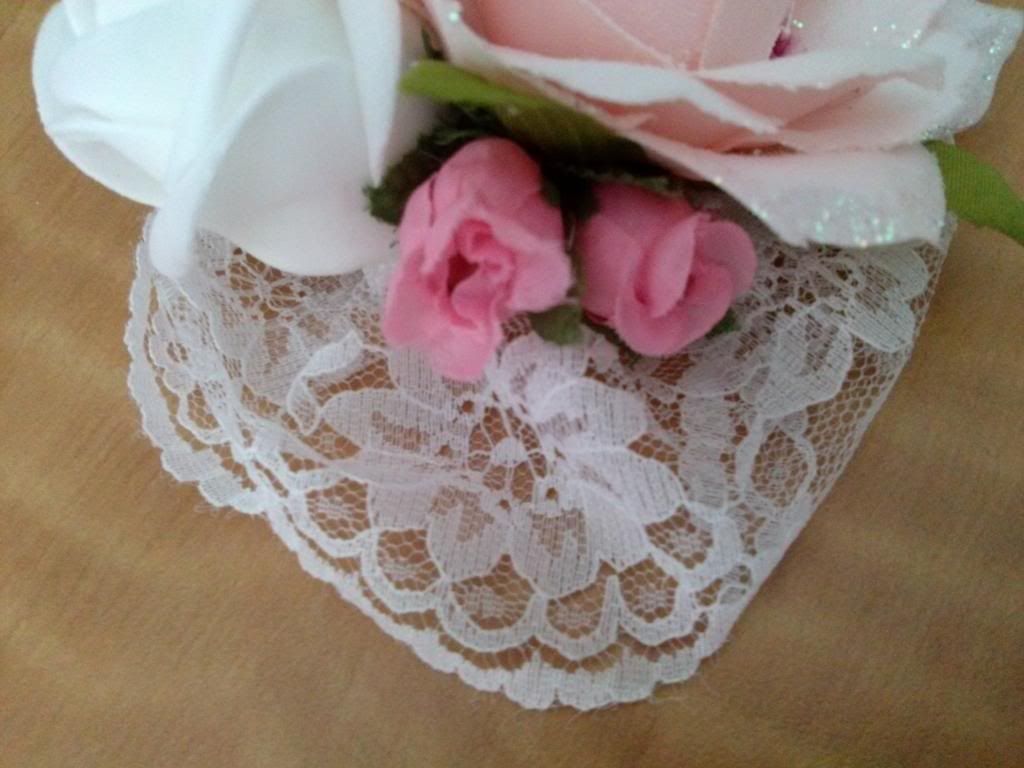
Now this is where the fun part comes in! You get to stick a bunch of flowers all over the place. Basically, artistic creativity comes into full gear during this step. I won't guide you through the specific process that I took to get the look obtained in the photos. Instead, I will show some work-in-process pictures.
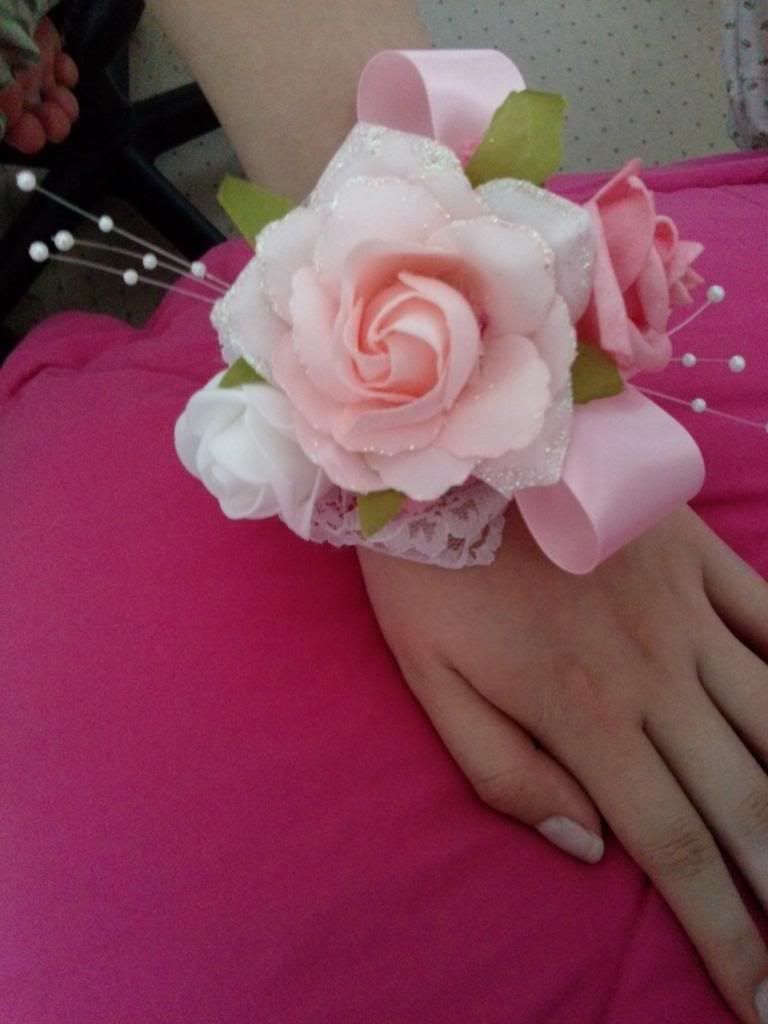
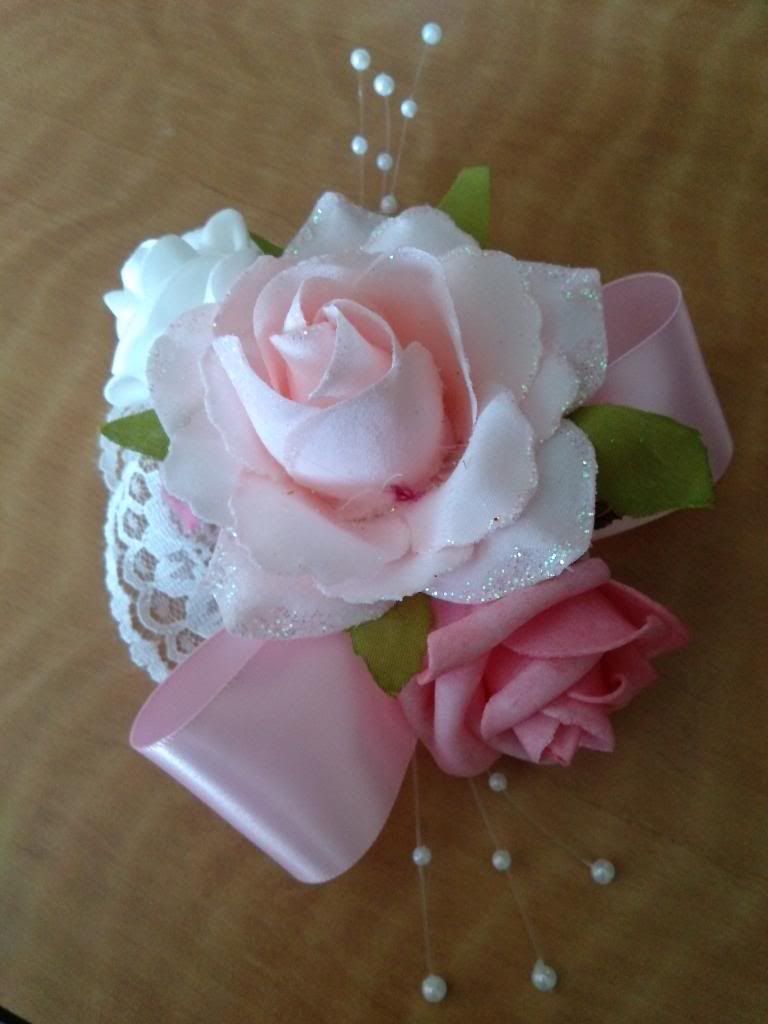
At this point, you are basically done! You now have a pretty overdecorated wrist-cuff corsage to take around with you for any future formal events!
A big thanks to my sister for helping with modelling the corsage in the second photo! ^o^


Cute *_* But this can be also nice hair accessory, like Jesus Diamante style :]
ReplyDeleteThank you Rose! ^^ I guess it could be used as a hair accessory. Just need to find a clip for it haha! :)
DeleteI agree with Rose this will make a cute hair accessory too :)
ReplyDeleteThank you Emma! :) I tottally agree! It would make a great hair accessory! Just need to find a clip for it as previously mentioned! xD
DeleteWoooooow wooooow its awesome. I should try it seriously. But I guess I have two left hands and not really talented in this ;__;. I always admire girls who can do stuff like this. But it looks absolute stunning *°*
ReplyDeleteAww thank you for commenting Sui! ^^ I'm pretty sure you can crafting as well, so don't give up hope! <3
Delete