
Presenting my ever-first tutorial in a long time! It has been a while since I had done a tutorial and I have been missing them, so I am planning on creating new ones in the near future. Personally though, I don't think this is truly more of a tutorial than a detailed guideline on how to approach a project from my point of view.
Anyway for this post, we are going to be changing an old wooden picture frame into a princess bedazzled creation worthy of sitting on your shelf or where-ever you feel like putting the frame. I'm not quite sure if you all still use picture frames or not, but for me I love using picture frames. Ever since my childhood, I recall having a ton of photo frames sit on top of my bedroom shelves. Particular attention will be on two golden frames that I had for a long time.
To make a long story short, the two golden frames didn't age well. They were constantly flopping back onto the shelf because of the kickstand, which was made out of a flimsy cardboard-like material and was essentially the same material that the back was made out of. In fact, the back was one of those cardboard "cutouts" and was not a separate back stand that was built in like other picture frames. Eventually the stands were no longer "usable" and I had to lean them against the wall that's behind the shelves. Even then, the frames occasionally fell flat whenever I made a slamming sound or bump against the drawers, which are connected to the shelves.
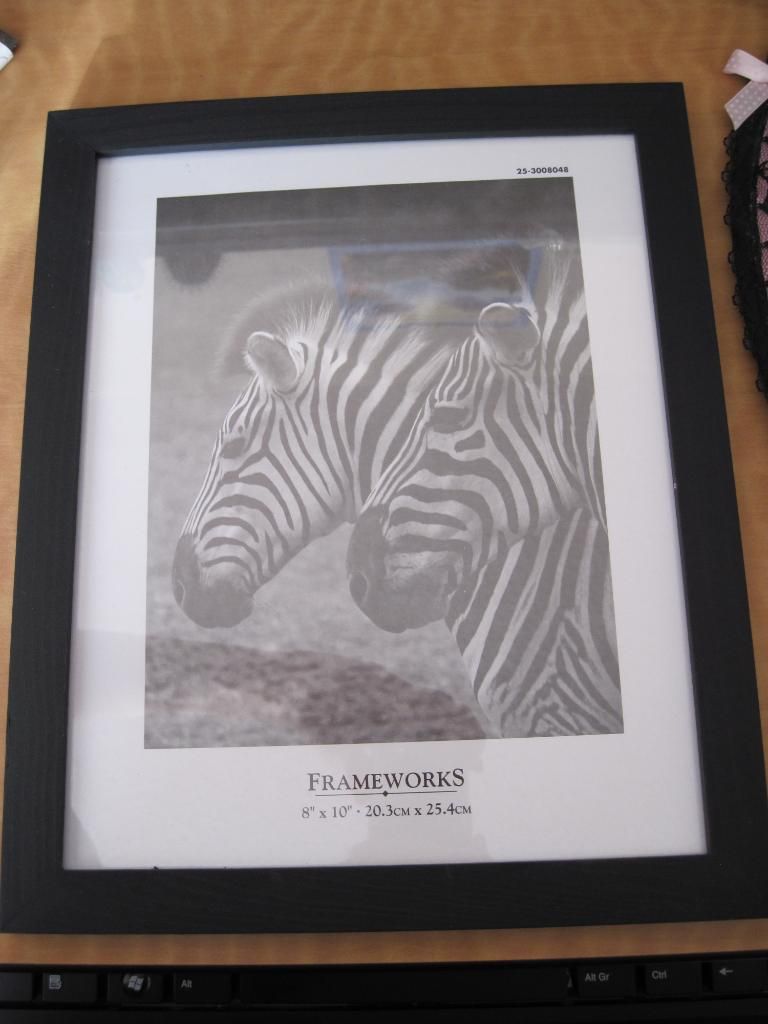
After a long while of putting up with constantly falling picture frames, I finally had enough. Plus I think it is high time that I start personalizing the frames to make them fit my tastes, which is of course is in the hime style. Making a short trip to the nearest dollar store, I bought two black flat wooden frames for $1.50 each.
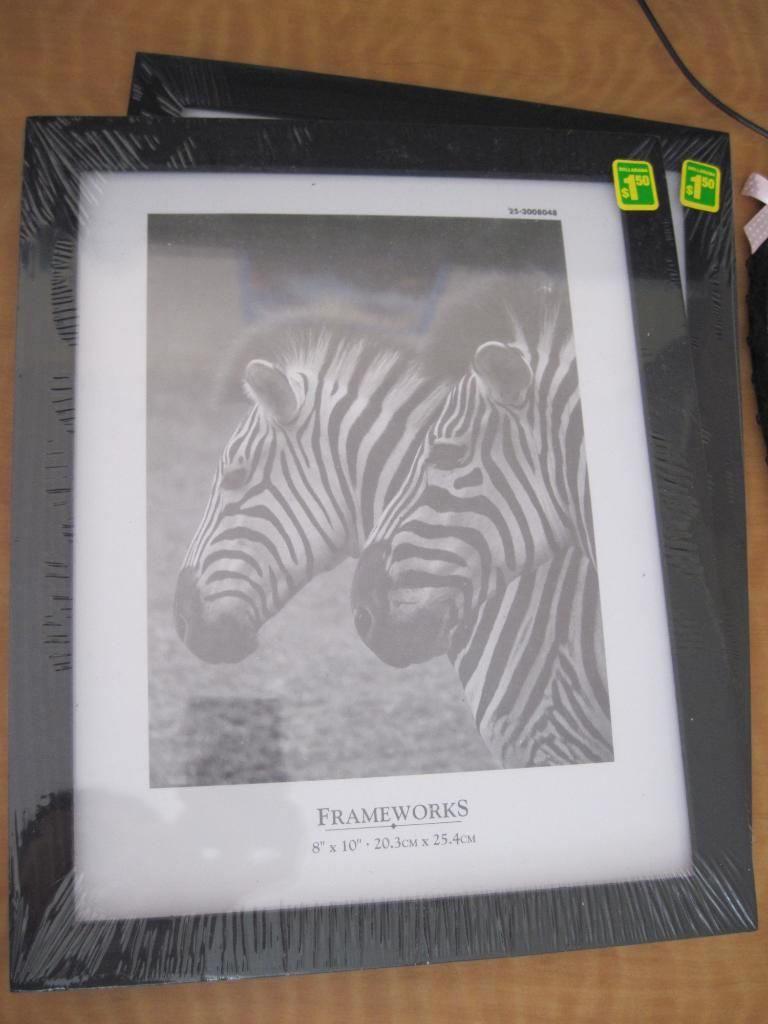
Now with the backstory finished, let's start the tutorial/guideline!
Materials:
- one frame (can be any material, I used wooden frames for this tutorial)
- ribbon
- lace trim
- roses (the ones I used were Wild Orchid Crafts which you can find here)
- pearl strand (optional)
- bows
- any other miscellaneous cute accessories (ex: plush hearts, candy, poodles, etc.)
- glue gun
- thread and needle (optional)
Step 1.
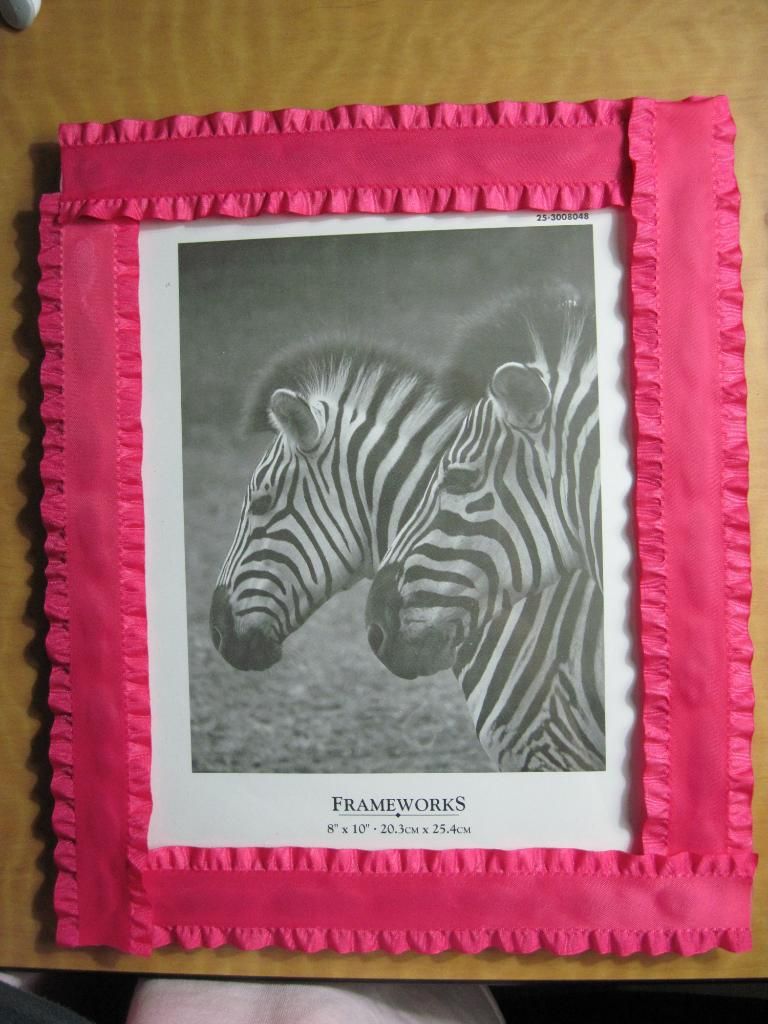
Fire up your glue gun and start gluing on the ribbon. This is so to cover up the frame's original colour and replace it with the colour of your choice. If the ribbon is slightly bigger width-wise than the frame, glue it around the edges. The ribbon that I had used already have a little bit of pleated edges so I did not have to glue it around the edges.
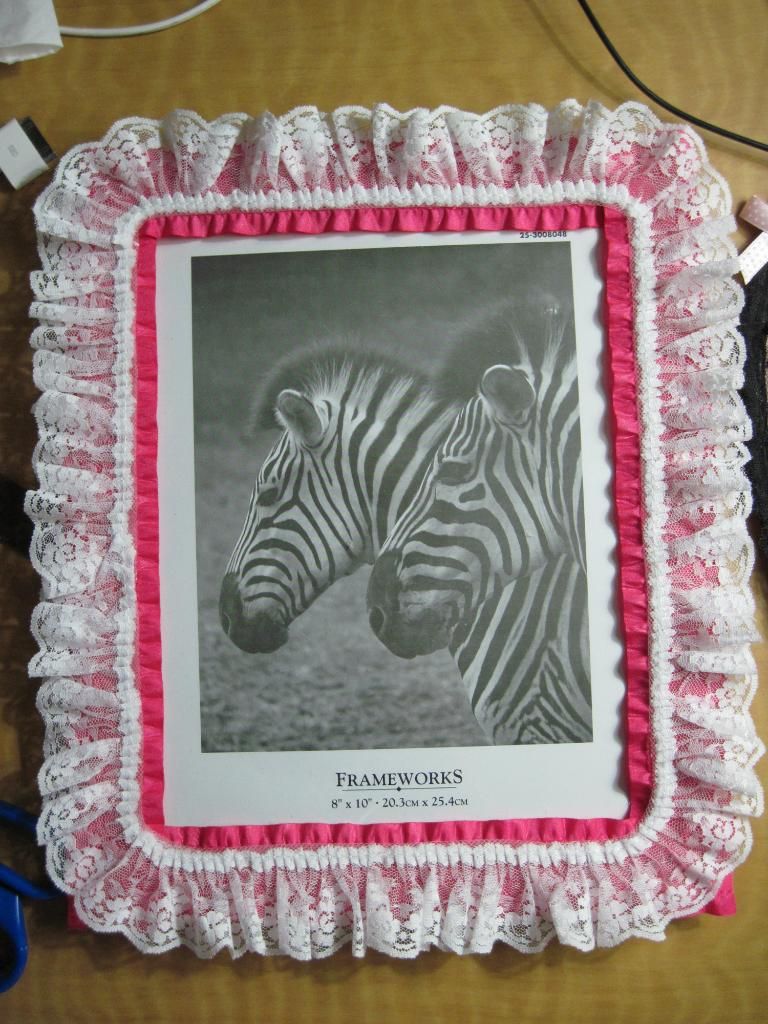
Start gluing on the lace trim so that it would eventually form a border. This is done so that there would be a little bit of "frills" on your frame, and therefore enhancing the hime look in addition to covering up any mistakes that you might've made with the ribbon.
Now this is where designs may vary between person to person. You can add on basically anything, since the possibilities are endless when it comes to DIY! Just to demonstrate, here is what I did with mine:
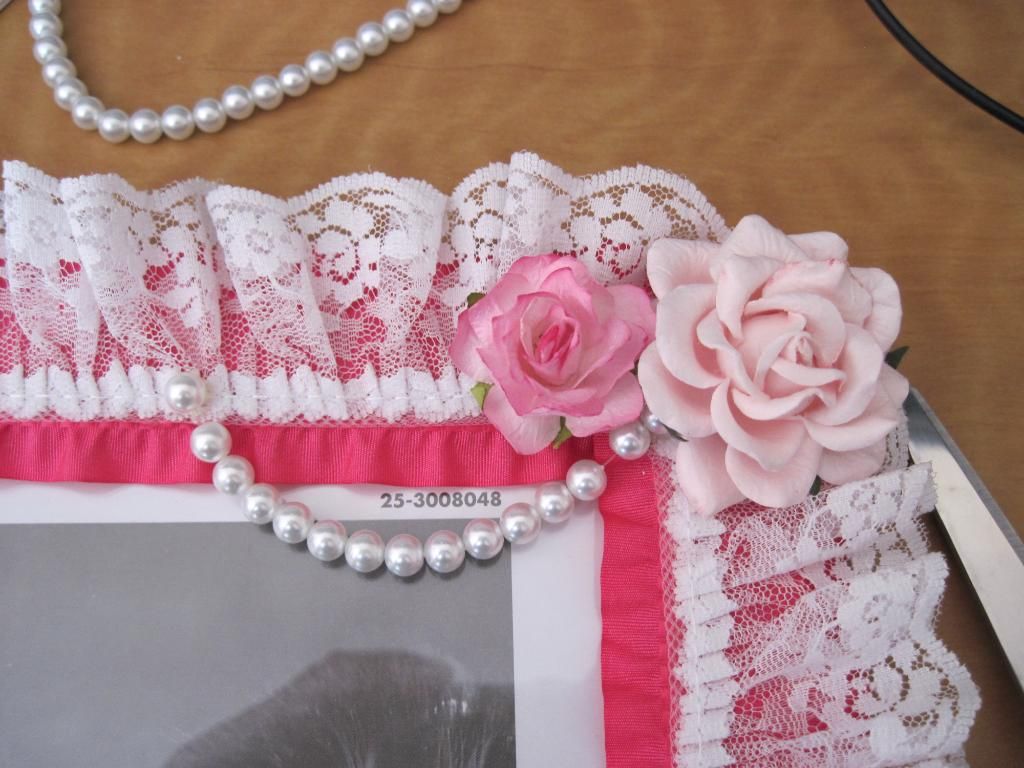
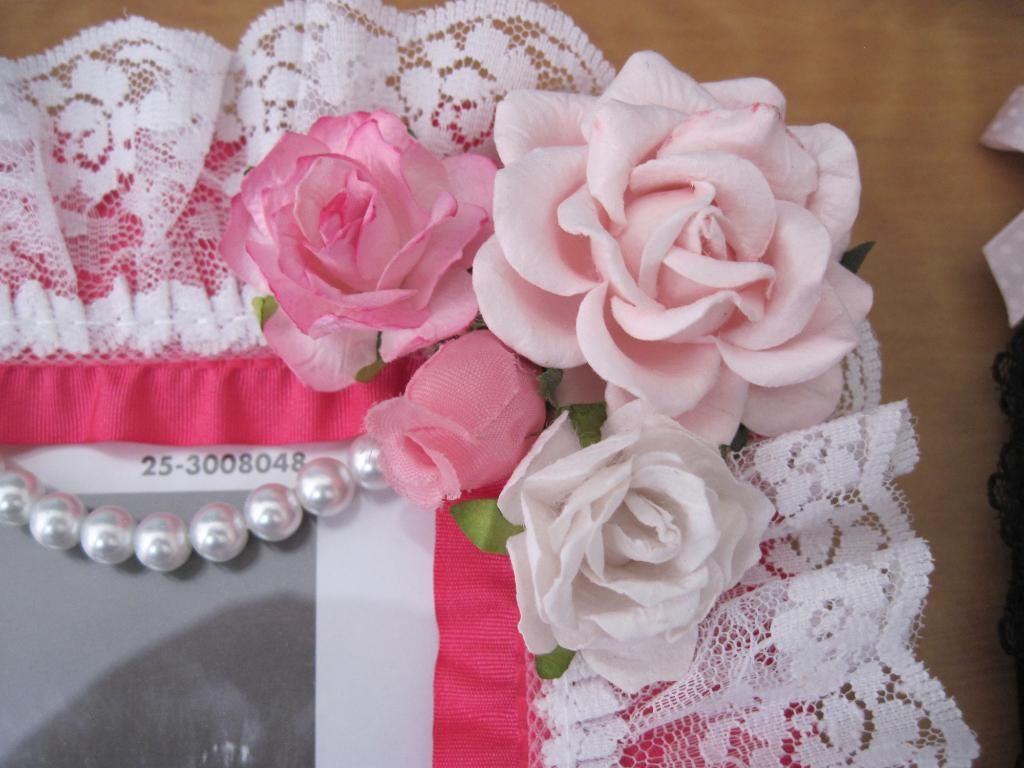
While gluing on the pink ribbon earlier in Step 1, I noticed that the upper right hand corner was a little crooked and that I had made a mistake when trying to glue in a straight line at the top. After knowing that, I decided to decorate the upper right hand corner first. I love the idea of a strand of pearls forming an arc and giving a nice look to the frame, so I decided to glue that on first by gluing the bead ends to the lace and forming a nice arc. I got this from cutting off the ends of a long strand of pearl beads that I had gotten from Walmart and tying the ends tightly in a knot so the beads won't slip through. Afterward, I plopped on a couple of roses on the corner. After fiddling around with designs and layout, I decided to glue on a white rose to counteract the pink roses and glue on a rosebud to fill up the empty space in-between the three roses.
For the lower right hand corner, I decided to just glue on a large pink rose and put a white rose on each side to make an alternating colour pattern.
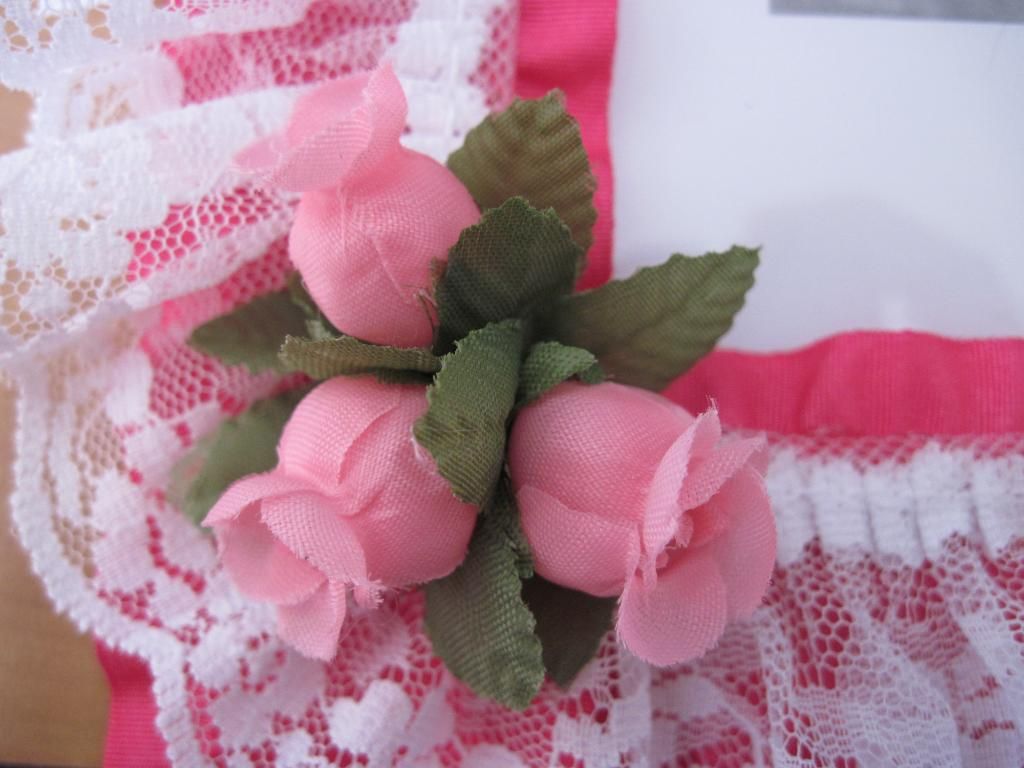
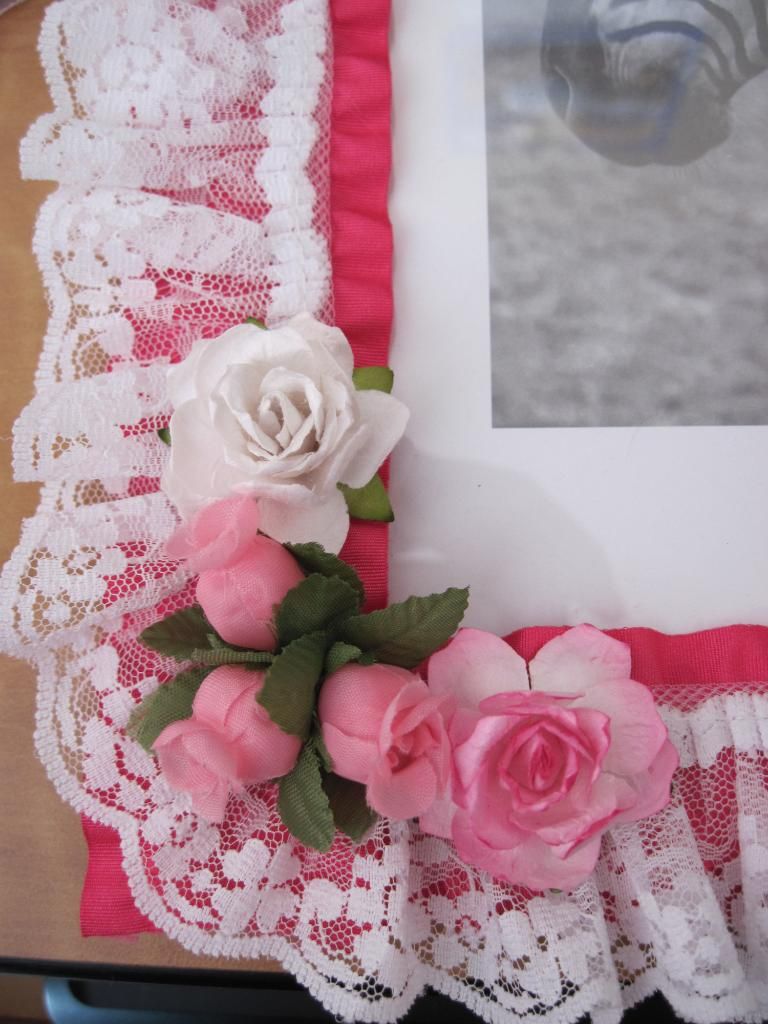
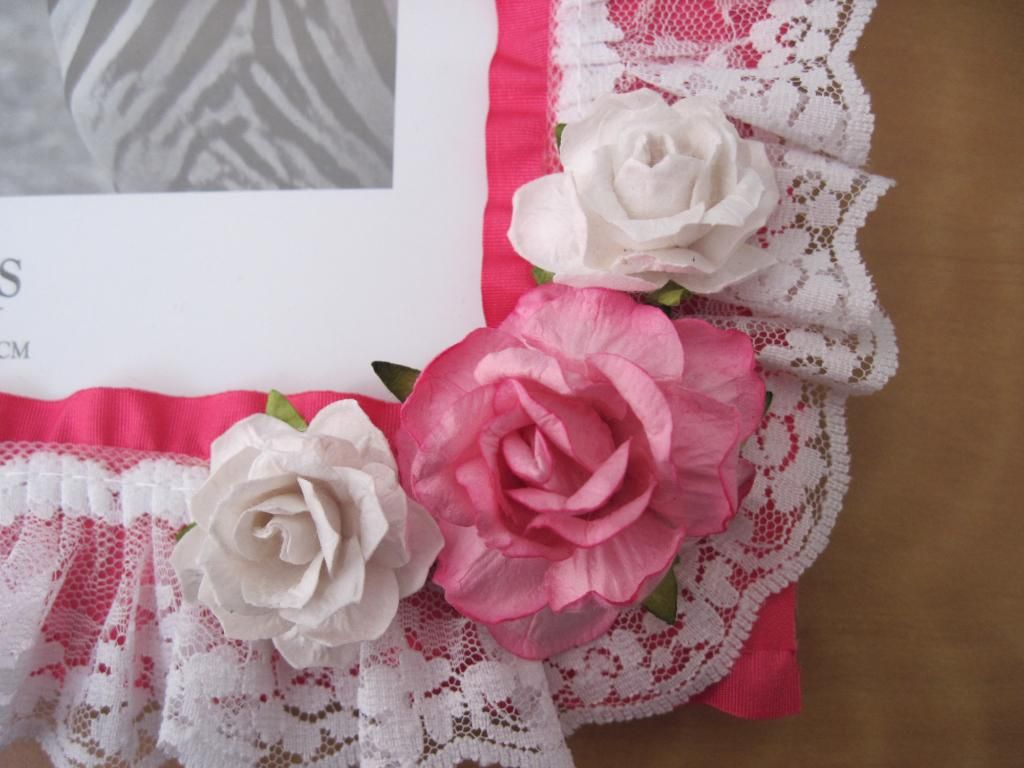
For the lower left hand corner, I wanted to make this particular corner special and different from all the other corners, so I decided to make some sort of rosebud bouquet. Eventually, I had glued on a white rose on one side and a pink two-tone rose on the other side.

Finally for the upper left hand corner, I had glued on a large white pink-tinted rose in the center of the corner followed by a smaller pink two-tone rose. As for the other side, I wanted to do something different so I decided to glue on two rosebuds instead of another rose.
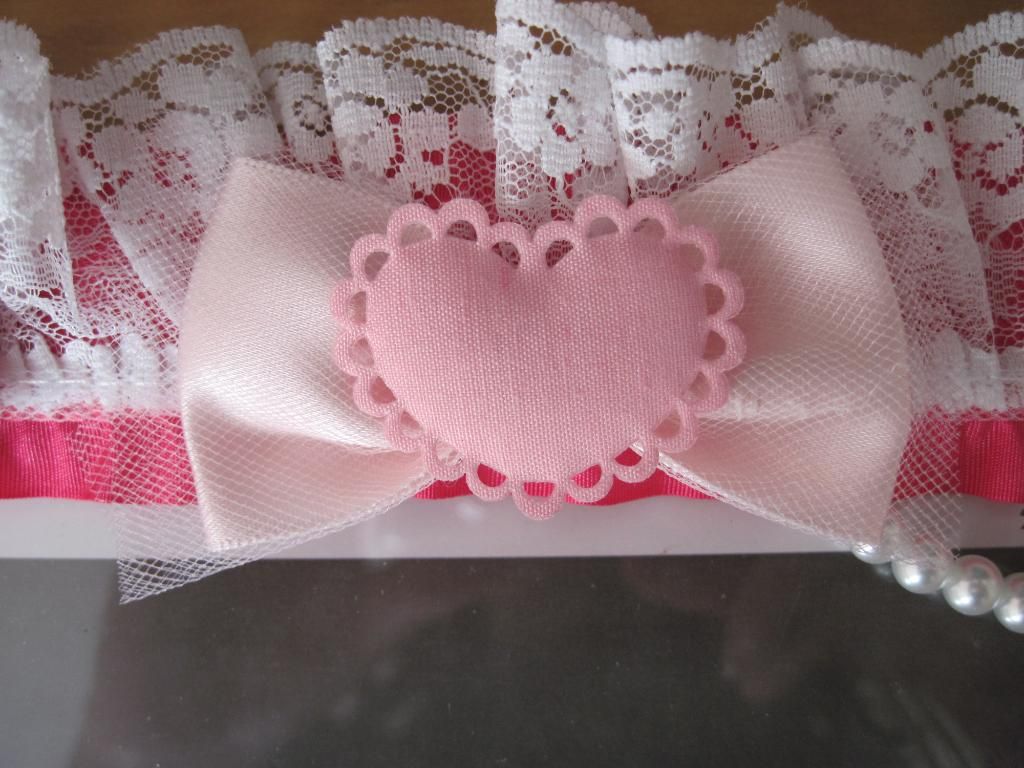
Finally I wanted to cover up the other end of the pearl strand that I had glued down in the upper right corner. To do that, I simply glued a moderate sized bow to "hide" the other end and glued a puffed up heart in the center to make the bow more cuter. Eventually, here are the end results:

Step 4.
Now at this point, you should be technically "done", though you are free to add some more details along the sides and bottom if you so desire. For me, I felt that there should be more detail so I decided to keep on adding more details to the frame until I get something like this:
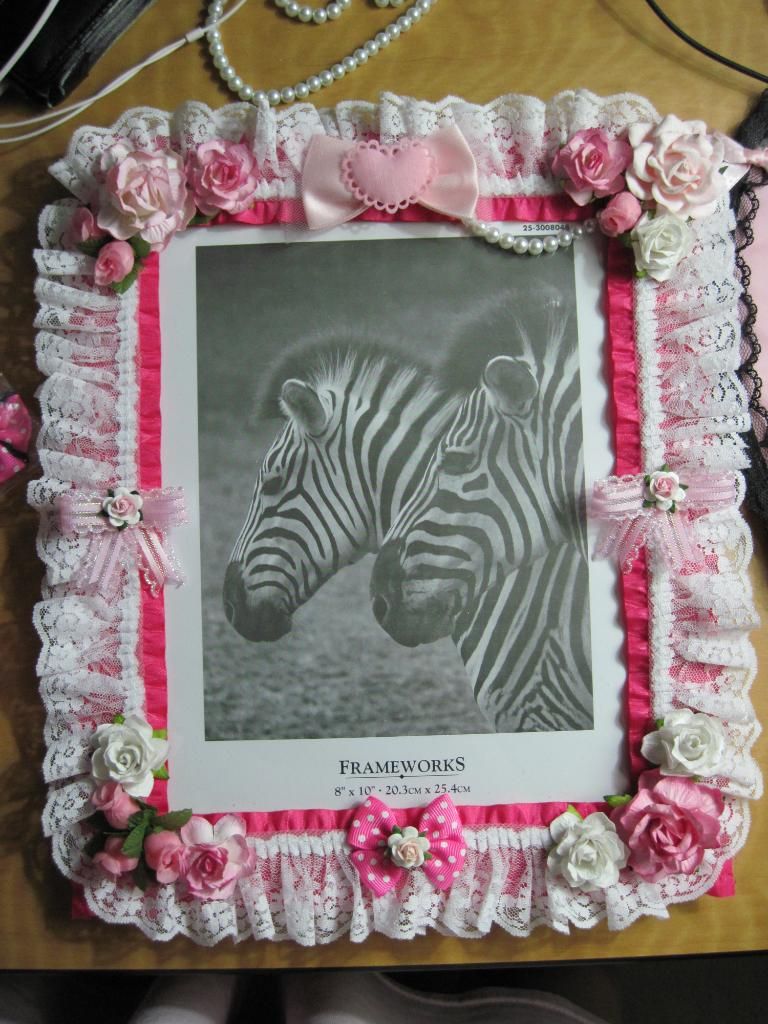
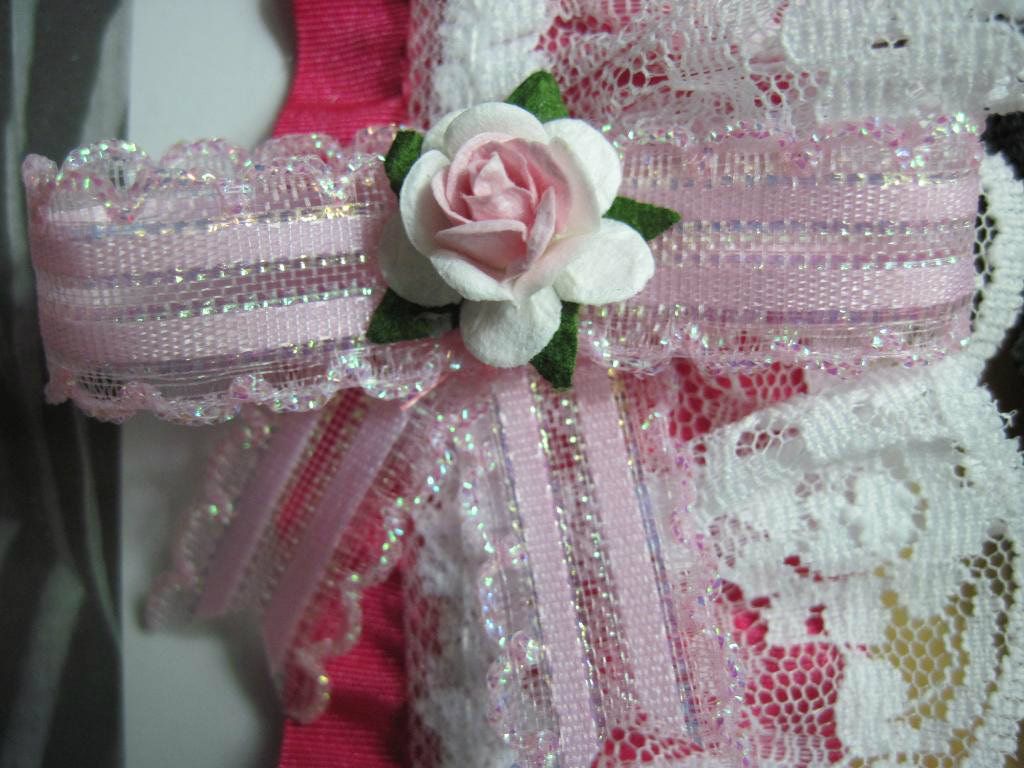
I felt that the sides were a bit on the boring side, so I spiced it up by hand sewing some bows with some leftover ribbon that I have lying around and gluing a small light pink rose in the center. As for the bottom, I had managed to find a polka-dotted bow in a bag of bows that I usually keep in my craft drawer and glued that on along with adding a small peach rose in the middle to make it more fancier.
Finally, I was finished with the first frame. What have I done with the second frame you asked? Well, I had finished that off-camera and managed to give it a purple or lavender twist.
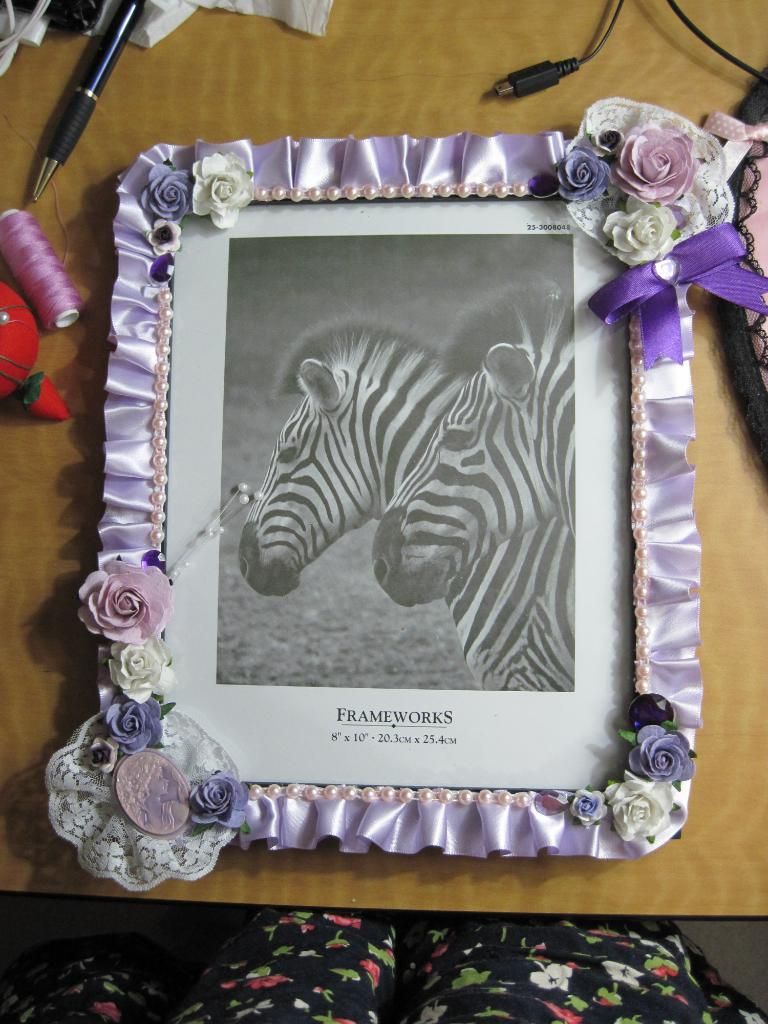
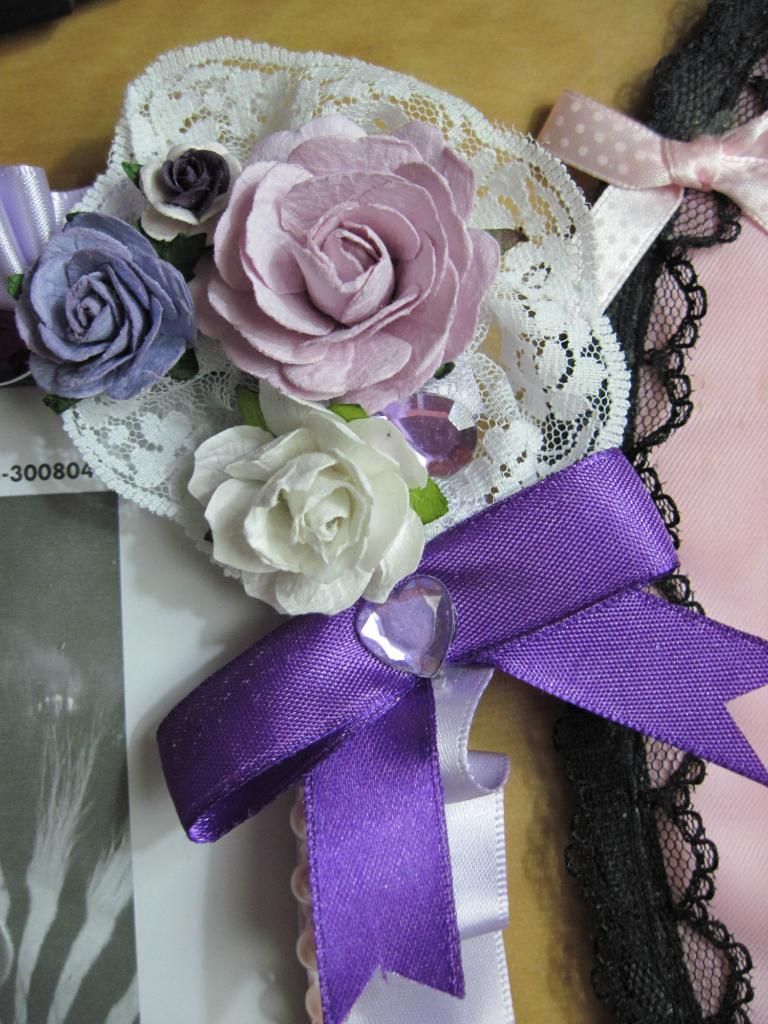
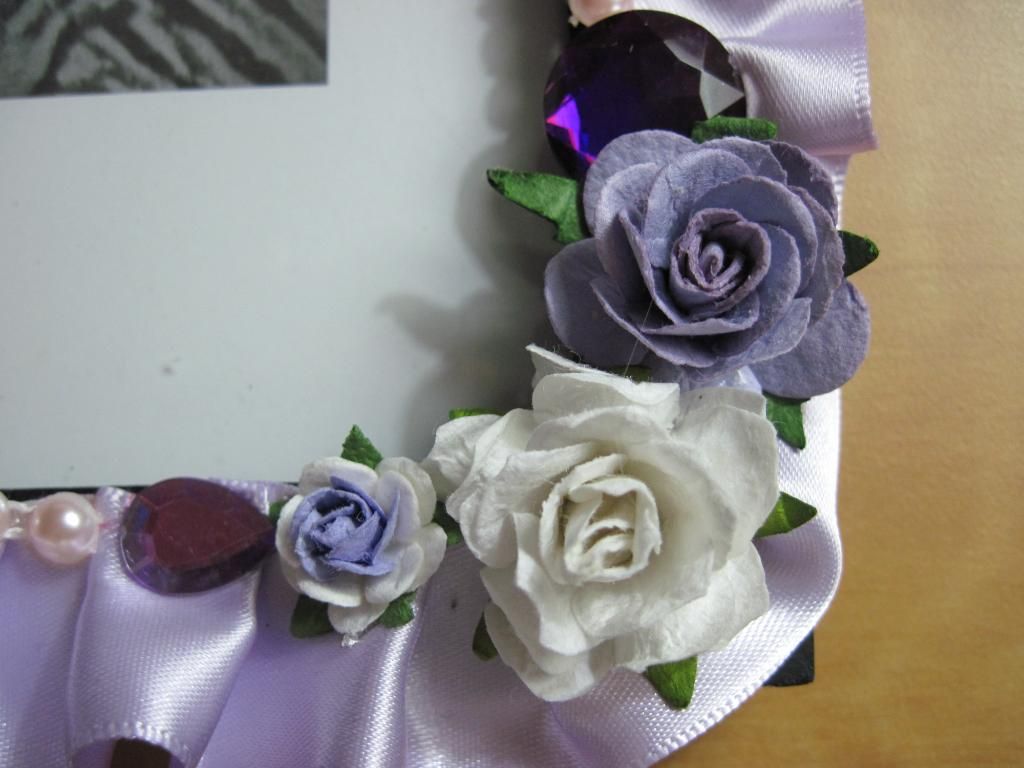
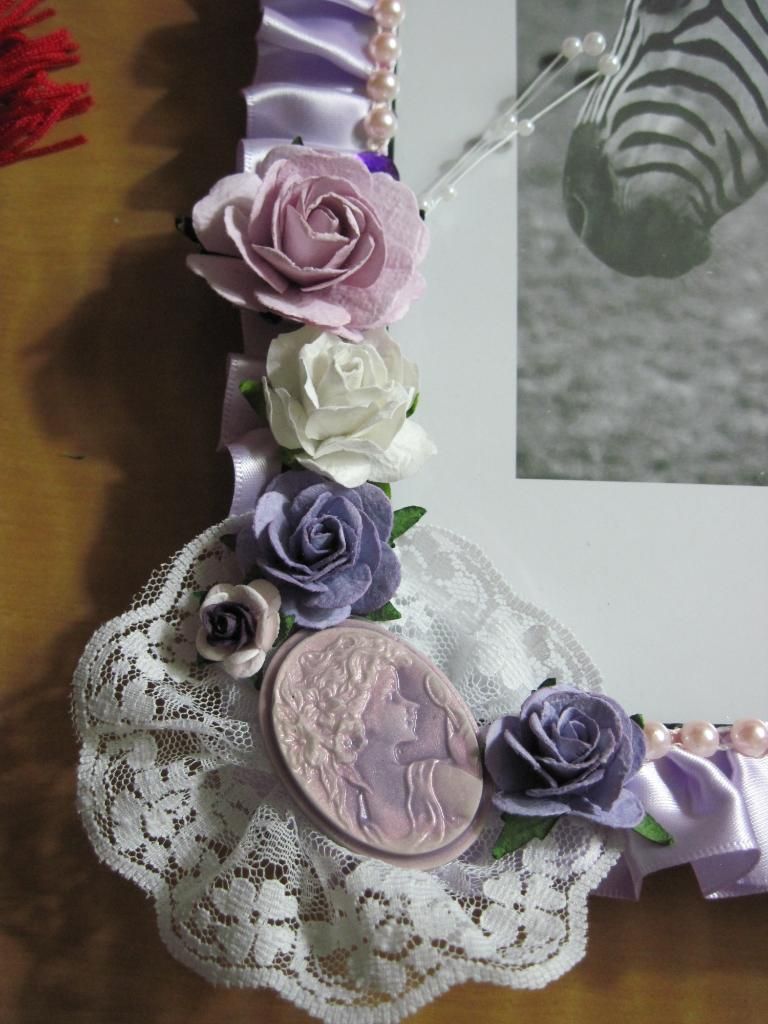

For the second frame, I wanted to incorporate and use mainly the colour purple. In order to differentiate this frame from the previous pink one, I decided to hand pleat the lavender ribbon that I had gotten in a bundle at the nearest fabric store (you heard correctly, hand pleated). I did not want to glue the lace trim on, since it took me a while to hand pleat the ribbon and I did not want to hide my hard work, so I decided to line the "face" with pink half-pearl strands. Nothing had drastically changed for the flower arrangements except that I had placed more emphasis on the upper left corner and the lower right corner compared to the first frame. I had also added in more miscellaneous pieces, such as the purple cameo in the lower left hand corner, a couple of purple gems found here and there, and three pearl sprays in the lower left corner.
So what do you think? I personally hope that you all find this tutorial/guideline helpful when it comes to what direction you wanted to take in transforming your old frame to one that belongs in a beautiful room. Personally, I will try to come up with actual helpful tutorials in the near future.


awh id missed your tutorials! <3
ReplyDeleteThank you! I will definitely be making more! ^^
DeleteYou know, you're really good at this. You could totally sell these things! If I had any photos, I would definitely try to commission you XD
ReplyDeleteAww thank you! xD I'm flattered but it is quite easy if you have the materials and the direction.
DeleteSO PRETTY! You're so awesome at doing deco ^^
ReplyDeleteAww thanks! <3
Deletecute tutorial!
ReplyDeleteI want now a Hime frame too! Haha for my own flat I'll do some I guess!
Do you use only glue to stick the lace on the frame? Hot or normal glue? Whats the best?
Chu chu,
Victoria :3